Showing posts with label breech. Show all posts

Wednesday, December 25, 2013

Finishing the Shroud for the Aluminum Breech

It's been far too long without a post.   Lot of distractions as well as the new job have kept me out of the basement and garage over the last few months. 

I was looking for a project that didn't entail going out into the 15 degree F garage yesterday, so this rose to the top of the pile by default--or perhaps by aversion.  This is the Crosman aluminum breech project from a few months ago.  The shroud is a bit plain.


Removed the breech from the gun.


While the loading bolt is out of the gun, it needs a magnet to hold it open during loading.  That's a tiny rare earth magnet in the jaws of the caliper.


Chucked the bolt in the Taig lathe and spotted the hole.


 Followed with a #31 bit.


 Epoxied the magnet into place.


A quick clean up pass on the lathe and it's done.


OK, on the the main feature.  Removed the vanilla shroud off the barrel.


I got asked about holding round work pieces the other day, so I thought I'd take a moment to show the basic procedure.  When you need to clamp a round item, a collet is the ticket.  This is a 0.750" 5C collet.  "5C" is a size.  It refers to the dimensions of the collet body--the length, diameter,  taper angle, body thread... There are dozens of collet size "standards" out there, but 5C is the most common for work holding.  There are other collet types that are typically used to hold tooling--my milling machine, for instance, accepts R8 size collets.  Apologies if this is too "step-by-step".  Just skip ahead if you don't need the details.


The shroud (the work) goes into the collet then the collet is mounted in a special holder.


In this case, I'm going to use a six-sided (hex) block.


 Collet is loaded into the block...


End of the collet is threaded for a lockring.   Tightening the lockring pulls the collet into the angled front of the block causing the nose to slightly collapse inward tightly gripping the workpiece so it can't move.


Block then gets clamped in a vise.  Mounted a stop on the vise, so each time I remove the block it can be reinstalled to the same location in the vise.  A six-sided hex block allows for easy, 30 degree rotation of the workpiece while maintaining center.  It probably sounds much more complicated than it really is.


Since I've gone this far, here's an easy way to drill the shroud.  With some layout dye, I scratched lines every 0.500" down the length of the shroud.


Supported the muzzle end with a second vise holding a v-block.


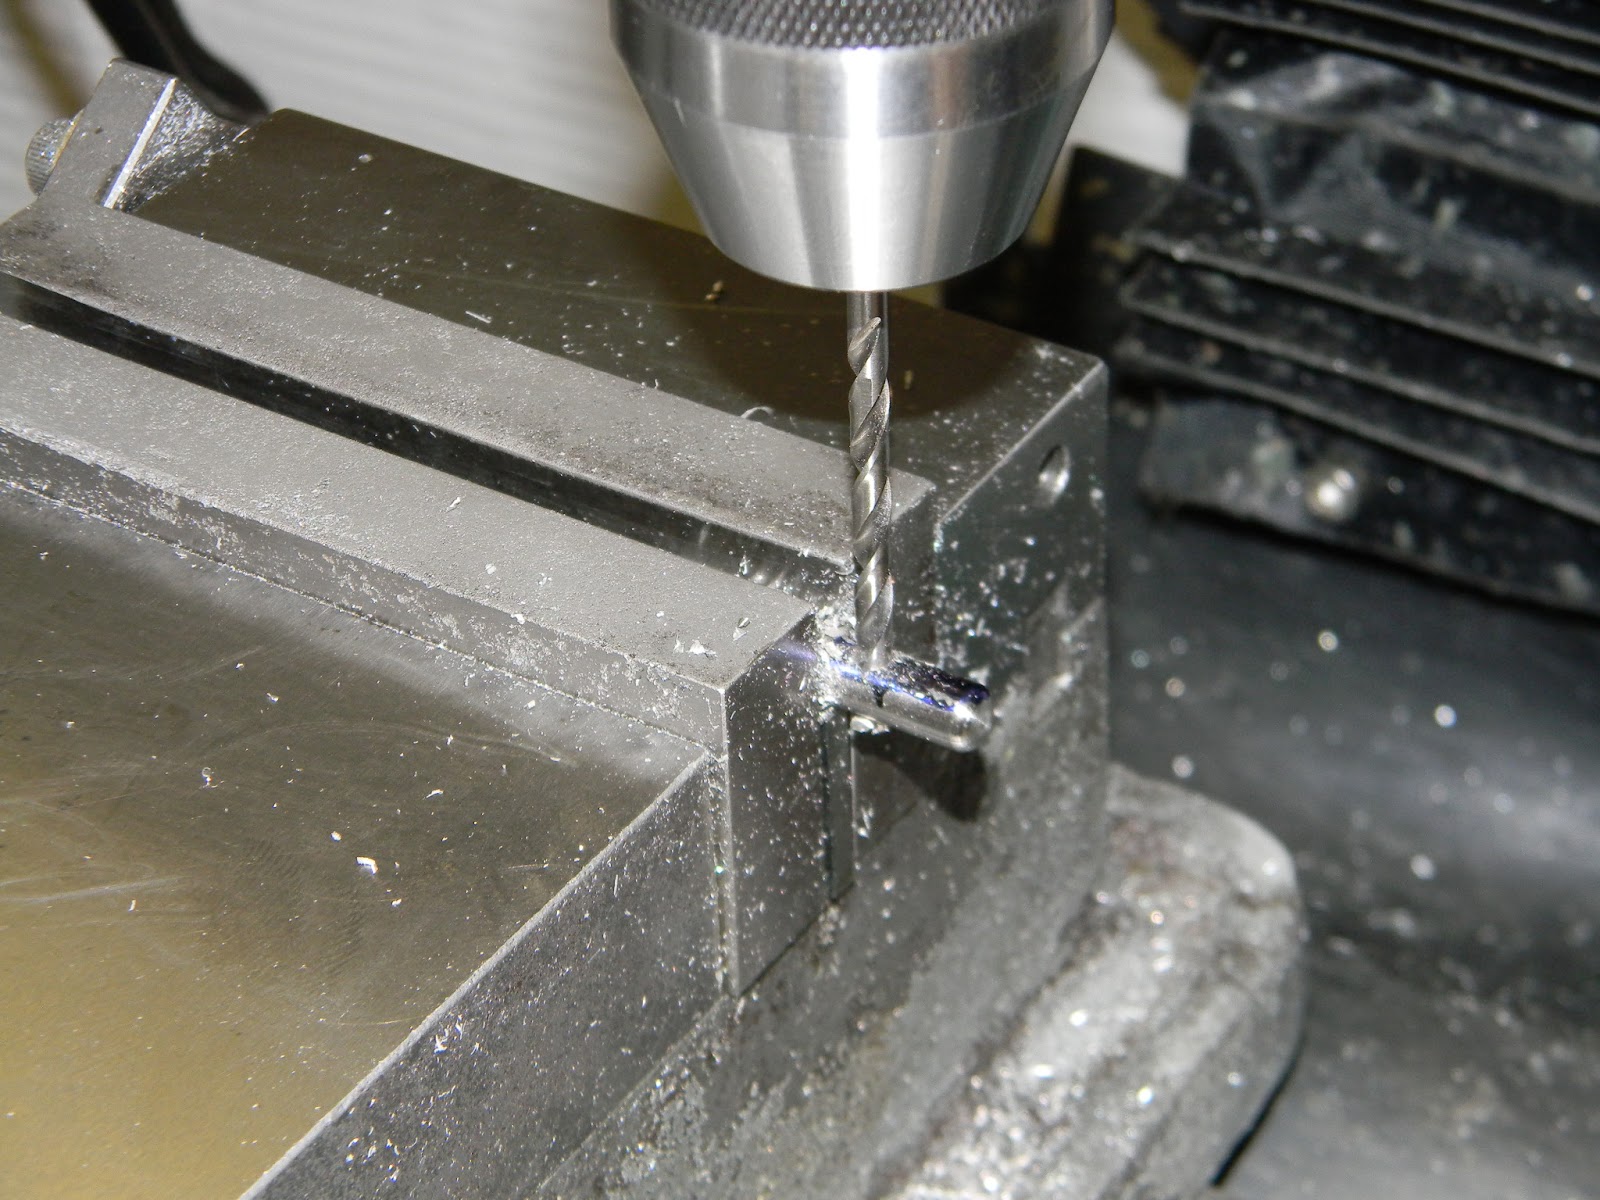
A #4 (5/16") center drill was used to spot and drill each hole.  Locked the y-axis and simply cranked the x-travel to every second line (1.000 inch intervals) and drilled.  


Rotated the block 60 degrees (2 turns of the block in the vise) and drilled on the same series of lines as the first row.  Repeat a third time.


Next, rotated the block 30 degrees in the vise and drilled the mid lines.


These holes are also 1.000" apart, but offset by 0.500" from the first series of holes.  Rotate the block 60 degrees and drill, then repeat.


Removed the layout fluid and deburred. 


 Some polishing...


 And reassembly.


Dressed up in fancier grips from an earlier 22XX project.


The gun has a bit more flavor now.  The raw aluminum definitely gives it an unfinished tool-room feel.  Well, like I said, it's a project gun. 


Thanks for reading. 

Wednesday, July 31, 2013

Another Breech for a Crosman. Part 5

The aluminum breech went together without any real problems--that alone left me filled with wonder and amazement.  Gonna shoot it for a while before deciding what to do with the shroud.  The blank aluminum tube seems to beckon for some kind of adornment.  Sprayed the grips with a couple coats of truck bed liner.  I actually made a pair of wood grips, but I didn't think they fit with the black and silver colors.  The Tasco ProPoint dot carries the color theme.  Shoots great, but I have a feeling that this will be one of those project guns that evolves every couple months and is never truly finished.  I already miss not having a bolt hold open.  Next time it's apart, the loading bolt is getting a rare earth magnet.


May throw together a short post showing those aforementioned grips if there is any interest.

Thanks for reading.  Check back in a few days for more.

Tuesday, July 9, 2013

Another Breech for a Crosman. Part 4

Working on all the small breech items to get it up and running.  I'll gloss over most of this since we've covered it on past 22XX builds.


Spun the bolt on the Taig lathe from a piece of 0.250" diam stainless steel.


Flipped it around and trimmed it to length.


Moved it over to the milling machine and found the edge.


It's supported on a single parallel.


Spotted and through drilled with a #29 bit.


Tapped #8-32.


Used another piece of stainless for the bolt handle. 


Threaded #8-32.


Stepped down to fit in the breech slot.


Rounded over the end of the handle. 


Simple and clean.


Cut an extended cocking pin from O-1 tool steel.


The factory part is on top.  There's a bit of a length difference.


Cut down a 24" Crosamn .22 caliber barrel to about 12" and cut a new crown.


Found a piece of 0.750" aluminum tube in the metal stock box.  It's got a 0.500" hole in the center.  Used the larger lathe and a cut-off tool to cut a piece to size for a barrel sleeve.


Cut a 0.625" step on one end of the tube.


This will recess into the front of the breech.  Not shown:  Cut the tube to correct length to fit over the barrel and finished the tube with an oiled scotchbrite pad.


Figuring out how to secure the muzzle end of the barrel in the sleeve.  Thought I'd try a simple o-ring.  Cut a groove.


 Found a suitable o-ring.


 It press fits into place.


Aside from a transfer port, it's functionally done.  Aesthetically, I think it still needs help.


More soon.