Showing posts with label Crosman 760. Show all posts

Tuesday, June 2, 2009

Disassembling an early Crosman Model 760, Part 3

As I said in the previous entry, there was a bit of an air leak around the barrel/transfer port.

One problem was that the setscrew hole in the transfer port that holds in the barrel was stripped. So I dug out some 10-32 helicoils, the proper drill and Helicoil tap.

A helicoil tap is identical to a regular one, just larger in diameter.

The helicoil, you can see a small bent tang that allows the tool to screw the helicoil into the hole.
Afterward this tang is snapped off with a pin punch.

The helicoil is inserted in the tool and the mandrel threaded on, and all threaded into the tool body. This help maintain the proper spacing/tension.

The tool is placed against the hole and the helicoil threaded in.

It was a little long...

Ground off flush with the transfer port.

There was also about .01" play between the barrel and the port diameters. So I wrapped the barrel with a few turns of teflon tape.

And poked a hole where the port is.

Assembled snug and tight. There is no more air loss here.

Saturday, May 30, 2009

Disassembling an early Crosman Model 760, Part 2

On I go.

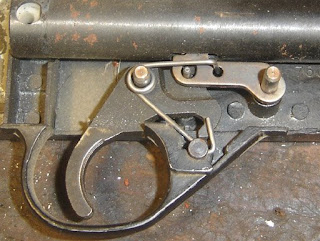
Always a good idea to take multiple pictures of the trigger group...the spring does double duty as safety detent and sear spring.
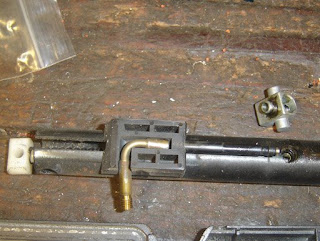
The aluminum transfer port unit was removed. The bolt assembly is plastic. There are 6 plastic parts on the rifle: bolt, front sight, bb loading port cover, stock fore and aft, and hammer plug. Compare that to the modern 760 which is mostly plastic.
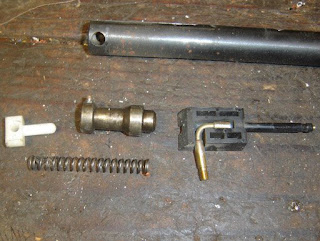
The hammer and bolt parts. Note that this is a knock-open valve system, earlier 760 models used a self cocking valve like that on the 140/1400/130 guns.
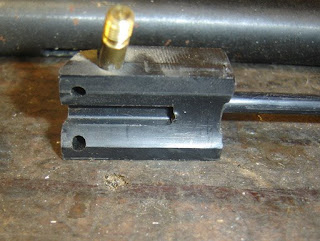
The slot in the bolt that cocks the hammer.
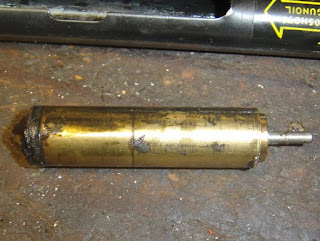
Dirty valve assembly. The one fault I noticed before opening up the 760 was that the inlet valve wasn't closing.
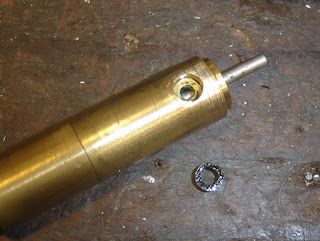
The transfer port seal.
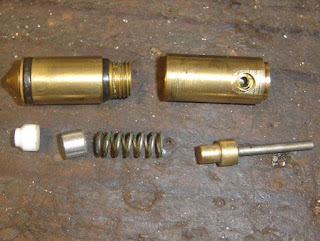
The valve. Notice the aluminum spacer between the spring and inlet valve. Later models just have a longer one piece inlet valve. I had spare inlet and exhaust valves and o-rings on hand as replacements.
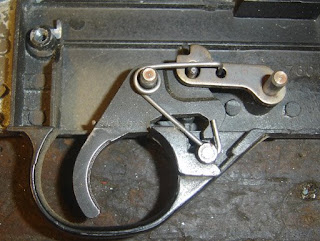
Heck, another picture of the trigger.
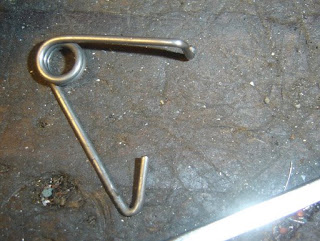
Spring. Notice the little hook that goes in the hole in the sear.
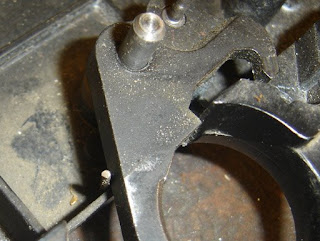
There's another spring under the trigger that hooks around the end.
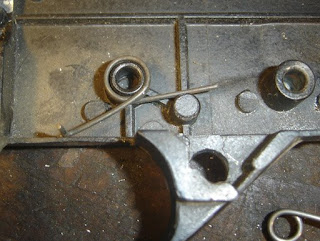
Always good to note.
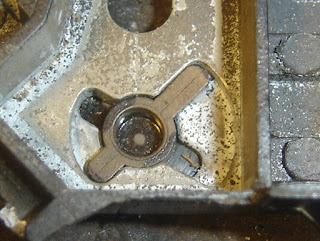
The bb loading port cover can be rotated and removed.
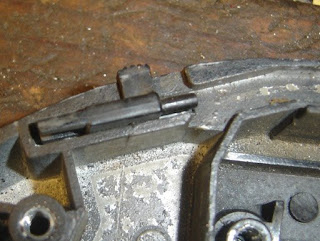
The "magazine" loading switch. I'd love to give the proper names for all these parts but the exploded diagrams don't always have them.
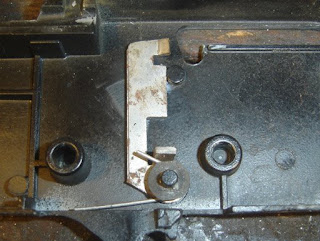
This part is fastened to the other part of the receiver. It prevents you from pulling the trigger when the bolt is open. When reassembling you have to have the bolt open to clear it. Reassembly and resealing had no surprises, just go in reverse.
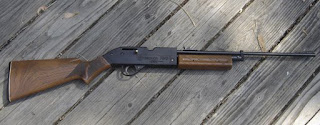
I repainted the receiver, cleaned the plastic stock. Polished the bolt. I removed most of the rust with steel wool and hit it with some Oxpho blue. The bad news is that there's a massive air leak around the transfer port unit/barrel. So I need to take it apart again and fix that. But hey, it looks pretty!

Friday, May 29, 2009

Disassembling an early Crosman Model 760, Part 1

I decided to get the Crosman model 760 I bought last week into working order.

Hmmm, There's some sort of cap over the pivot pin.

Notice the surface rust. It appears the caps cover the roll pin.

A small pin punch removes a pin from inside the roll pin.

A tiny bit bent. A nice detail to cover up the ugly roll pin.

Now to remove that roll pin.

Punched it out. Seems there was a bit of wear in the pump arm pivot hole...just a bit...

Loosening the barrel band set screw. The barrel band is pot metal.

The plastic front sight and barrel band.

Removed the piston. It's steel with the same type of cup as on the modern 760.

Punched out the forearm roll pins and disassembled it all.

I have enough spare parts...found a replacement in my junk drawer for the one with the wallowed out hole. It's from an early 1377.

Another setscrew in the top holds the barrel on.

I removed three screws from the receiver.

Unscrewed the brass bolt knob.

Separated the two halves. Unlike the current model 760, nothing flew out and there was plenty of space inside.