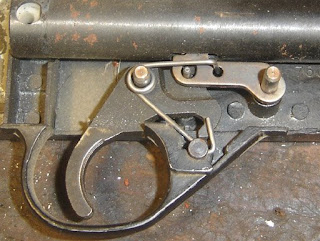
Always a good idea to take multiple pictures of the trigger group...the spring does double duty as safety detent and sear spring.
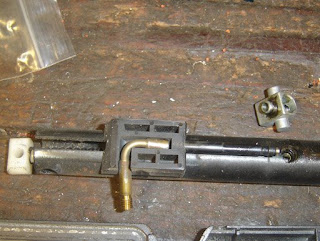
The aluminum transfer port unit was removed. The bolt assembly is plastic. There are 6 plastic parts on the rifle: bolt, front sight, bb loading port cover, stock fore and aft, and hammer plug. Compare that to the modern 760 which is mostly plastic.
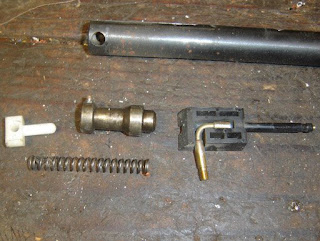
The hammer and bolt parts. Note that this is a knock-open valve system, earlier 760 models used a self cocking valve like that on the 140/1400/130 guns.
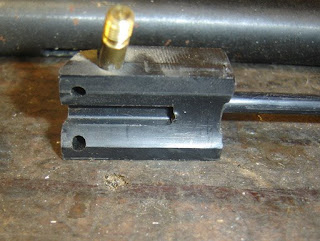
The slot in the bolt that cocks the hammer.
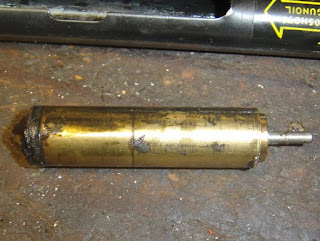
Dirty valve assembly. The one fault I noticed before opening up the 760 was that the inlet valve wasn't closing.
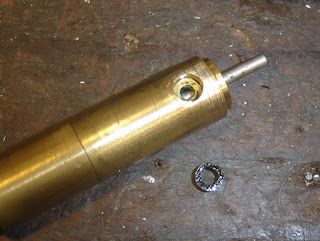
The transfer port seal.
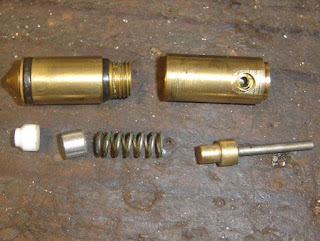
The valve. Notice the aluminum spacer between the spring and inlet valve. Later models just have a longer one piece inlet valve. I had spare inlet and exhaust valves and o-rings on hand as replacements.
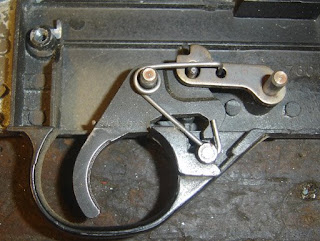
Heck, another picture of the trigger.
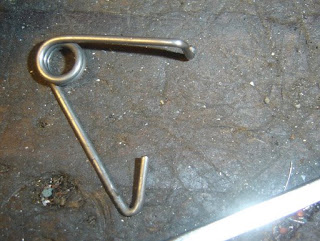
Spring. Notice the little hook that goes in the hole in the sear.
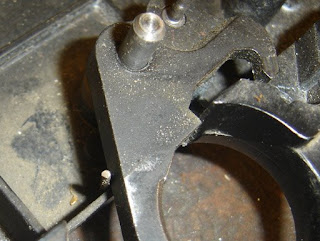
There's another spring under the trigger that hooks around the end.
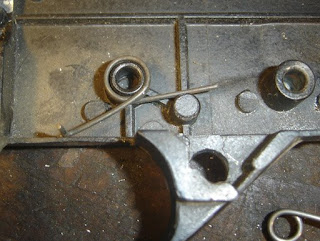
Always good to note.
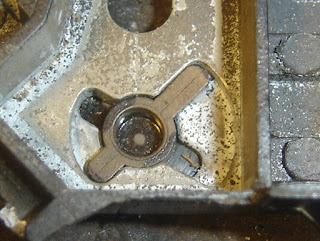
The bb loading port cover can be rotated and removed.
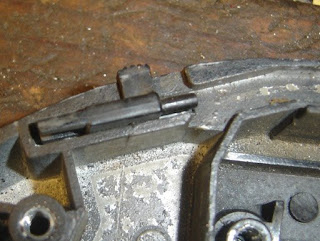
The "magazine" loading switch. I'd love to give the proper names for all these parts but the exploded diagrams don't always have them.
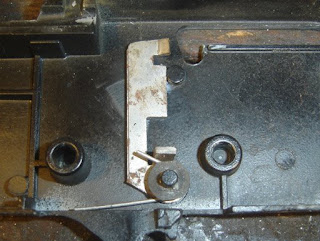
This part is fastened to the other part of the receiver. It prevents you from pulling the trigger when the bolt is open. When reassembling you have to have the bolt open to clear it. Reassembly and resealing had no surprises, just go in reverse.
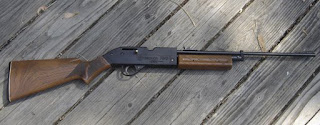
I repainted the receiver, cleaned the plastic stock. Polished the bolt. I removed most of the rust with steel wool and hit it with some Oxpho blue. The bad news is that there's a massive air leak around the transfer port unit/barrel. So I need to take it apart again and fix that. But hey, it looks pretty!
0 comments:
Post a Comment