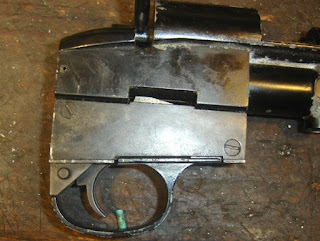
Those two screws hold the plate covering the trigger group.

The trigger group.

Not much to keep track of.
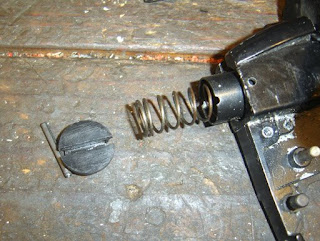
A roll pin holds a plastic plug that retains the hammer assembly.
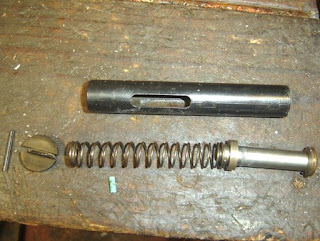
Most of the hammer parts...

The bolt just slips out once the hammer and sleeve are removed.

Wait, there's more! Another spring keeps the hammer off of the valve stem and regulates the striking force.
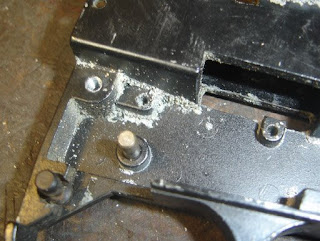
There was a bit of corrosion on the pot metal receiver.

Just a pic to remind the right way for the safety to be installed...

Once cleaned, I started to put it back together. It's important to align the hammer sleeve.
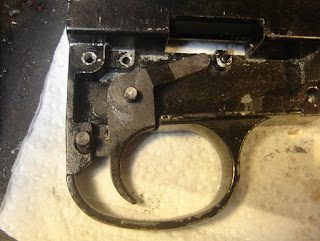
The trigger assembly goes back together in reverse. I lubed all the trigger components.

You can see the old piercing pin on the right was a bit mashed up.
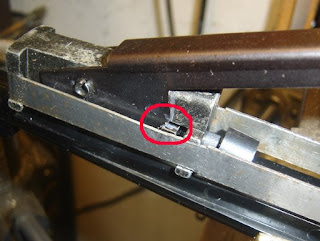
The cam was binding on the tapered nut. I think this is because of the redesign of the piercing pin and seal for the 38 - the new seal is thicker?
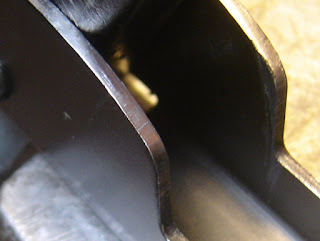
You can see a line across the cam surface where it catches on sharp edge of the nut.
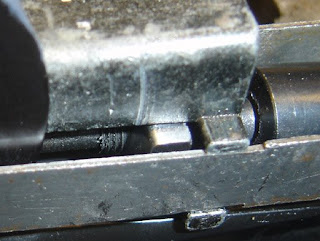
So I made a slight radius on the nut edge.
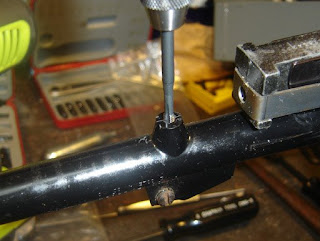
The screw hole holding the barrel down in front was stripped, so I drilled it out and tapped it 8-32.

After assembly I found the barrel was a bit low (as evidenced by being out of the adjustment range on the scope crosshairs), so I added a washer between the stock and the barrel boss shown above.
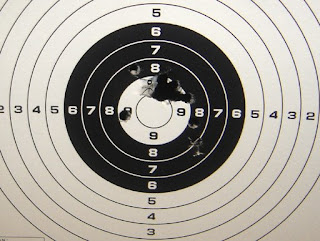
Once a few sighting shots (the non-grouped holes) were taken, you can see I got an ok group.

I found the trigger pull was insanely heavy. So I polished all the surfaces.

And swapped a lighter spring for the old one.

Doesn't look too bad!
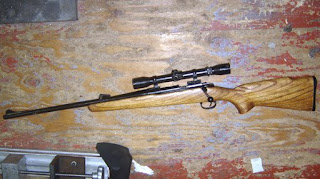
I scoped it because the rear sight is broken, which will be covered next installment.
0 comments:
Post a Comment