Showing posts with label trigger. Show all posts

Sunday, November 3, 2013

Only Part Way Home on the Daisy 717 Trigger Upgrade

Been meaning to get this post up for quite some time, but I didn't get the results I'd hoped for.  No mistake, the trigger is better than the stock 717, but it's not as good as the trigger I found in Matt61's  747.


Bought a new 747 grip frame, a 747 trigger, trigger spring, trigger adjustment screw, and a trigger adjustment plate.  I think it all ran around $20, maybe $25 shipped.  In all, it was a modest amount of money.


With the grips removed, the grip frame differences are apparent.


Hmmmmm, the bosses aren't tapped for the grip screws. 


Fortunately, the grip screws are "self-tapping".


Used a good screwdriver and made sure they went in straight.


The new metal trigger, two trigger springs and two trigger adjustment plates.


Tapped out the old trigger pin--it's a knurled press fit into the grip frame. The trigger spring fits like so--looks like I could've used the old spring on the new trigger.


The trigger adjustment screw.


Installs from the inside.


Used a small screwdriver to thread it back into the grip frame.


Like this.


Just a pic of the cocking link in case I need a reference for reassembly.  I swapped over the cocking linkage, trigger disconnector and sear to the new grip frame.  It's the same procedure previously covered here.


The plate fits against the adjustment screw.


The extra plate shows the correct orientation. 
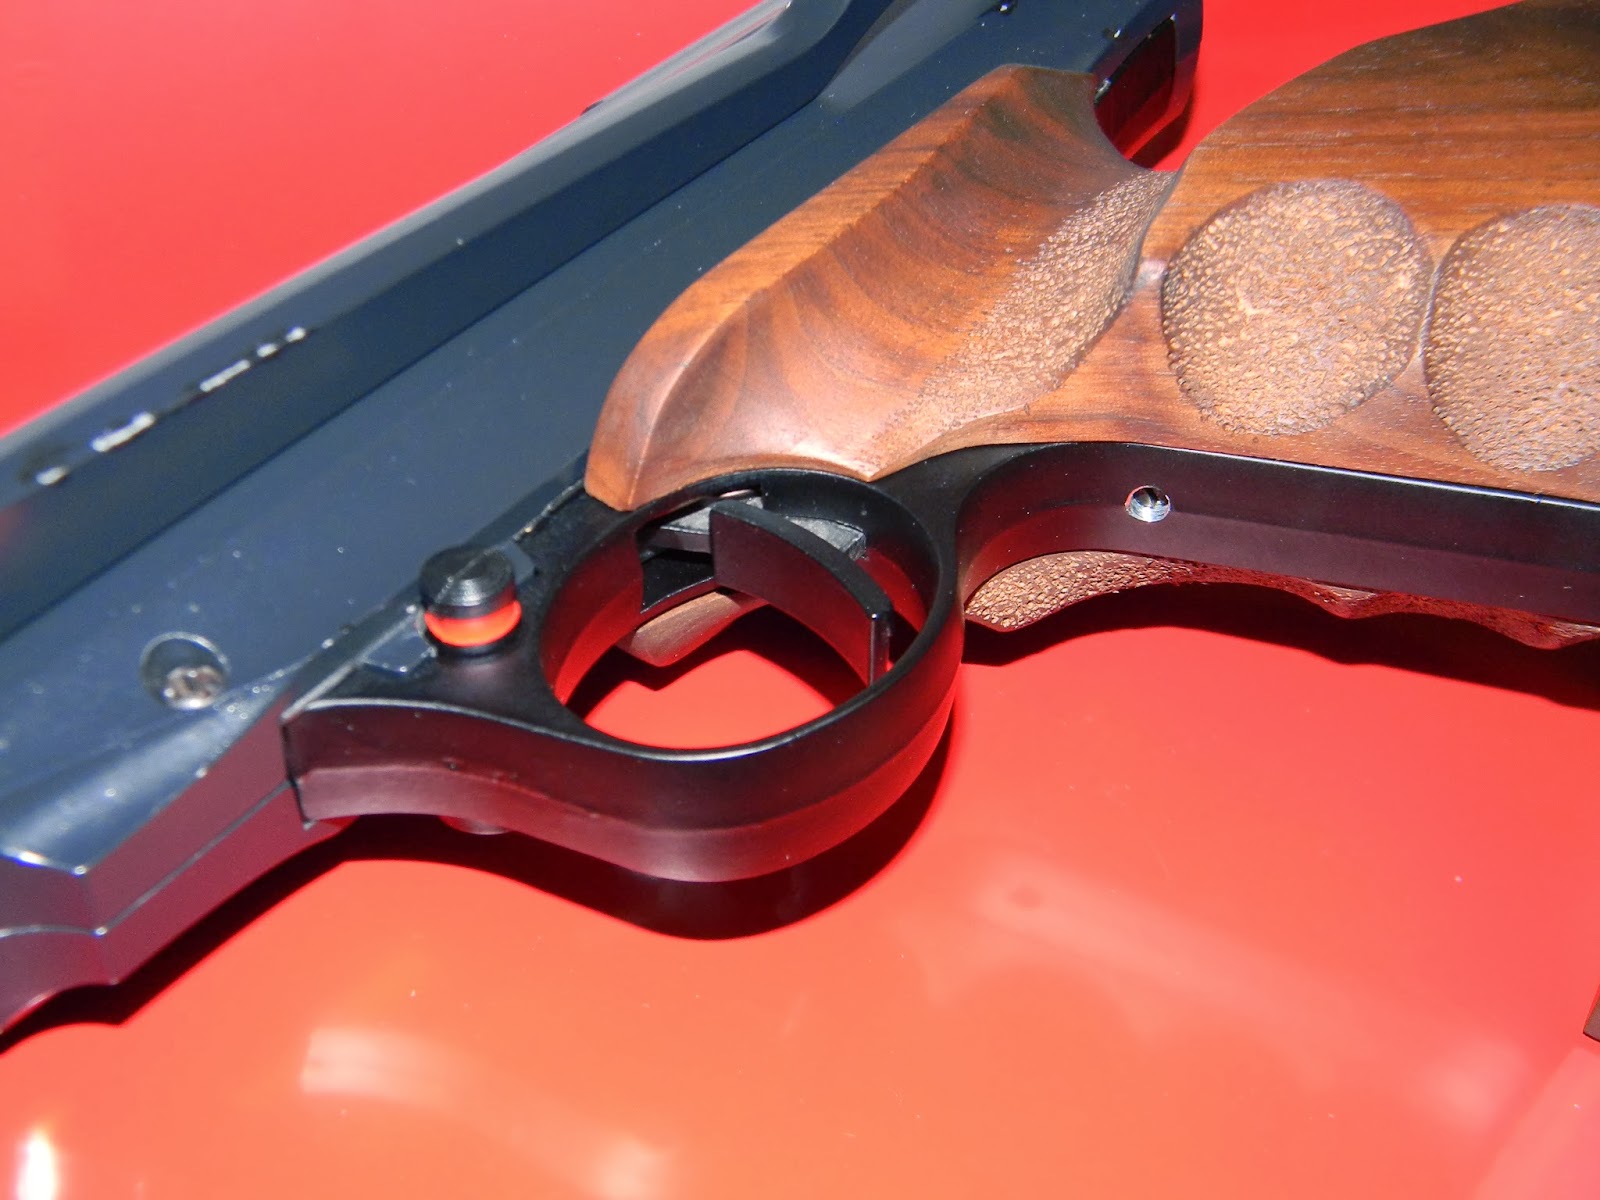


Reassembled.


Test fired the gun, but it's not quite what I'm after.   It's not as crisp--nor does it have the same adjustment range--as the trigger in Matt's 747.  I didn't replace the sear (part number 15 on Daisy's schematic), and that might have made a difference.  When I looked at the print, I thought that my sear looked like the one on the drawing, so I omitted that part from the order.  Except I forgot that the base of my sear was slightly modified in the "Nygord" trigger job.  Next time I make a parts order with Daisy, I'll pick one up and swap it into the gun.

Sunday, November 28, 2010

Trigger Blade for IZH 61

Thought this was going to be a really easy evening project--just a quick trigger blade replacement for my IZH-61. Ended up taking quite a bit of time due to my over complication of the design and the method of finishing.

The original trigger is pretty simple. A triangular piece of steel with a pinch clamp to hold it on the 3mm trigger rod. Lot of guns are using a rod like this to attach the trigger blade. Mostly European target guns--including some of the pistols.

Overall, this trigger is a nice design--especially considering this gun costs well under $140. It allows for axial adjustment and it's offset for a right-handed shooter. There is also a minimal amount of height adjustment available.

It's just a bit too small for my preference and I find that the curve doesn't quite fit my finger. Yeah, I'm nitpicking. I know. But it's an excuse to do something about it.

Sawed out a piece of aluminum. It's roughly 1" x 0.5" x 0.5". Milled the saw marks off.

Nick posted an excellent tutorial on milling set ups a few days ago on one of his machining blogs.

Found the center.

A little dykem layout fluid, and I used the caliper to mark a center line. Picked a promising location for the trigger bar and through drilled.

Worked my way up to a 3mm drill bit. This will just barely fit over the rod.

Could've just drilled a hole for a set screw and been halfway done--but nooooo. I think I did this the hard way. Wanted a pinching mechanism and since one pinch bolt would have sufficed, I decided to use two--opposed.

With an arbor attached to the headstock and a slitting saw blade mounted, I set the block in the milling attachment vise...

and cut a full length slot. The cut extended into the through hole.

Next, I drilled the pinch bolt holes. Drilled through both with a #40 bit. Then drilled partially through with a 3mm bit for clearance. Turned the piece over and drilled partially through on the other hole. The bolts will thread in from opposite sides.

Tapped the opposed #40 holes to M3 x 0.5mm

Cut between the pinch clamps so they'll function independently.

And started cutting away at the excess metal under the clamps.


Cut out a rectangle--scrap.

Getting there. Not shown: Milled the clamp on each side to pocket the clamping screw heads so they don't stand proud on the sides of the blade.

Like so.

It's still too blocky--even for a Russian gun--so it's going back for more milling.

The set-ups took the most time, but I milled each and every face. Shaped the back side of the trigger blade.

Beveled the the angles with a small needle file.

Ended up leaving all the milling marks. It looks jeweled from every angle. It's incredibly smooth. I thought there might be some texture from the milling marks, I was wrong.


Pulled the 3 screws and dropped the action out of the stock.

Removed the trigger blade with a flat head.

And screwed the trigger to the rod.

Also adjustable for angle like the original, but it's longer with a much broader face. The width feels just about ideal.

Added a few more pics 12-05-2010:

A bit better close up to show the milling cutter swirls.

The face is dead flat. No texture at all.

Haven't checked, but I think this will fit my Aeron target pistols, too.
**UPDATE 12/05/2010. Nope, won't fit the Aeron.

I'd like to make another trigger like this (though not nearly as time intensive) for another gun. We'll see.