Monday, December 20, 2010

Anti-Glare Tube for the Rear Sight

Took some time this afternoon to do some much needed shop work. Put a new grinding wheel on the bench grinder, sharpened most all of my lathe knives, rebored the jaws in the scrolling chuck, verified/realigned the tailstock with pointed indicators... Then I got back to the IZH-61 project.

I wanted to knurl the front of the tube before I reduced the wall thickness too much. Figured I'd better do it now before doing any more drilling--knurling thin tubes is fraught with crushable danger. I impressed a diamond-pattern knurl into the end.

Next up was getting a taper in front of the thread. The taper will act as clearance from the sight base.

Set up the compound on the crosslide and cut at 60 degrees.

With light cuts, aluminum cutting fluid and a sharp knife, I got a halfway decent finish on the taper.

Quick test fit to check those clearances.

Passes, but I noticed that the sight is almost completely out of right windage adjustment and the tube won't install if the sight is buried to the right--there is a small block inside the sight body with a too-small window. The alignment problem is caused by the narrow dovetail on the IZH. Fixing both problems will require disassembly of the sight--I'll get to it in the next blog post.

Back to the tube, it's helpful to remove as much from the center as possible. This prevents the interior from getting into your sight picture. Opened up the base end.

Gave the body a light pass just to clean everything up and get a defined border at the knurl.

Turned it around once again and progressively drilled it to 3/8". Took care to not drill into the taper or I would have drilled it in half.


A small boring bar finishes the hole. Didn't measure, just removed metal until it was thinned out as much as deemed practical.

Another quick test fit.


I'll paint it to match the front anti-glare tube. They don't quite match, so it looks like I'll have to knurl the front tube after all.

Sight tear down and some milling is up next.

Friday, December 17, 2010

Updates and More IZH 61 Sight Stuff

Nick's time crunch has been going around. I've been busy making things--just not airgun things. Co-worker Rich needed some adapters for his new Chris King 15mm through-axle hub, good customer Kyle needed bolts for a 38 year old 3TTT Italian stem for a restoration, one of my pocket knives wants rosewood handle scales...

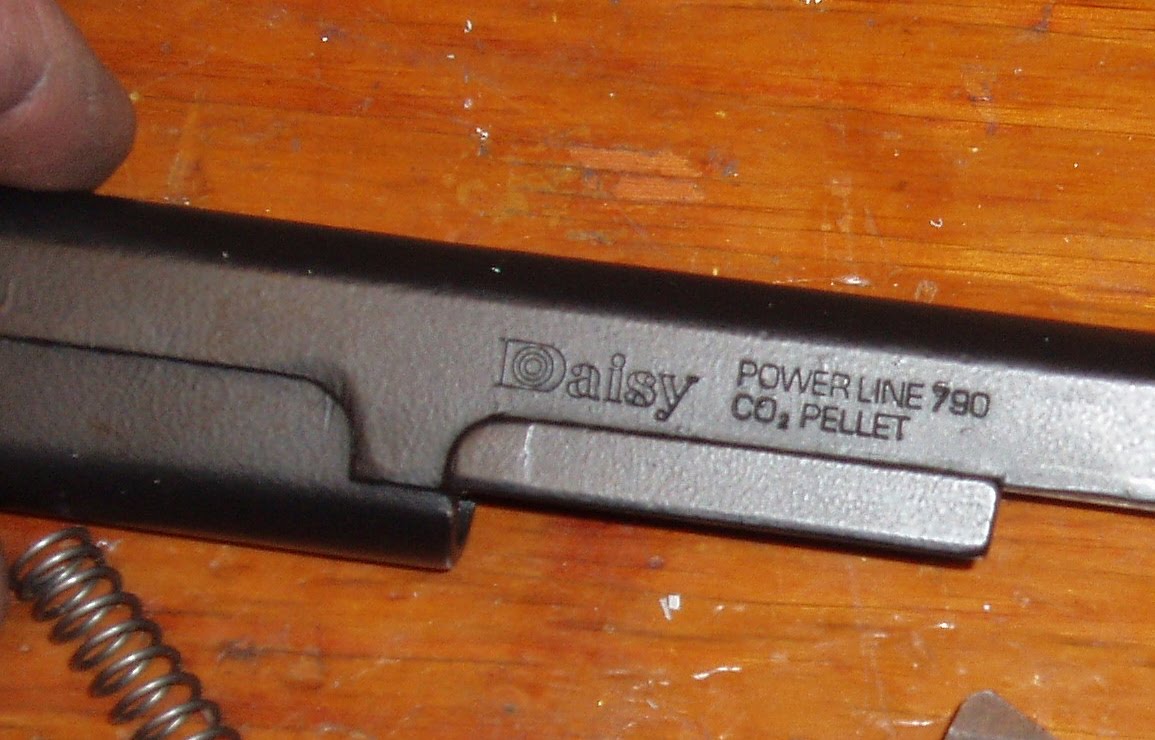
Here's the workbench as of last night: pocket knife scales on the left, a screwy Daisy 790, a rod to become a centering indicator, Gamo V3, Tau CO2 cap to possibly be converted to a bulk-fill, Stronglight chainrings that need milled to retrofit to a Campagnolo Victory crankset, aluminum angle to be milled to soft jaws for the vise... There's more, but this is enough for now.

The Gamo V3 is from blog reader Michael. It's a lead-ball (BB sized) repeater. It's got a strange, intermittent problem. The first shot dribbles out the barrel, then subsequent shots seem just fine. Haven't, as of yet, ascertained whether it's valve related (doesn't appear to be) or if it's in the hammer/striker assembly. I'll have to get back to this one in a while.

Since the Taig had the milling adapter set up, I squared up the vise jaws and scratched one project off.

Here's the Daisy 790. It works as is--thanks to a trigger from long-time Daisy repair guy Jim Coplen. Jim isn't online yet, so call him at 507-281-2314. He's in Minnesota, so don't call him at 3AM.

The Daisy 790 is the same gun as the Smith & Wesson 79G.

But mine has a really weird problem. There's an alignment issue that a past owner tried to correct. The loading trough has been drilled out to 5/16" and the bolt body ground away on the sides. The bolt fits off center to the left--and aligns correctly with the breech--but the oversize trough is a challenge with tiny .177 cal pellets. Not sure what I'm going to do with this one yet. Maybe just shoot it as is. Anyway, this was also moved to the back burner.

...Which brings me back to the IZH 61. The upgraded diopter sights are great, but after adding an anti-glare tube to the front sight, I wanted one for the rear sight as well. After looking at the rear sight unit, I think there's enough thread depth in the block for both an anti-glare tube and the aperture, too.

Started with a piece of 5/8" diameter aluminum rod.

Turned down an end to 8.95mm.

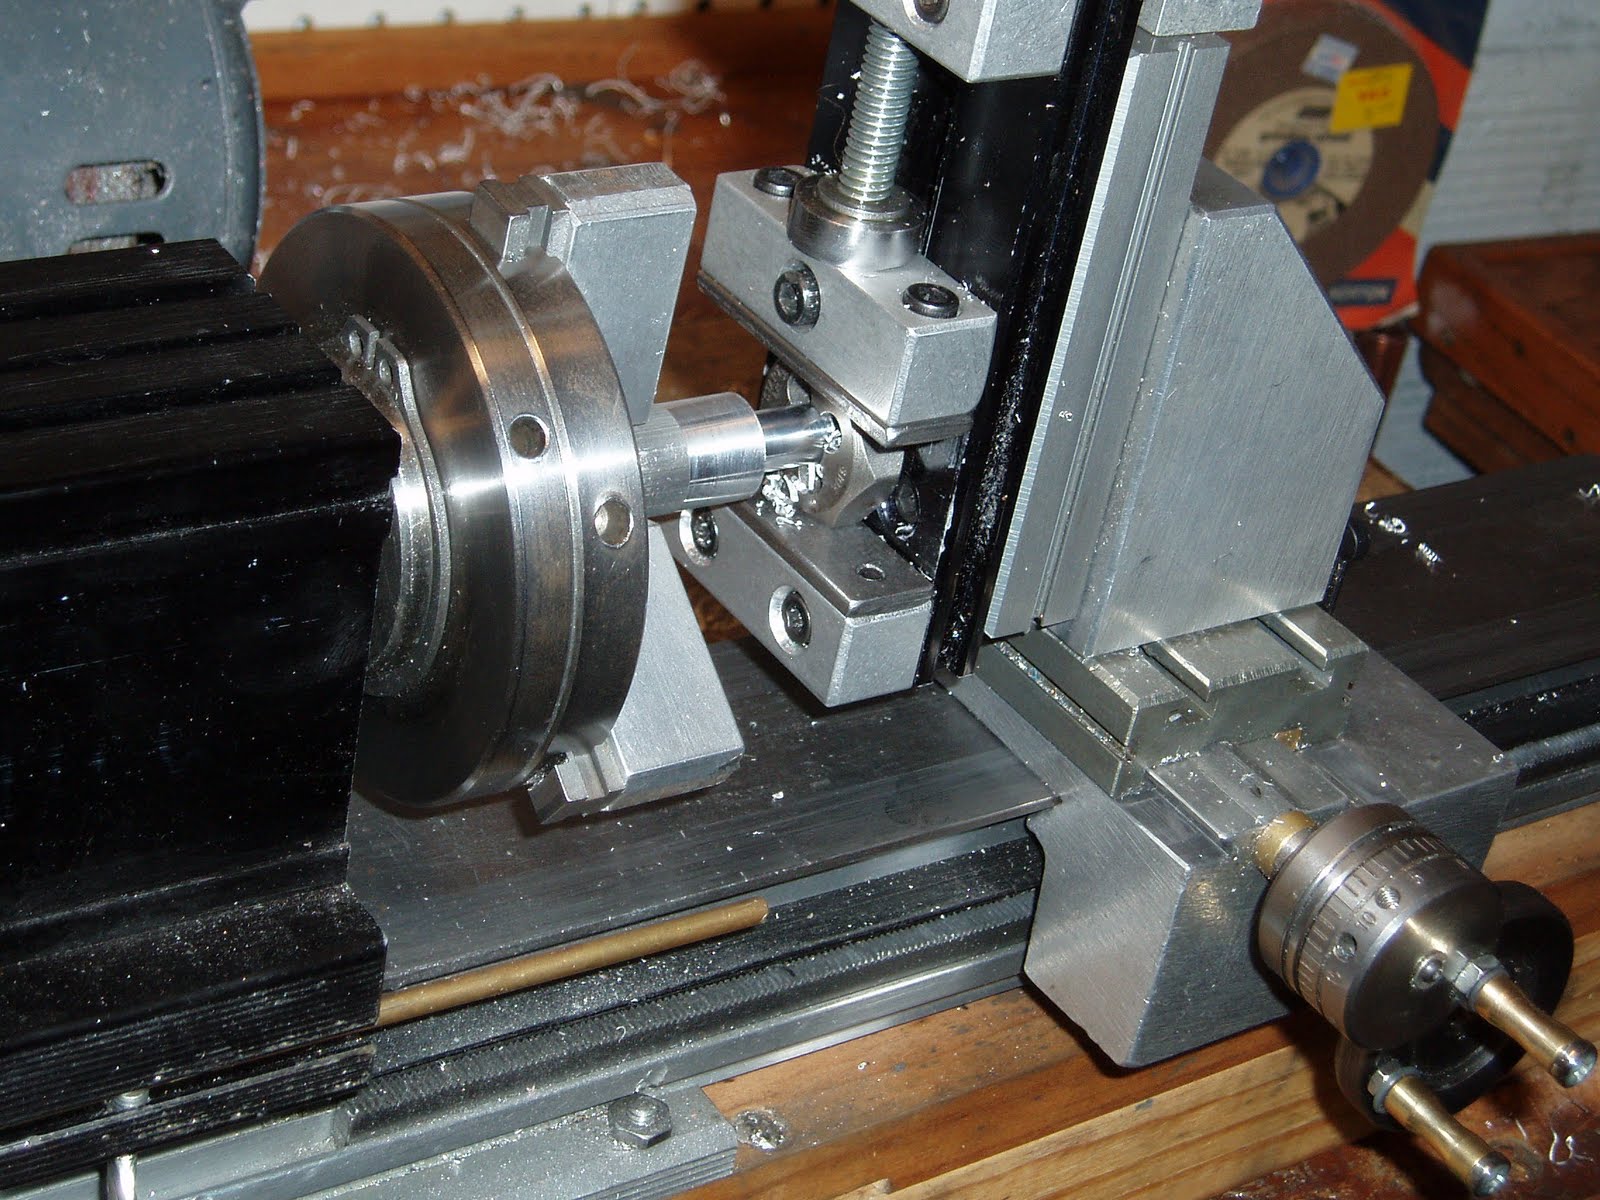
Technically speaking, hex dies aren't for cutting new thread--they're for "chasing" or cleaning up existing threads that are dirty or damaged. Round, adjustable dies are for cutting new threads--except I didn't have one on hand in M9 x 1mm. Since I was just cutting soft aluminum, I think the hex die will be fine. The die holder for the Taig lathe, however, is designed to hold 1" round dies. I had to get a bit creative to hold the hex and mounted up the milling adapter and used the milling vise as a holder.

This set up held the die perpendicular to the round stock. I was able to position the die then start the thread by hand turning the lathe jaws.

After cutting the thread, I spotted with a center drill and through drilled.

More very soon.

Tuesday, December 14, 2010

Jeffrey Corton’s Diana Seal Tool

As you can probably tell, I’m in the midst of Holiday craft selling insanity and haven’t had time to play with the Rochesters or any other airguns lately.

A while ago I received the following pictures from Jeffrey Corton showing his extremely simple (as in, "why didn't I think of that?"), no machining required version of the seal tool I made for the Diana pistol piston seals. Also scroll down to the bottom for a nice solution to the Crosman model 38 valve tool as well…

All pictures and text by Jeffrey Corton, thanks a bunch Jeff!

Main Piston Seal 1_25

1. Parts: seal, electrical end cap (large end diameter slightly larger than piston crown), O-ring, 2" socket extension and socket (slightly wider than the electrical end cap).

Main Piston Seal 2_25

2. Work seal over small end of cap.

Main Piston Seal 3_25

3. Set end cap inside O-Ring. Press seal using extension/socket down to O-Ring. O-ring is simply present to prevent seal from sliding off the end cap.

Main Piston Seal 4_25

4. Final position of seal and end cap.

Main Piston Seal 5_25

5. Place end cap over piston crown.

Main Piston Seal 6_25

6. Using extension and socket, press seal over end cap and onto piston. Picture has seal already installed and one set to go.

Main Piston Seal 7_25

7. Seal pressed in place.

Main Piston Seal 8_25

8. Remove extension/socket and end cap should be free.

Main Piston Seal 9_25

9. Tada, mission complete.

As promised, a bonus for the Crosman Model 38 valve:

crosmantool1

"Don't have a cool lathe like you, so I had to figure out another way to unscrew the Crosman 38T Valve. So: snap ring pliers. See attached pic. I just used the 90-degree attachment, didn't even attach the ends to the plier handles. Just set them in place and twisto-presto. Easy peasy lemon squeezy."

Thanks again Jeff!

Tuesday, December 7, 2010

Insane Weights for the Aeron

My wife was shooting the Aeron B96 a few weeks ago and found it to be a bit too heavy. Removing the weight was helpful, but now it's too light at the muzzle. I wondered if there was a compromise.


The factory supplied steel weight is 24.5mm in diameter, 24mm long, and weighs 78 grams.

Before she shot it, I was actually using it with two 78g weights attached. The weights slide onto an 8mm diameter rod and secure with a single M5 setscrew. The weight(s) can be located anywhere on the rod and fixed to achieve the balance characteristics that the shooter wants. A slightly heavy muzzle is often preferred.

I cut a piece of 7/8" diameter aluminum rod to make some new (light weight!) weights.

Faced off the end then skim cut to get a nice finish.

Center drilled.

Then gradually through drilled.

5/16" is pretty close to 8mm. Turned out to be an OK fit.

With a parting tool, I cut off a 24mm long cylinder. There's 0.250" rod in the drill chuck to catch the piece as it's cut through.

Another view. Was pretty liberal with the cutting fluid.

Here's the piece "caught".

Cut two more weights--each 12mm long. At this point, the quick part of the project took a turn and became an exercise in machining. Sometimes, easy is too easy. I wanted the two smaller weights to equal each other exactly and I wanted them together to weigh as much as the single large weight. Why? Why indeed. It's for an airgun. What else can I say?

After deburring, it was a matter of weighing and facing and weighing and...Until they were very, very close.

Found center lines on each, and spotted, drilled, tapped M5 x 0.8mm for setscrews.

Started the threading in the drill press for alignment, finished by hand with a plug tap. After sorting through the bin of M5 setscrews, I finalized the weights--with the deburring tool. They were that close. The largest weighs 20.6 grams. The two smaller, half that, at 10.3 grams each.

Since this was already pushing the absurd for a couple aluminum tubes, I hand-stamped the weights into each piece then gave them a brushed satin finish.

Installed.

Gapped,

or scrunched together.


This just might be the project that clearly shows just how far wrong I've gone. And the weights are closer than a tenth of a gram.