It's important to do this sooner rather than later. If you contour the grip to shape, then try to recess the screw head, you risk tearing out the wood. By cutting the counterbore first, any tear out will be sanded off during the normal grip shaping. As usual, a forstner bit was employed to cut the flat-bottomed hole.

Test fit. The original CR150 grips are too small for my hands--especially at the heel, so I left some excess wood for fitting.

I'll add another piece of wood in the back as a filler a bit further down the road.

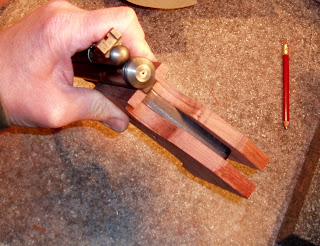
Gonna shoot for some symmetry this time around. Locked both grips together and sanded the bottom of both sides as one piece.

And made the area at the backstrap a uniform curve as well

Worked the heel down a bit to get it closer to final size.

Then went back to the belt sander and started making rooster tails of rosewood.

Used a charcoal dust mask and eye protection. Remember that exotic hardwoods can cause serious allergic respiratory reactions in some people.

The belt sander was great for quickly getting the grip contours roughed out. I just winged this and compared sides as I worked away.

More shaping with a sanding drum.

It's starting to look like a grip.
More to come.
0 comments:
Post a Comment