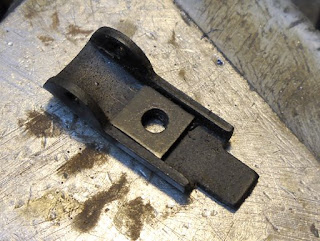
I finally got to work making a replacement for the missing front sight on the Slavia 630.
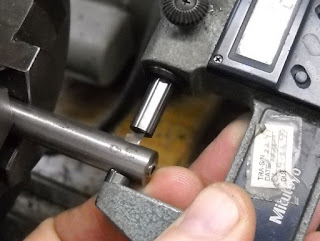
My question was, what is the dovetail angle for the front sight? So I measured over some
PeeDee thread wires. Then I repeated the measurement with a 2nd set of different diameter wires.
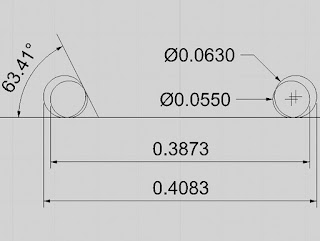
Here's the result. By drawing the diameters and distances of the wires I was able to draw a line tangent to the two circles (the thread wires) and measure the angle. I also did a bunch of math based on the Machinery's Handbook formulas for measuring dovetail slides, using the pair of measurments to solve the unknown "a" and then using that value to solve for θ. I shouldn't go into it as it's a tad boring. But it is fun if you like math...
x[distance over wires]=D[diameter of wire](1+cot 1/2θ)+a
Which means that ((x-a)/D)-1 = cot 1/2θ
So ((x
1-a)/D
1)=((x
2-a)/D
2)
Solve for a...
The dovetail angle is likely 60 degrees and the measurements were thrown off by the small magnitude of the measurements, burrs, etc...

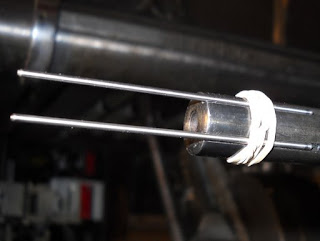
Oh right, I'm getting ahead of myself...here's the old rear sight.
Now with a new thin rubber pad...
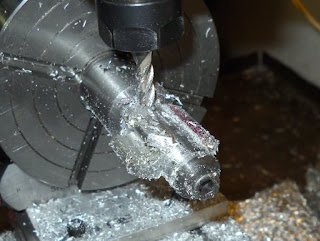
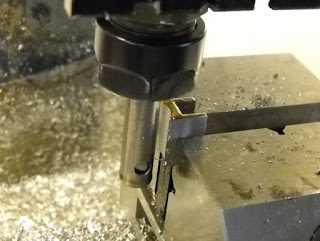
Here's my first attempt at making the sight, milling from solid with a rotary table.
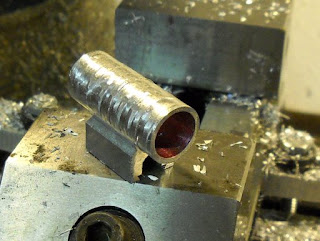
I found the finish and result to be less than ideal. Not sure if the mandrel was flexing or I need to read up on peripheral milling. In any case a good experiment but a poor job...
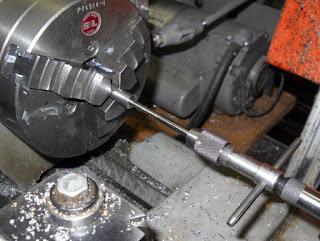
So now what? I drilled and tapped the end of a 3/8" diameter bar with a #10-32 thread.
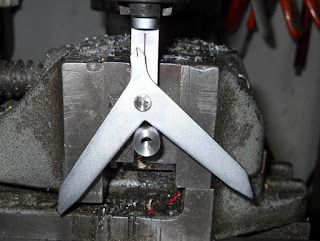
Using my fancy center finder.

On center.
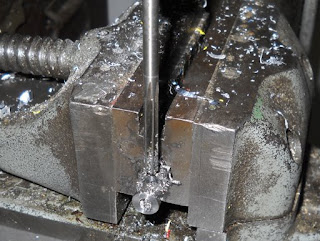
Drilled then reamed 3/16"
A small cutter was ground from a broken 3/16" shank endmill and set to cut a 5/8" diameter circle as it revolved, ((measurement-1/2 bar diameter)*2=cut diameter) making it a poor man's boring head.
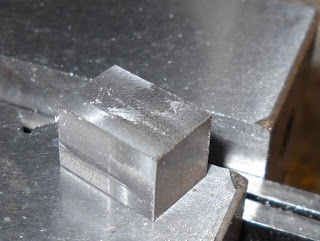
A small block of steel was milled to the proper dimensions.
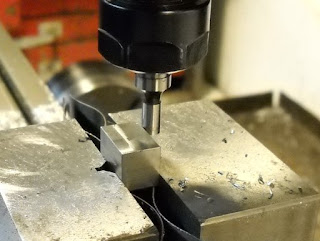
Edgefinding.
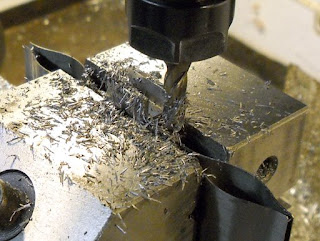
Milling a channel.

Set at an angle to mill the 60 deg. dovetail. This method is better than using a dovetail cutter (and I didn't have a proper one that size anyway) as it provides relief for the curve of the barrel.

More edgefinder fun, finding the centerline again.
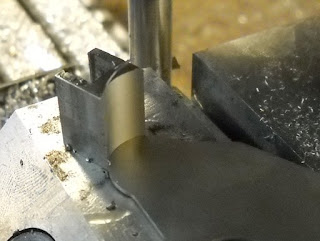
I took several passes to cut the radius with my boring tool.

Nice finish. Poor man's boring head wins again.
Fits the radius gage perfectly.

And fits the dovetail (after several iterations of cutting and fitting) snugly.
More to come...


