Tuesday, August 28, 2012

Custom Crosman Breech--Part 7 Finishing the Loading Bolt

Just picking up where I left off.


Spotted the bolt.


Drilled a 3/16" diameter blind hole.


Used a flat bit to finish the bottom.


Spotted again on the end.


Drilled


Tapped #6-32.


Added a setscrew that will retain the bolt handle.


A piece of 3/16" O-1 drill rod was used as the handle.   Not shown:  Hand filed a small flat for the setscrew to bear against.


Now for the plunger.  Faced a piece of 0.500" free-machining steel.


Through drilled with a 3/16" to fit over the handle.


Followed by partially drilling with a 5/16"--leaving a stepped hole.


Another piece of free machining steel was turned down to 5/16" OD on one end.


Drilled into the piece with a 4.2mm bit.


Followed by a M5 x 0.8mm tap.


The piece was parted off and the cut end faced/finished.


Removed the 3/16" bolt handle and found an M5 x 0.8 thread cutting die.  Thread cutting dies are typically round, split dies that have an adjustment for thread cutting depth.  Not to be confused with the hex shaped dies from hardware stores that are normally only suitable for chasing (cleaning up) damaged pre-existing threads.


With the die in a holder, the piece was chucked and the Taig lathe used for alignment.


Here's the loading bolt/handle components.


The M5 threads were Loctited and assembled.  With 680 Loctite, a 5mm thread is never going to come apart.


Spring goes over the handle and bears against the cap.


Sleeve fits over the handle with the spring inside.  The sleeve will need some knurling or grooves (or maybe a complete remake) to add some finger traction.  That can happen later.


Handle fits into the bolt and the setscrew locks it in place.


Test fit.


Forward, fire position.  The spring loaded plunger locks into the forward recess in the cocking slot.


Here's where the grasping grooves would come in handy.   The sleeve is pulled outward against the spring to unlock the bolt.


Then slid back to cock the hammer.  Returning it forward loads the next pellet from the Marauder magazine.


It can also be locked back in the rear position to change mags with no worry of the thin bolt probe extending into the magazine slot and being damaged.


Not covered here:  The taller than factory breech required a longer than factory cocking pin in the hammer.  Just used a piece of 1/8" drill rod and cut it to length.  If I end up needing something more elaborate, I'll cover it.


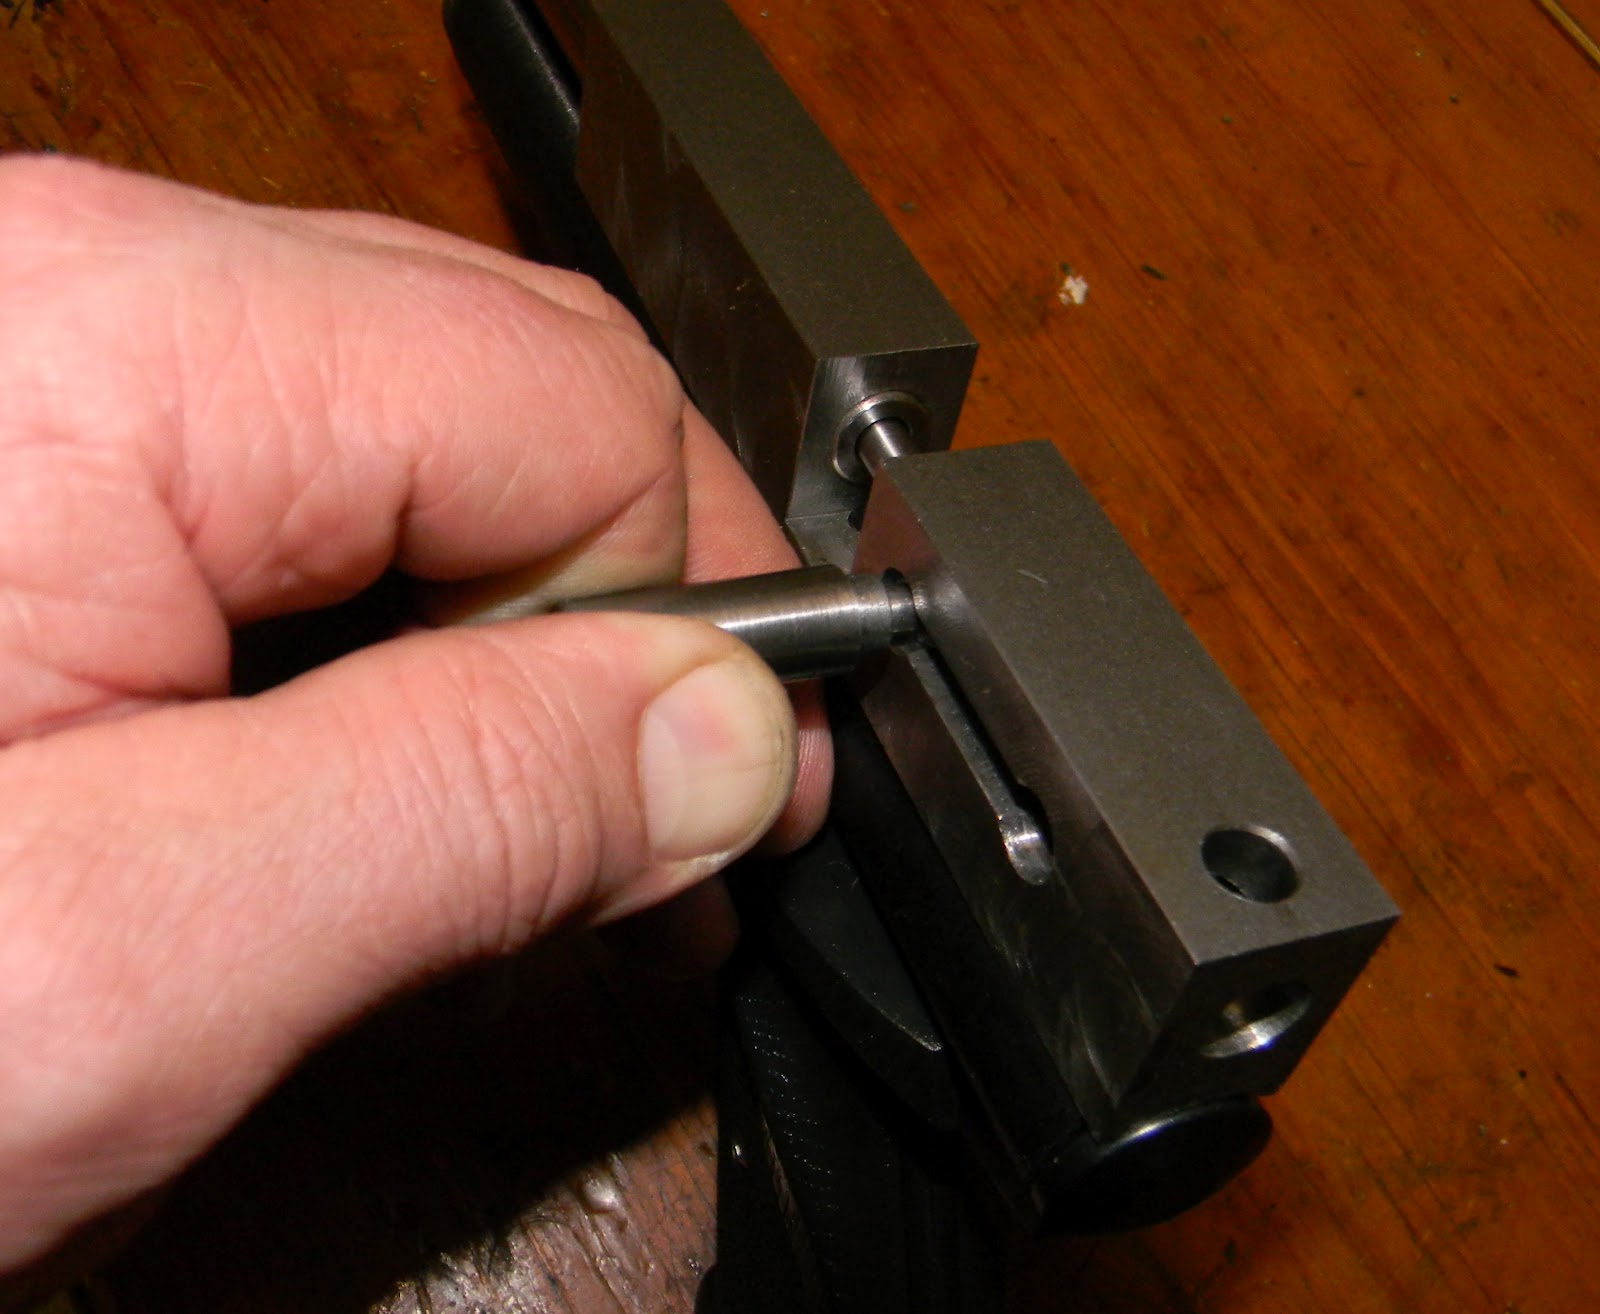
The transfer port also needed rework since the taller breech meant the stock component was far too short.  This is a piece of 0.250" brass.


Cleaned up the ends and through drilled with, I forget exactly, uh, probably something around a 5/32" bit.


With a depth gauge and some
elementary math, I figured out the "relative" length of the brass tube.


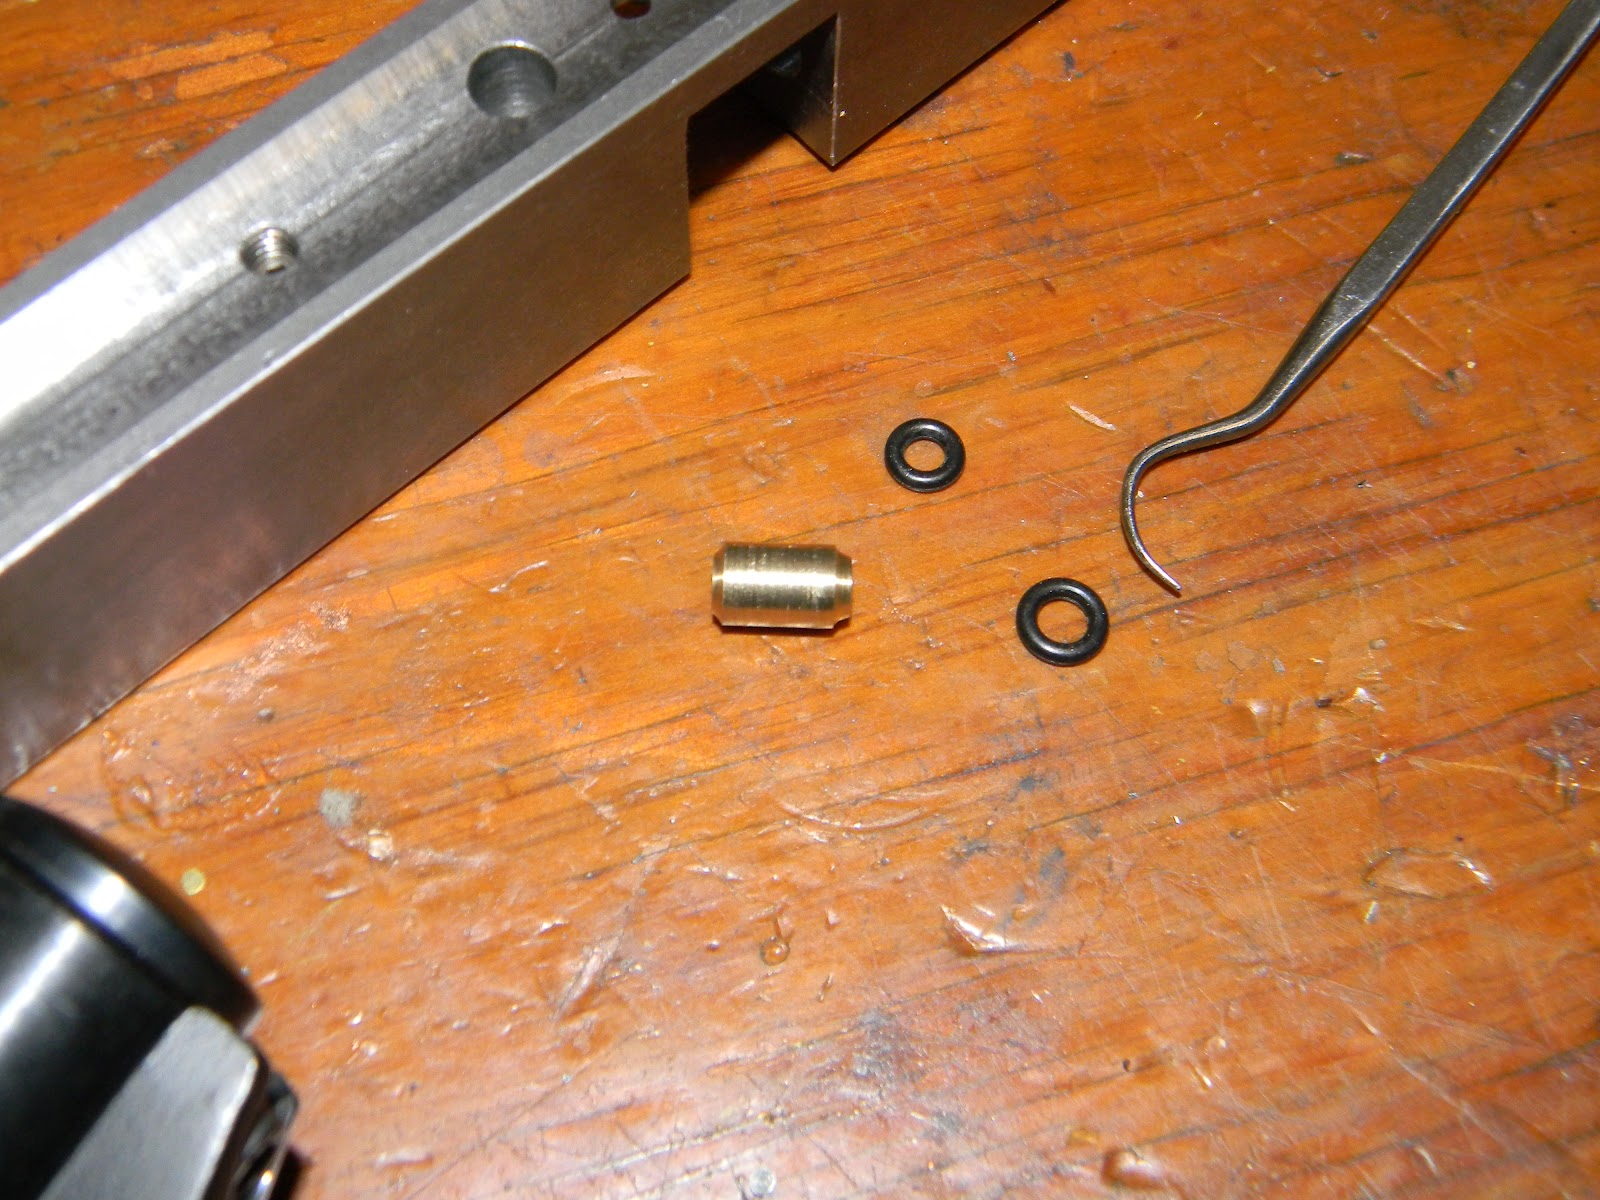
"Relative" because I added an o-ring to each end and there's some compression to factor in.  Since it worked perfectly on the first test assembly with no gas leak, there's strong evidence that this isn't a critical tolerance component.


So, yeah, it actually works.  Still several immediate things need attention--like adding sights or dovetails, fitting the shroud, making it look less "blocky", maybe an actual finish...

Check back in a couple days.

Thursday, August 23, 2012

Custom Crosman Breech--Part 6 Rework and Loading Bolt

The loading bolt is up next.  Cut off a few inches of 0.250" diameter drill rod.


Chucked it in the Taig and cleaned it up.  Started to turn down the end for the loading probe.


This has to carry the pellet from the mag into the breech and seat the pellet into the rifling just in front of the transfer port.  Didn't like it.  Started with another piece of metal.


Playing with the shoulder just past the tip.  Needs to fit the o-ring in the breech end of the barrel.  Didn't get very far, but scrapped this one, too.


Changed cutters and another piece of steel.


Getting there.


This looks promising.


Except it doesn't work.  The barrel and the bolt boles in the breech aren't aligned quite enough to work.  Looks like the 0.250" drill bit wandered while drilling the through hole.  It's just enough that the o-ring in the barrel isn't going to pressure seal to the bolt.   Had to stop and regroup.


Clearly, I need to re-drill the hole for the loading bolt from the muzzle end.   It's difficult to re-drill a hole in a slightly different location as the bit wants to simply follow the old path.  Going to go up a size to 3/8" and hope the larger diameter (and accompanying boost in drill bit rigidity) is the solution.  Also concerned that the extra-long 3/8" bit will wander all over as it passes through the 7/16" bore of the breech.  I'll make a drill bushing that acts as a guide.  Polished up a couple pieces of hobby brass tubing.  I sleeved a few pieces of the tubing to get a 7/16" OD--for the bore of the barrel with a 3/8" ID--to guide the drill bit.


With a 7/16" aircraft bit chucked and slid into the breech for alignment, the breech was blocked, shimmed and clamped to the table.  Removed the drill bit and chucked a spare Crosman barrel.    Moving the x-travel on the carriage slid the barrel into the bore of the breech verifying alignment.


A 3/8" aircraft bit.   Checking the ID of the bushing.


Pressed the bushing into the breech, and chucked the 3/8" bit.


You can see how much breech that 3/8" bit would have to travel unsupported until it hit the bolt hole.


Contact.  Kept it flooded with cutting oil and constantly stopped to clear chips.


Break through.


The only additional re-work on the breech was a slight deepening of the counterbore for the rear hold down screw.


Ran a 3/8" reamer to clean up the hole and found a 3/8" diameter pointed indicator.


It actually worked.


So the loading bolt will be made from a piece of 3/8" drill rod rather than 1/4".


The bolt is three diameters.  The probe seats the pellet.  The middle is just big enough to fit through the Marauder magazine and then passes through the o-ring in the barrel.  The rear of the bolt is 3/8" diameter to match the new hole.  Those scribed lines in the layout fluid are reference points for bolt location during loading and cocking.


I slid a 3/8" piece of drill rod through the bolt hole to use as a reference before cutting the cocking handle slot into the left side of the breech.


Assumed that the hole wasn't quite parallel to the length of the breech.  Figured I'd have to bump the milling vise slightly to cut the slot in line with the hole.  With a pointed wiggler, I centered up on each protruding end of the rod.  Huh?  Don't have to adjust the vise.


Centered and spotted.


Touched off with a 5/16" bit to get the full diameter.


Followed with a modified 5/16" bit to deepen the hole and produce a flat counterbore.  Didn't drill deep enough to reach the bolt hole--yet.  Repeated the 5/16" counterbore near the rear of the breech.


Set the table travel stops and milled a 3/16" wide slot between the two counterbored holes.   Milled the slot through the side into the bolt hole.  The holes at either end of the cocking handle slot will be  locking positions for the bolt.


Another disaster averted.  More soon.