Thursday, September 30, 2010

Gamo PT-80 Disassembly, Part 1

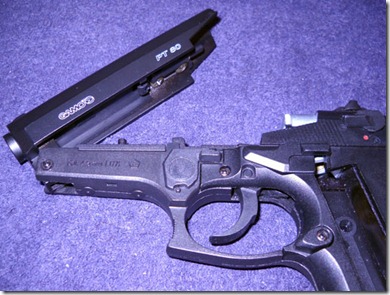
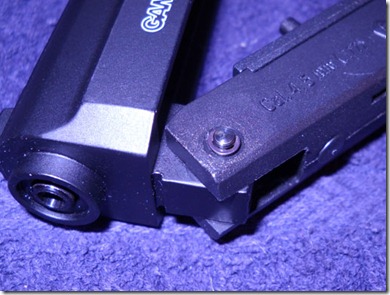
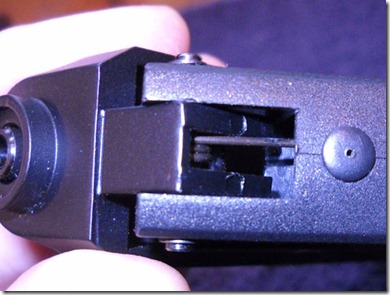
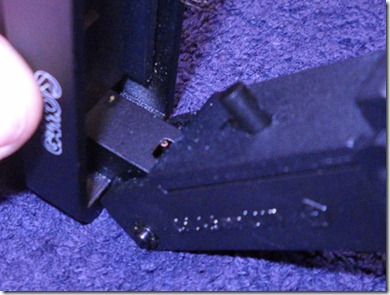
A kind reader of the blog sent me a Gamo PT-80 pistol to mess around with. The CO2 cartridge seal was damaged and it may have other problems. First step was disassembly. The main function of this blog is to provide a record of what I’ve done so that I can successfully reassemble my projects, so this is going to be a bit detailed. The PT-80 is a complex mechanism…

09291001

The PT-80

09291002

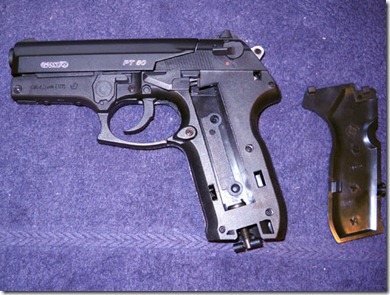
Left grip panel removed.

09291003

The latch forward of the trigger releases the barrel.

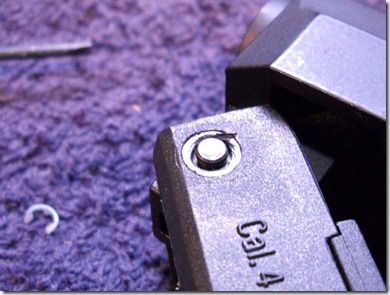
09291004

An e-clip (circlip, spring clip, etc) retains the barrel unit pivot pin.

09291005

Spring end.

09291006

Other spring end.

09291007

e-clip removed.

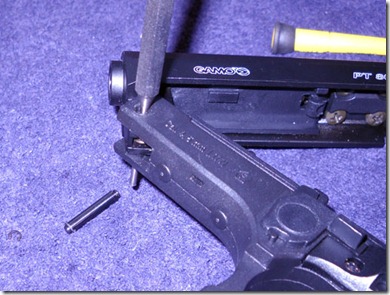
09291008

Pushing out the pivot pin.

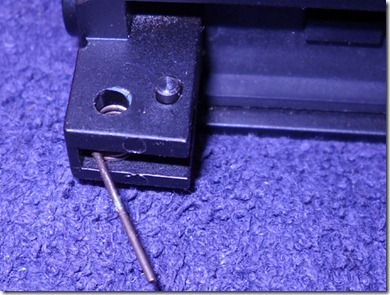
09291009

Spring end

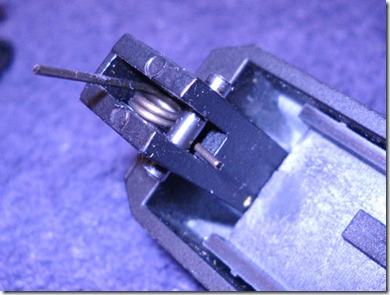
09291010

The spring is held in the barrel assembly by that pin, I’ll leave it as it simplifies things…

09291011

Underside of barrel assembly.

09291012

That panel slides back and forth.

09291013

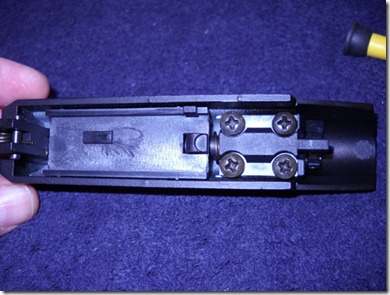
Barrel clamp removed.

09291014

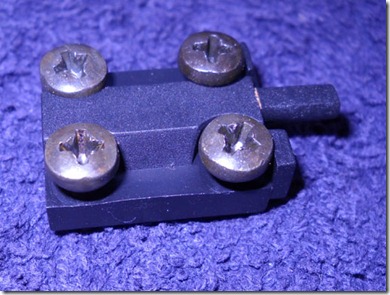
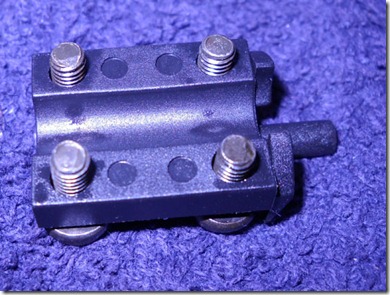
Underside of barrel clamp.

09291015

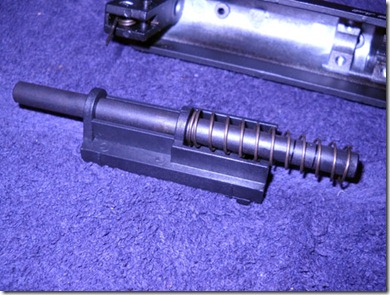
Barrel, spring and sliding panel.

09291016

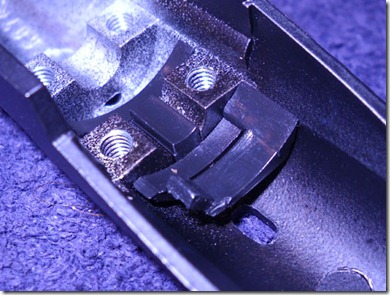
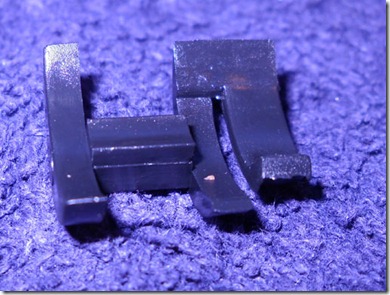
Plastic gizmo. I’m not sure what its function is as yet.

09291017

Looks like it is the detent for the rotary pellet clip?

More to come…

Monday, September 27, 2010

The Rather Unique FB Record Champion

While I have heard of German airgun pistol manufacturer FB Record, I'm mostly familiar with their compact "Jumbo" model pistol--a single shot spring piston gun. The "Champion" model is another gun altogether. The Blue Book info for this pistol is almost completely incorrect. It's listed as a single shot, top lever--similar to a Beeman P1 /Weihrauch 45. In fact, the Champion is actually a twelve shot, magazine fed, spring-piston side lever. Yeah. Got all that? There's almost zero information out there for this model, so maybe this will encourage someone to post a comment or two about it.

I found the gun NIB with the original manual as well as a supplemental brochure from Great Lakes Airguns. The RWS "Squirrel" pellets didn't come with the gun. The hole for the tin was empty. Grips look to be rather plain beech(?).

The Champion pistol comes with a 12-shot clip and a small rod to aid in clearing a jam.

The gun is marked "West Germany" but I think they just didn't change the stamp after the Berlin wall came down in 1989. Great Lakes Airguns had ads in U.S. Airgun Magazine for the FB Record Jumbo throughout most of 1997--so I think the Champion was made a bit earlier than the Blue Book's date of 2001. I'm probably wrong, but I'll guess that these were made around 1998--1999.

The gun is made up mainly of castings. The manual lists the barrel as being 193mm--about 7.6 inches long--and notes that it is choked. They claim to have tested the gun at 10 meters. No test target came with the gun. An 11mm dovetail runs the length of the top and permits adding a red dot or pistol scope.

The left side has the slim side lever running full length.

Ready? Here's the weird part: the 12-shot magazine. There's a Euro heel-type mag release.

Odd looking thing.

The mag well is not funneled like a .45 auto race gun. The mags are very finicky about how they're loaded.

The mag only accepts diablo shaped .177 cal pellets. The manual specifically notes that the mag must be fully loaded with 12 pellets to ensure reliability. I've not found this to be the case. Down loading with 2 or 5--or whatever--hasn't caused a single feeding issue. Manual also mentions using "RWS Master" or "H&N match"-type pellets of "top quality". The mags are a huge pain to load. I've found that the easiest way is to hold the mag horizontally, pull the mag slider to the rear, then roll the mag to about a 45 degree angle with the loading port away from me so the pellet heads are angled down. Drop a pellet into the center loading post and allow the slider to advance it in the mag body. Pull the slider back and repeat. It's a slow process at first as the pellets sometimes flip around in the port then have to be fished out. I'm pretty good at it now, but there's a learning curve that's rather frustrating. There is no possible way to fire a pellet without first loading it into the magazine.

Another view. Ever seen a side loading port on a magazine before?

There's the follower spring.

Right side view. The "feed lips"--for lack of a better term--just barely holds the uppermost pellet in place. Because of that, it's really hard to attempt to load the mag from the top like a normal handgun magazine.

There's a spring-loaded catch on the left side that retains the cocking lever.

Press the latch down and swing out the lever.


It pulls out and catches at approximately ninety degrees.


The cocking lever and linkage are steel.

Some moly or similar grease on the linkage would probably help.

Just more views. The gun cocks with what feels like about 10 pounds of effort. It's a really smooth and light effort. The gun must be cocked--with the lever left in the open position--before inserting a loaded mag. The cocking lever is connected to a bolt loading mechanism on the return stroke. Each time the lever is closed, it automatically loads another pellet into the breech.

Rear sight is simple and well designed. It adjusts for windage and elevation.

Top strap is serrated to eliminate glare.

I wondered how close the Champion was in size to a P1. Pretty darn close.

Shooting the Champion is really nice. The 2-stage trigger is comfortably wide. I don't see any adjustment screws, but it's breaking consistently at just under two pounds. The manual says "hair trigger"--it's not quite that, but it's very, very easy to hang at the end of the first stage until the sights are perfectly aligned with the bull then release the shot. There's zero creep in either stage and I find the gun to be more comfortable to shoot off hand than a P1. The trigger isn't as good as the P1, but there's less spring torque, less twist, in the gun as it fires. A definite pulse and some minimal movement, but it's not as sharp as the Weihrauch. No doubt this is due to the lower power the gun produces.

Cycle the cocking lever, aim, fire. Cycle the lever, aim, fire...It's addictive. I think a good shooter could shoot 1" or even slightly smaller 5-shot off hand groups at 10 meters with this gun. Even in my shaky, unskilled hands, the accuracy is apparent.

Ten shots across the chronograph with RWS Hobby pellets gave an average of 362.2 fps. The extreme spread was 23.5 fps.

I'd love a set of the stippled walnut grips shown on the last page of the manual. There was a note inside about them being of "wallnut-tree" and made to order. I'll keep looking but I'm not exactly holding my breath.

Thursday, September 23, 2010

Finishing up the Marksman Mod. 70

Just a few more things to complete on the Marksman.

Since the barrel/breech were off the compression tube, it was a fine time to do a quick clean with the JB Non-Embedding paste. It was absolutely filthy.

Had some concerns about the sloppy fit between the OD of the mainspring and the ID of the piston body. The piston had a liner that was approximately 0.0115" thick. I sourced a piece of sheet steel that was 0.0260". Some measurement and guestimation on my part hoped that this would tighten up the fit, better support the spring, and help prevent spring buzz/vibration.

Pulled out the old liner with a small pair of needle nosed pliers.

The inside end is folded inward. End of the mainspring presses against it--holding it in place.

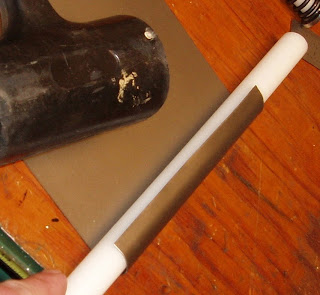
Found a piece of 1" delrin rod to use as a form.

Rolled the sheet metal around the rod. A dead blow hammer added some persuasion here and there.

Wonder of wonders, it somehow actually formed a straight tube.

Cut with tin snips.

Had to do some test fitting and resizing before finally getting it right.

Cut and folded the piston end. After getting this end flat, I smoothed out the sharp ends and ground enough clearance for the piston stem.

Notched out the key way clearance for the scope rail.

Eyeballed the insertion length...

and cut to size with a Dremel tool and a cut-off wheel. I cleaned up the end, dressed it flat and deburred.

Installed in the piston and test fit with the spring and guide.

Turned my attention to the roughly finished cocking lever slot.

Deburred and cleaned up the slot with various diamond hones.

Spent a significant amount of time on this slot. A good finish here will really reduce the cocking effort and allow for a smooth cocking gun without a ton of break in time.

Sanded off the machining marks on the cocking shoe, then took it to the buffing wheel.

Before installing the piston, the compression tube was thoroughly cleaned then burnished with moly.

Bonus. The compression tube had been nicely cross-hatched by Weihrauch during manufacturing.

Piston installed and the polished shoe.

Moly for the cocking shoe/slot interface.

Cleaned and moly'd the pivot shim washers.

I'll wipe off the excess moly later.

Mainspring got a thin coat of copper anti-seize/Beeman Laser lube.

I'm glossing over the reassembly as it's really just a reversal of the initial blog post here.

Trigger unit slid home.

Trigger block safety reinstalled. Do not install the snap ring with the holes facing rearward. It will block the sliding safety tab on the trigger unit and the trigger will not fire.

Finished fitting the screw cups and blued them. The screw holes are different depths on each side of the gun so it took some time to get the cups flush. Wanted the screw heads flush with the ends of the cups, too. It all turned out OK. I much prefer the allen heads over screwdriver slotted bolts any day. Maybe Torx next time around?

Installed the trigger guard and snugged all the bolts down. Put a sizable quantity of RWS Hobby pellets through the gun then ran it over the chronograph again. Around 935 fps--just a touch faster than the velocity numbers in the Blue Book. So, the tune lost about 20--25 fps compared to the box stock rifle, but some of that loss is no doubt due to some dieseling. It shoots with a solid thunk with no vibration or spring noise. Fires like tuned R1.

Played with the sear adjustment I added to the trigger unit. Screwing the bolt in decreases the engagement. It's possible to dial out any and all of the second stage travel. Of course, it's also possible to set the sear overlap to be so minimal that the gun will fire as the barrel is closed--I stayed away from that. I played with the adjustment enough to satisfy my curiosity as to how fine this trigger can be before backing it out to the original factory setting. Tiny amounts of screw travel have big effects on the overlap (and safety). Give serious consideration and use great care if you touch that screw. Since I didn't want to send Frank a super-fine hair trigger and a potential accident waiting to happen, the trigger is back to the stock sear engagement--save for a better finish on the components and some lubrication on the moving parts. The stock trigger set-up is actually quite good--almost as nice a full-on Rekord.

Frank, thank you very much for letting me re-connect with the first real air rifle I ever shot. I had a great time working on this one. You should receive it later today.

I'll be sharing a gun that Frank sent me soon.