Thursday, June 30, 2011

IZh-60 Rifle Disassembly and Comparison to IZh-61, Part 1

06291101


Derrick sent me this older steel breech version of the IZh-60. This post should be called “IZh-60 Rifle (Early Steel Breech) Disassembly and Comparison to the IZh-61 Rifle (Later Plastic Breech)”, but that’s a rather long title.


06291102


The rifle seems heavier (note to self, weigh both when I have it reassembled!) due to the steel parts.


06291103


It’s a single shot, rather than a 5 shot repeater like the IZh-61.


06291104


Just a massive breech block.


06291105


The one Derrick sent is missing the front cap, giving the plastic stock a ramjet look. This will need to be plugged.


06291106


A side by side comparison of the two. (Note that this IZh-61 is an earlier model than the latest IZh-61, but later than the steel breech versions.)


06291107


Barrel bands. The IZh-60 is missing iron sights.


06291108


As you can see here the end of the barrel is different.


06291109


The IZh-61 is threaded for the front sight. Not sure what the IZh-60 sight should look like.


06291110


Both have plastic cocking lever handles, because Derrick stole the steel one from the 60 for his 61. I can’t say as I blame him one bit as I don’t really care either way.


06291111


The stocks are slightly different in length (more on that later).


06291112


Compare and contrast.


06291113


There’s a subtle color variation to the stocks as well, the 60’s is blacker.


06291114


The stock screw is held by a ring to prevent it falling out. All the 60’s screws are machine screws where the 61’s are more like wood screws to better hold in the plastic.


06291115


Barrel band.


06291116


It’s pretty complex!


06291117


The trigger unit is definitely different (more on that later).


06291118


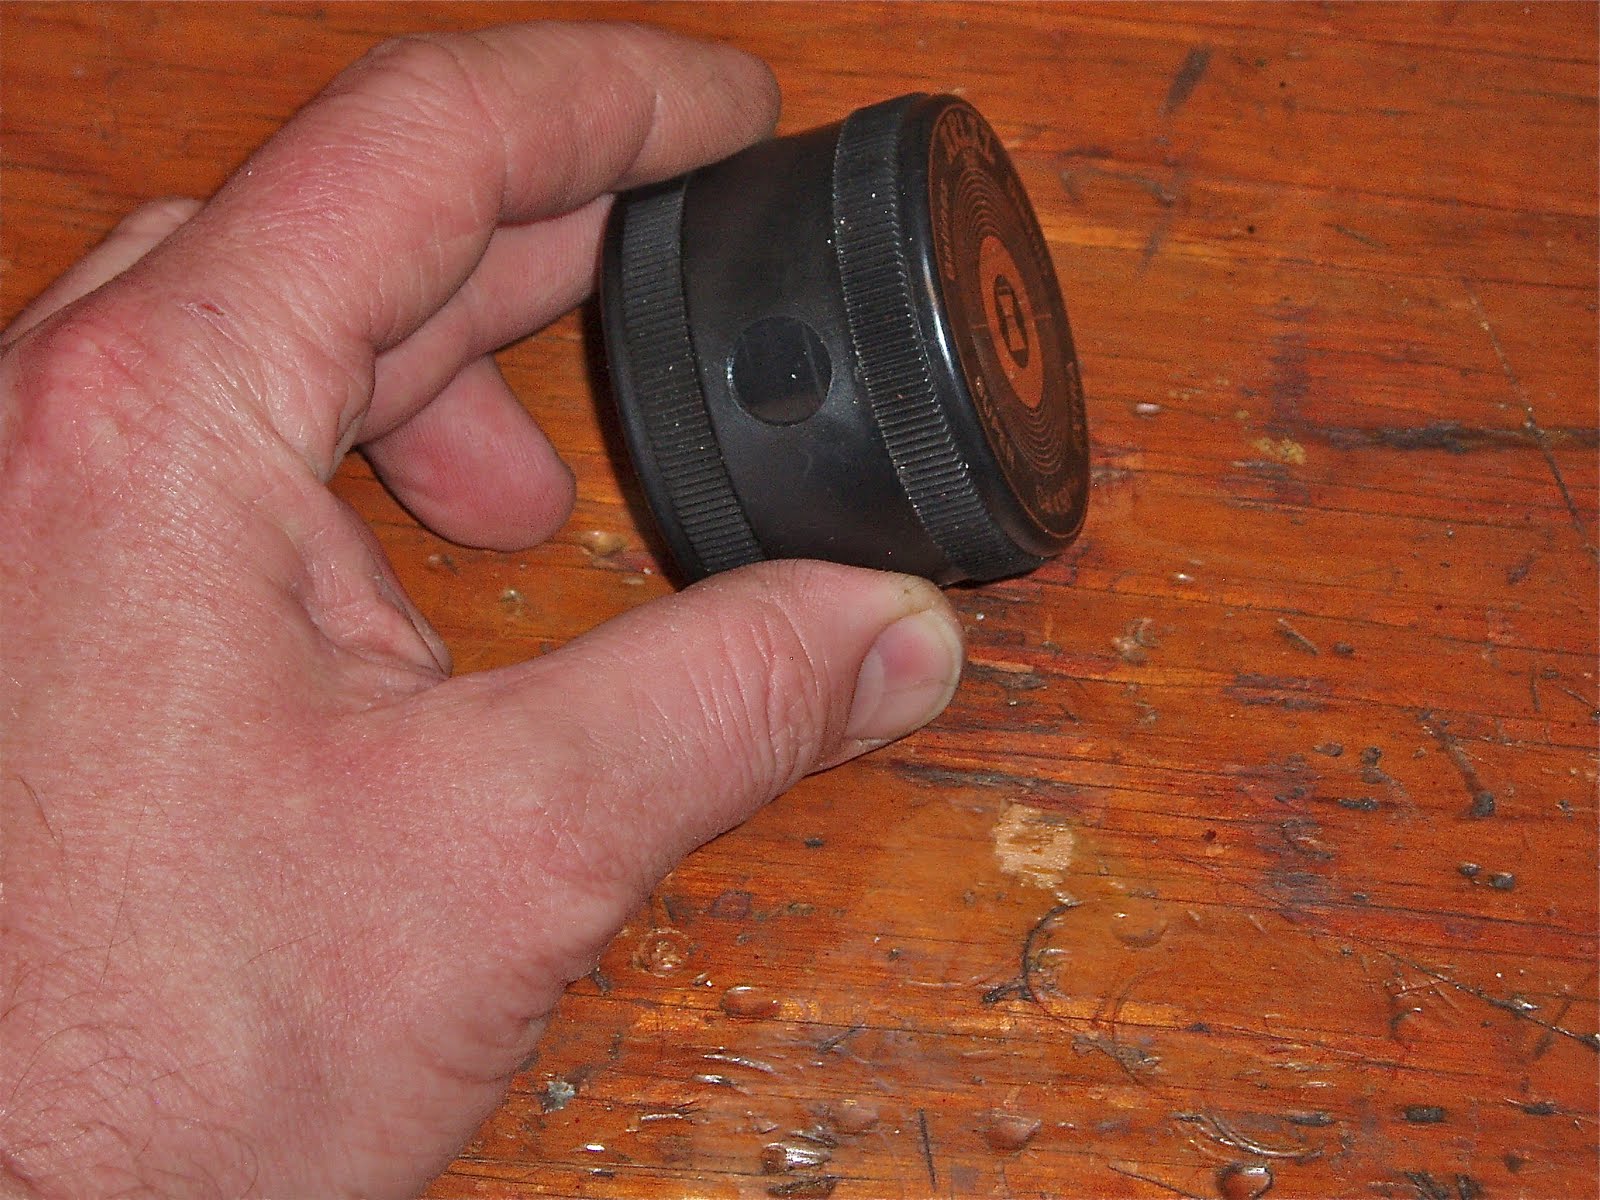
Disassembly is pretty much the same, you have to twist the end cap to remove it.


06291119


The spring is broken…again, more on that later as well.

Monday, June 27, 2011

The Champ in Pellet "Tins"

Haven't found any time since adding the accessory rail to the Haenel 303 last week. Figured I'd check in with a quick post.

Been buying pellets for a few decades now and was almost surprised one day to find that the pile has gotten to what can almost be considered a "collection". Seems I buy them faster than I can shoot them.

About four shelves like this. All the major four calibers: .177, .20 .22 and .25 cal. Probably have well over 70k pellets from various companies. I like the variety.

Some of the older, less encountered.

I've been buying up old odds and ends for over thirty years. I can remember when there was a time when "vintage" pellets were just "old" pellets. And, yikes, this doesn't even scratch the surface, it's just what I carried over to the bench.

So, out of all of these pellets, what's unique or interesting? It's just lead after all.

I narrowed it down to one--Arlaz .177 cal wadcutters from Spain. Out of production, long gone from circulation, but what great packaging--so simple and well designed, it's genius.

The top and bottom halves slide over each other. Hold the bottom stationary and spin the top half. Arlaz even greased the two halves so it's easy to turn.

Each piece has a large hole in the side.

Rotate to align the holes...

and shake some pellets out.

Twist the holes out of alignment and it's closed. No press fit lids that pop open unexpectedly in the pocket or gun case. Well done, Arlaz.

More soon.

Sunday, June 19, 2011

An Accesory Rail for the Haenel 303-Super Part 2

Almost done. The last test fit provided the mounting screw locations for the rail. Scrounged up a couple #8(?) stainless steel wood screws then center punched the rail.

A scrap piece of aluminum channel was used as a backer. This keeps the hole from burring on the bottom of the drilled piece when the bit punches through.

Like so.


No burs. Can see the radii filed into the ends of the rail.

My countersinks were too wide to fit into the top of the channel, so a drill bit was re-pointed to match the taper of the screw heads.


Need to drill the stock.

A transfer punch to mark pilot hole locations.

Just left the rail in place and drilled through.

Screwed down the rear of the rail then drilled the front pilot hole. Took absolutely no chance of the rail walking in the slot.


The visible face of the rail has a few stray scratch marks from the drill press table.

Some 500 grit emery paper wet with WD40 gave a nice satin finish. Cleaned up that half-round forward edge as well.

Before running the screws home a final time, I coated the threads with beeswax.


The wax reduces the torque needed to seat the screws, helps seal the wood and acts as a thread lock.


A few rail accessories. An Anschutz palm rest, an old Uncle Mike's (?) anatomic hand stop, and a basic hand stop/sling swivel.

Too much. Massive overkill for such an otherwise light rifle. Save this for the LG-380. Somebody should clean off his workbench... Wait--that IS clean.

The basic hand stop is about right for this gun. Gives a sling attachment point and a consistent and repeatable hand position.

The rail allows the hand stop to be positioned fore and aft to fit the shooter's preferred location for the offhand.

Probably stick with this one. It's at least a couple decades old. Think it's an Uncle Mike's.

Grab the forend and slide your hand forward until the web of your hand between the thumb and forefinger is against the rear of the hand stop. Doesn't feel quite right? Move the hand stop fore/aft and lock it back down until the balance point suits.

Gotta look around for the next project. Surely, there's something around here that needs some attention.