Sunday, July 31, 2011
TF79 Upgrades --Part 1 Fitting an Accessory Rail
I had some accessory rail left over from the Haenel 303-Super project.
Yeah, pretty much the same job.
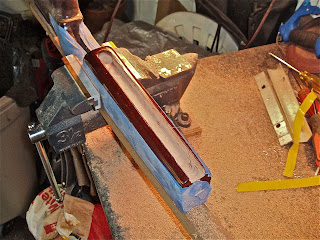
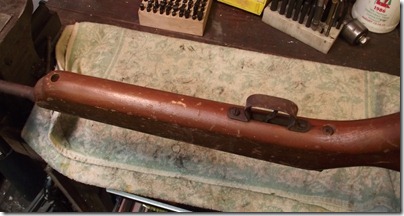
A few issues immediately arose. Where the Haenel forend was relatively square and blocky, the TF79 stock tapers on the bottom as well as the sides. Didn't have a way to fixture the stock to cut the slot.
Traced the outline of the rail then added some vinyl tape to act as guides.
Gonna freehand the slot with a trim router and a nice sharp bit.
Well, there's no turning back now. I consoled myself by noting that Archer Airguns sells reasonably priced replacement stocks for this rifle.
Multiple passes and slowly adjusting the depth of the cut
Almost there.
A few really small tear outs along the edge. The stock will be stripped and refinished, so those shouldn't be a huge problem.
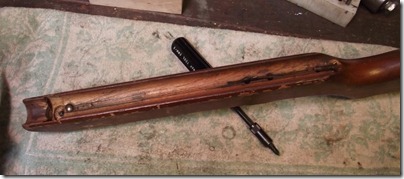
Finished the slot with various wood chisels and scrapers. Was a relatively difficult slot to cut, as it had to be parallel, centered, the correct depth...
Test fit. Decided to fix the tear outs now while there was still sawdust on the bench for filler.
Scrounged up some shoe polish and clear epoxy.
The sides and bottom of the rail got a coat of shoe polish. The epoxy won't stick to the polish--it acts as a release agent.
Waxed rail installed.
Mixed the epoxy and added sawdust from the stock.
Pushed the epoxy into any and all gaps along the sides of the rail. Overfilling is preferred.
Pressed additional sawdust into the epoxy.
Gave it a few hours to dry then scraped off the excess.
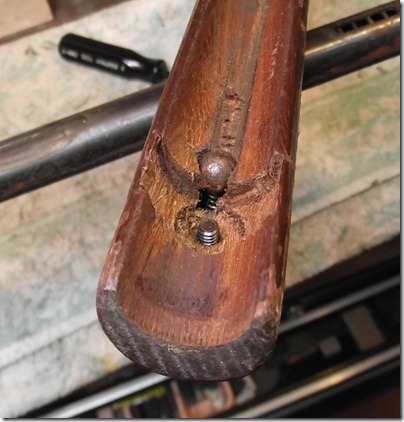
Still need to fit the ends of the rail to the forend. A half-round at the rear and an angled cut up front would best match the stock lines.
Hogged out most of the curve on the drill press with a milling cutter. Just used it like a drill bit. The benefit was that it doesn't need center contact like a drill bit to feed into the work. The edge cuts efficiently even with overhang. I repeatedly moved the work int he vise, moved the vise, moved the table until I had a passable curve.
This was close enough to finish on a small sanding drum (not shown).
Pretty OK match to the curve for the mounting bolt.
It's not perfect, but it'll look just fine once the stock is finished. Sanded the epoxy filled edges to blend them into the stock.
The front of the rail just needs cut to match the angle of the forend. Marked it with a precision Sharpie. A hacksaw did the trick.
A bit of filing, but it'll be easier to sand the front as one piece later.
Lot more work to be done on this one. I'll keep the replacement stock from Archer bookmarked.
Check back soon.
Thursday, July 28, 2011
Crosman V-350 BB Gun Disassembly, Part 2
On I go
I had to pump up the contrast to show the stamping on the barrel.
V-350 SLIDE ACTION
I probably should mention that you cock the rifle by sliding the barrel into the action...but more about that if/when I get it working...
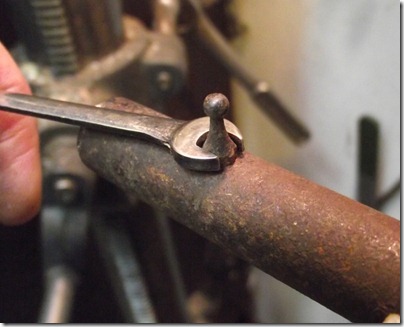
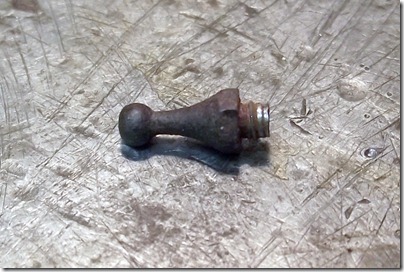
Removing the front sight.
The threads are minimal, as the rust gives way.
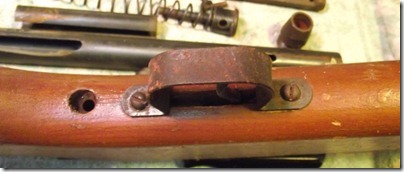
The trigger guard is removed with two screws.
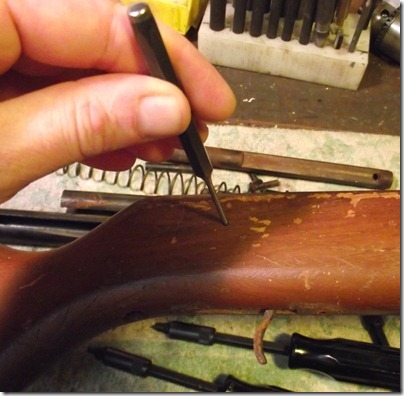
Punching out the trigger pin.
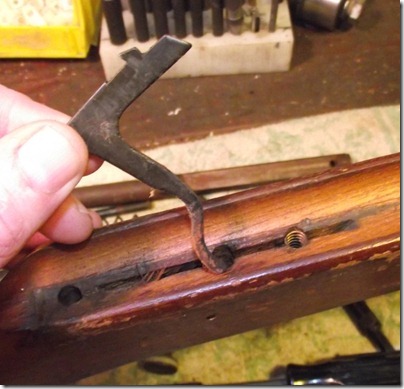
The trigger/sear is pulled out.
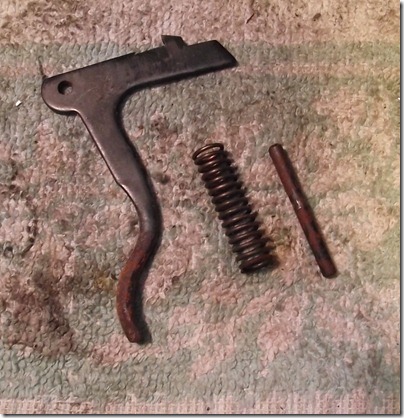
Trigger/sear, pin and spring.
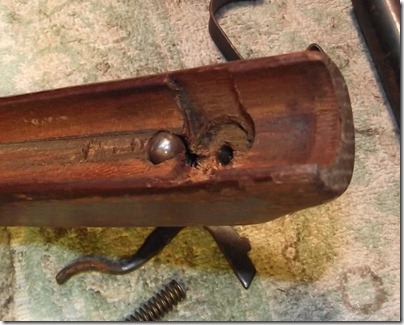
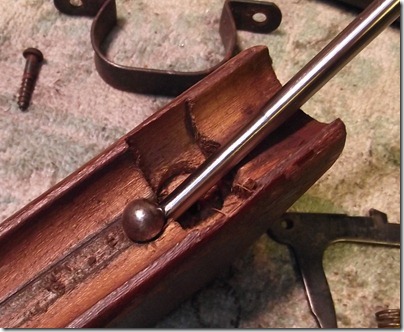
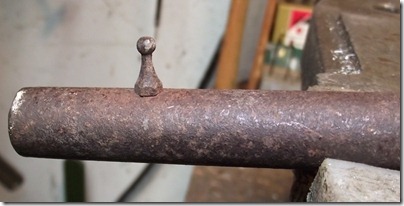
The ball…it's the "barrel lock" so it presumably locks the barrel.
I carefully levered it out.
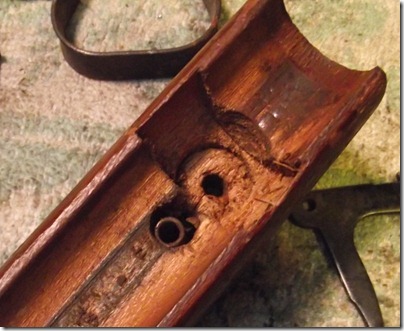
There’s a spring underneath.
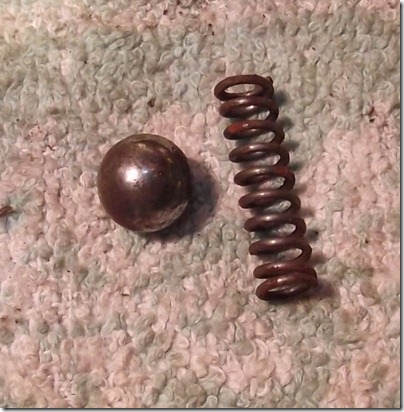
The ball and spring.
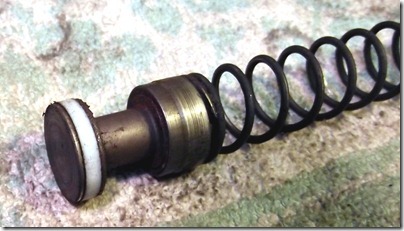
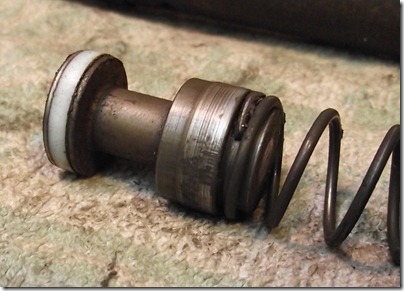
Removing the piston seal. It stretched and came off. I’m not sure how to replicate it. I suppose I could try and reuse it but it is a bit scarred.
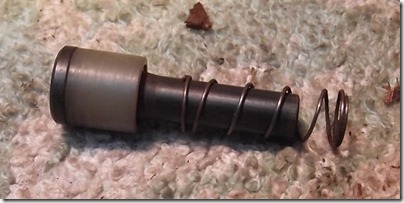
The hammer and piston assembly. The manual shows it as two pieces but as far as I can tell it’s one piece.
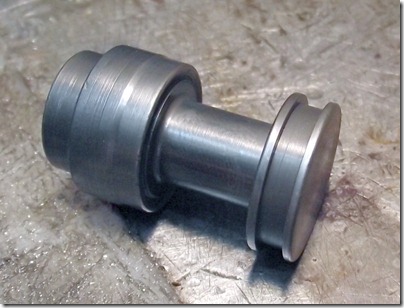
The "pop" valve cleaned up.
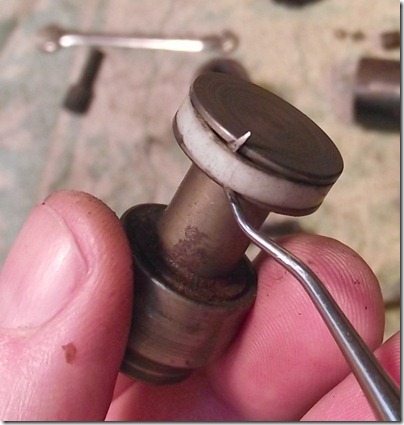
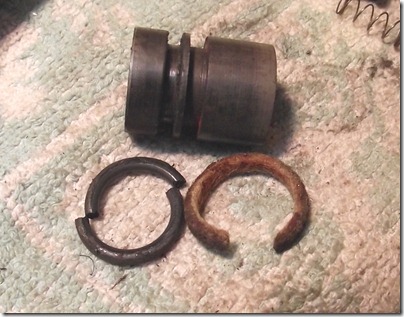
I removed the seal. It seems to be nylon.
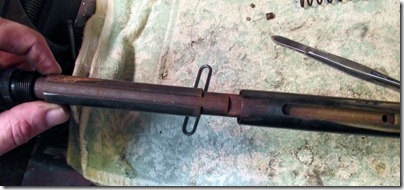
The felt and o-ring are both toast.
So now I have to clean everything and try to reassemble it. I don’t know if the seals can be re-used. If I have to fit a new piston seal I may try an o-ring or make a copy of the teflon seal from polyurethane. Or I may try teflon. I will still need to examine the piston thoroughly to see if it could possibly be two parts.
Wednesday, July 27, 2011
Crosman V-350 BB Gun Disassembly, Part 1
I picked up this rusty Crosman V-350 BB gun a while back. It functions but is in rough shape.
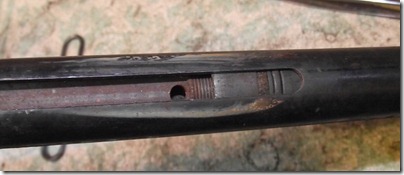
The barrel is extremely rusty.
Two screws fore and aft remove the stock from the action.
Hmmm, a ball bearing. Crosman doesn’t have an exploded diagram or manual on their site but there are instructions here in the Crosman Service manual. (Very handy PDF!)
Another shot of the ball bearing and spring.
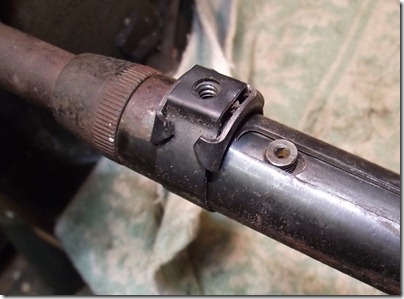
A band clamp is used as the front stock mount.
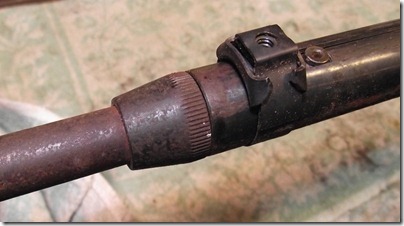
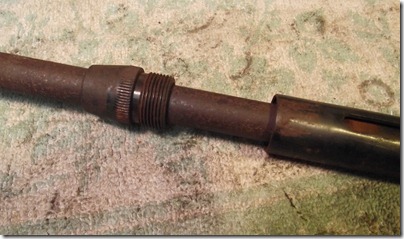
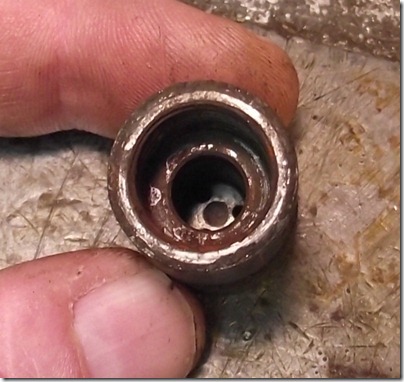
Knurled nut retains the barrel. It is called the "Tube Bearing" as the barrel slides into it.
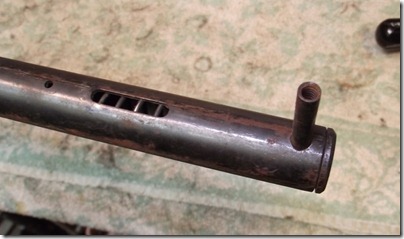
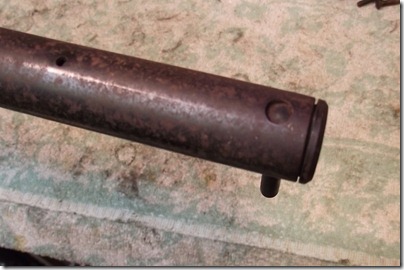
A post (locating stud) for the rear stock screw also retains the spring. This is a spring piston gun, although a somewhat unusual one.
Another shot.
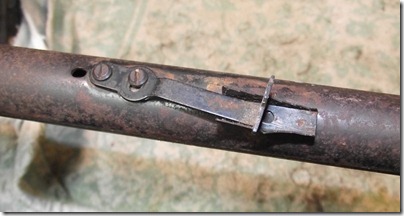
I think the rear sight is misaligned.Again you can see the rust.
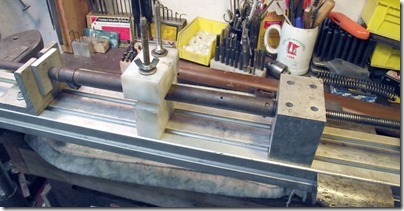
Put it in the spring compressor.
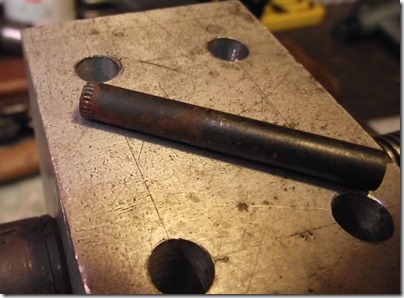
Knocked the pin out.
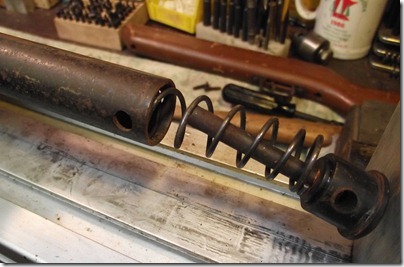
Spring and cap. (Tube Plug and Stop Assembly).
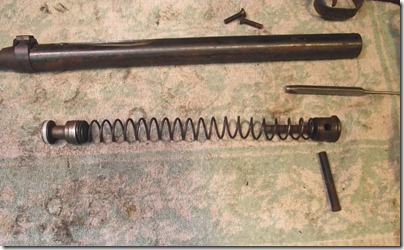
The piston assembly, spring and cap.
Teflon seal.
It appears to be one part, unlike the drawing in the service manual.
Unscrewed the barrel retaining nut/bearing.
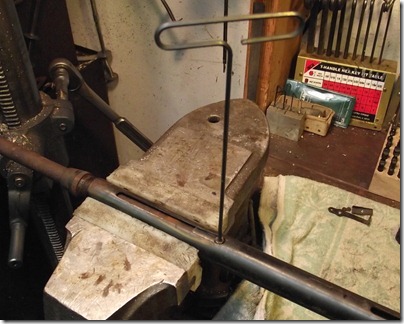
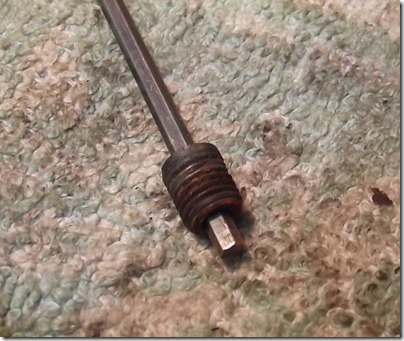
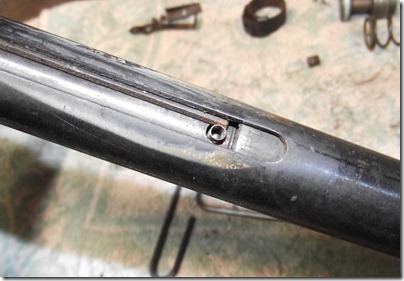
Unscrewing the hollow screw that guides the barrel.
The hollow guide screw.
A small ball bearing and spring are revealed in another hole when the barrel is rotated 90 degrees.
A spacer sleeve around the barrel.
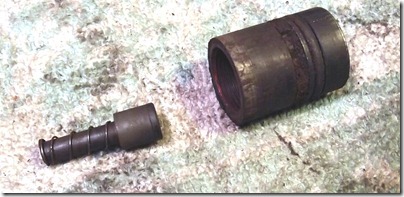
The seal for the barrel. "Barrel cap".
Barrel sleeve/bearing and spacer and barrel.
The seal assembly has a pop valve.I’m nut sure why it’s so complex and to be frank I don’t think I will understand the entire mechanism until I have cleaned it all up and reassembled it.
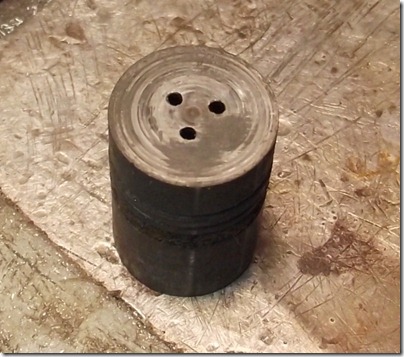
The barrel cap is a somewhat complex part.
Inside. More to come…