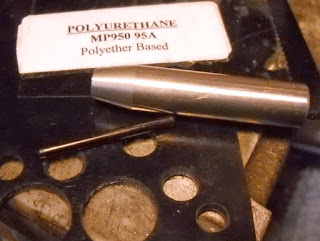
I used the tool I made for punching the exhaust valve seal of the Smith and Wesson 79G to punch a replacement seal.
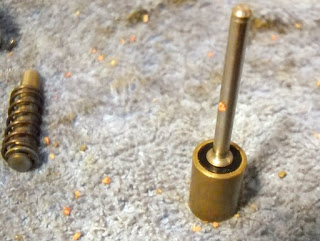
The valve reassembled.

The original o-ring for the valve assembly was squished flat, I figured a Viton 112 o-ring would work.

To screw the valve body halves together inside the tube I needed a tool. Rather than make one from solid stock I decided to mill a cheap socket to suit.

Fits perfectly and it allows me to use a socket extension to reach all the way down the tube.
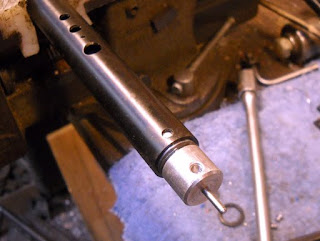
Sliding the valve in the back end.

Lined up.

Affixing the valve screw.
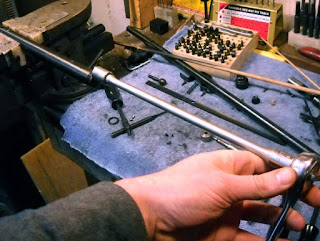
A long extension screwed it down. Unfortunately I heard the exhaust valve rattling around. This meant that either the valve body wasn't screwed down tight enough or that there was a part missing from the valve assembly.

The thickness of the replacement o-ring looked right on the money. So I figured that it was something else.

I decided to add a washer between the spring and the c-clip of the piercing pin.
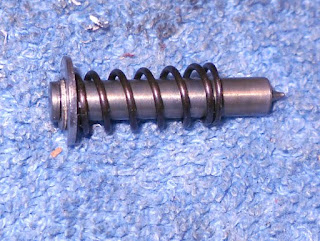
A little ugly but it will also prevent the spring from threading itself onto the c-clip. There's a post on the Vintage forum showing the internals of the Taiyo Juki Bobcat and there is no washer but the spring looks slightly different. Who knows, maybe it would work with the valve rattling around? But why chance it. With the washer in place the exhaust valve no longer rattles around and is lightly held against the valve seat.
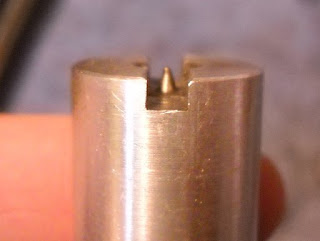
That seems correct in terms of the piercing pin tip stickout. Not that I really have any idea at all.
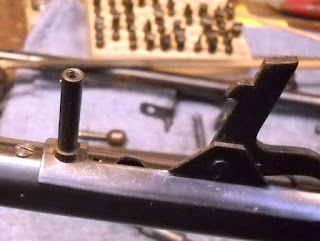
I screwed the stock post in by hand, no pliers. When I tighten the stock screw it will also tighten the post.
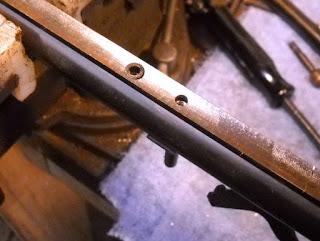
The spacer and transfer port seal installed.
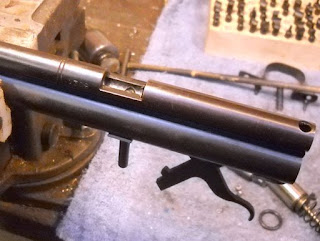
Then the barrel.
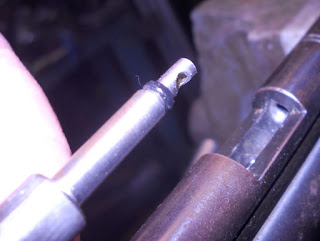
It is important (at least for me) to remember to get the flow through bolt lined up correctly. It should face to the right with the bolt in the unlocked position.

Like so.

And the bolt is back in. I double checked the bolt alignment just to make sure.
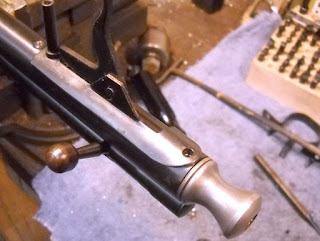
The hammer assembly back in.

I slid the barrel band back on. It fits in a recess in the stock, so you have to slide it to align when the stock goes back on.
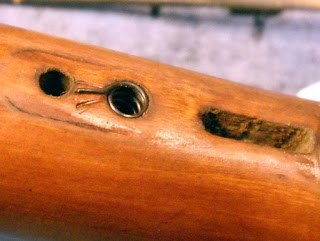
The trigger spring went back in. That there were three dimples in the wood from the spring end tells me that it was reassembled twice after being initially assembled.
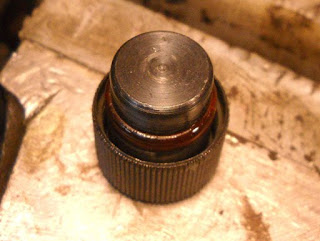
Finally the CO2 cap. Note that it has no piercing pin on the end, unlike the Crosman 160, 400 or other 2 CO2 cartridge rifles. You load a 2nd CO2 cartridge in the Junior (and the Bobcat, I think)but it acts as a spare and a spacer, nothing more. I reused the old o-ring. It seemed to be in good shape and of a good material.
The rifle is holding gas 4 days later which is excellent. I have yet to shoot over the chronograph but did spend some time plinking with it. I think it's at least as good if not better than the Crosman 187 rifle I have, partly because the stock is larger.
1 comments:
nice review.
you still have the gun??
regards ted
Post a Comment