
I turned up a piloted punch from mild steel.
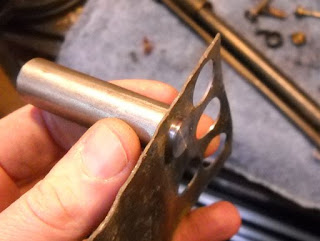
It has a 1/2" pilot and a 5/8" main section. That way I can punch the hole in the lead seal first, then use this to punch a concentric seal. Much easier than the old way I did it.
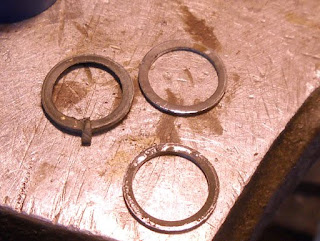
New lead seals and the old one.
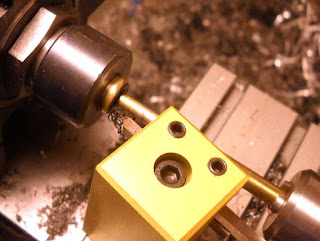
To remove the old rubber from the exhaust valve I decided that a boring bar would be much easier than my old method of digging it out with an Xacto knife.

Much easier...see the tiny bit.
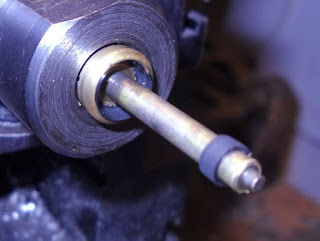
Once I bored a ring out it was easy to remove the rest of the rubber.

Now to de-crimpify it (technical term).

I used the same tooling I'd made last time, but made one end a gentler taper.
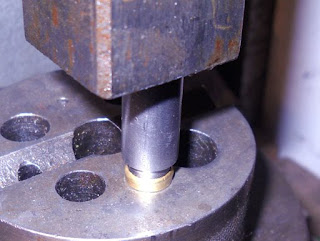
I carefully expanded the sides out.
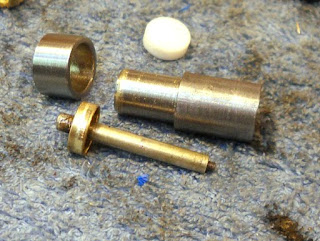
Then pushed it through that ring.

All ready to put the rubber seal in.

I put a seal in and then turned it flat on the lathe.
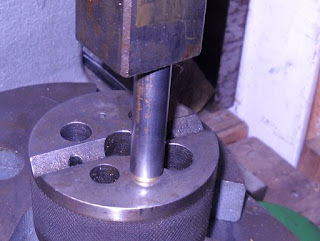
And recrimped, but very lightly so as not to distort the rubber.
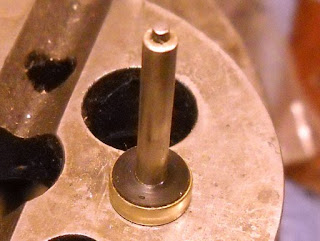
Looks good.
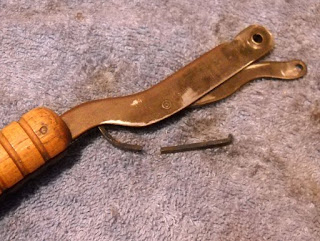
I was a bit dismayed to discover that the link spring was broken.
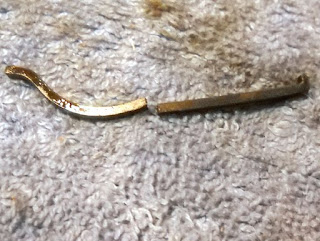
I'll deal with it later, the pistol will work without it. And I'd like to see if the resealing works.
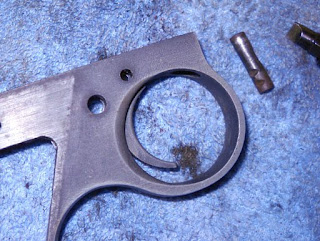
I found that you have to insert the trigger and then manouver it back and up to fit the safety pin over the trigger, then push it forward...

In insert the trigger pin.
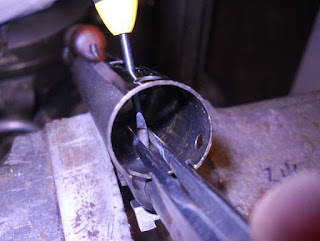
The last bit was getting the bolt guide screw back in after assembling the valve (exactly the same as any of the Benjamin rifles). I had to hold it in position with some tweezers and screw it back into the bolt.
The rest of the pistol goes together easily in reverse of disassembly. It held air overnight and at 10 pumps gives me about 320 fps w/14.3 gr. Crosman pellets. Interestingly the manual I have says it can be pumped 12 times...which gave about 380 fps. I'm going to move on to another gun but I'll definitely be making a replacement spring when I get up the nerve.
0 comments:
Post a Comment