Monday, June 28, 2010
Spinning the Wheels on the SA6
The second coat of epoxy paint orange peeled pretty badly. My fault. I second-coated about 10 hours after the first coat. Had I followed the directions on the can, I should have waited only about half an hour. Or maybe it was the 90% relative humidity. Either way, I'm stripping paint and waiting for the cold front to arrive. Today is almost 20 degrees cooler already than yesterday. I'm slowly getting there.
If you've not checked out the blog links, my uncle recently started writing a rather unique blog about knives. He's pretty articulate and thoughtful in his writing style. Maybe check it out.
I'll get back to the SA6 as soon as I have some dry paint that doesn't look cratered.
Friday, June 25, 2010
Still More Crosman SA6? Refinish and Refurb
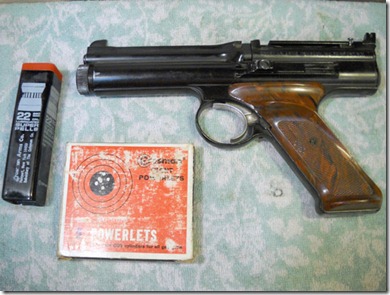
Here's the one left behind.
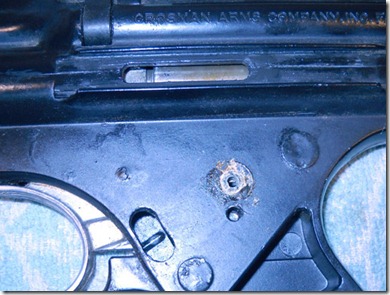
Double click on any of the pics to blow them up. You'll find that the finish is pretty trashed when you get up close and personal. Looks like someone repainted parts of it with a brush--except on the cylinder--where the paint is just gone.
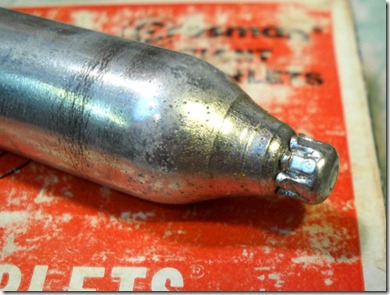
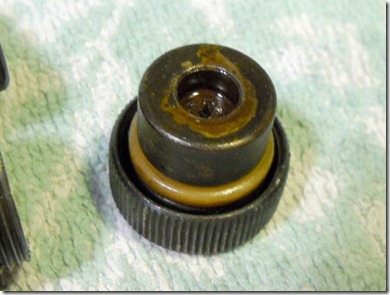
The valve seal is different between our two guns. This one seals around the neck of the 12g CO2 cartridge rather than on the front of the cartridge as is the norm these days. I replaced the old trashed o-ring in mine with a #009 o-ring in under a minute with a dental pick. I like the ease of access to the o-ring on the gun.
Attempting to decipher the various EVP's from Crosman, I think this valve is a Series 1. Nick probably has a a Series 2--as his was missing the #45-52 end seal and (maybe) the #45-51 seal retaining collar. A Series 3 should also be out there that uses the common 38T type seal and a thread in collar.
Took the grips off and separated the halves of the frame. The hammer spring #45-24 popped out of location before I saw which slot it was in. This forward-most location is where Crosman pictures the spring in the various EVP's.
Just a blurry pic to remind me of the pawl index spring orientation.
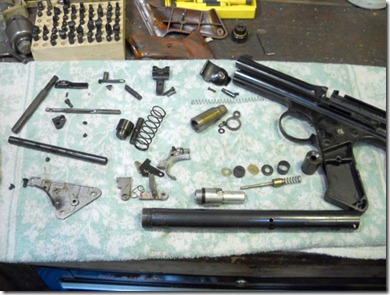
A few more Kodak moments as reminders.
Nothing new here, nothing to see.
Finish has really seen better days. Probably better years. I think this gun is from around 1972.
Valve just pulls straight out the front of the cylinder.
Used a silver Sharpie to mark the front of the plate--Crosman part # 6-10. It could be a week or more before I get back to reassemble this gun and it'll save me from having to think about it.
Removed the o-ring (Crosman part #140-058) from the end of the valve. This #005 o-ring seals the end of the valve inside the back end of the pellet cylinder. However, I'm going to attempt to replace this seal with a P8 metric o-ring that is very slightly larger in OD to obtain a better working seal in this location.
Valve unscrews.
Nothing unusual.
Removed the pellet retaining spring (this part was missing on Nick's gun) Some repair shops use a large o-ring as a substitute for the spring.
Enough with the disassembly. The gist of the entire post is thus: It's time to fix the finish. The brass wire wheel is a go.
Done. Took about 10 minutes.
Buffed out the scratch marks with some rouge.
Rustoleum Appliance Epoxy spray paint. Long drying time, but worth it for the superb durability and the cheap price. It's about $5 a can around these here parts. You gotta talk like a cowboy when you're working on an SA6. Says so right in the manual.
Hanging by a wire and ready for paint. The current plan is to refinish the gun and tweak a couple things to tighten group size as well as attempt to get the gun to hit closer to point of aim. Check back again in a few days.
Tuesday, June 22, 2010
Yet Another Crosman 600
Stopped at a local yard sale Friday afternoon. Asked the gentleman the obligatory “have any airguns, bb guns, pellet guns?” The answer was yes, but he couldn’t find it. I gave him my card (I have “I buy airguns” business cards) and he called back that evening. Next morning I was $45.00 poorer.
The Crosman 600, powerlets and Superpells.
The old style bottle cap CO2.
Superpells, somewhat oxidized. Both of those accessories will go in the museum…
It seemed sticky (notice the schmutz on the piercing cap) so I added some oil here and there and tried it out. Gas escaped out the barrel. So I took it apart. It isn’t the first…or even the second.
You can see the build up of crud where the safety pivot screw was.
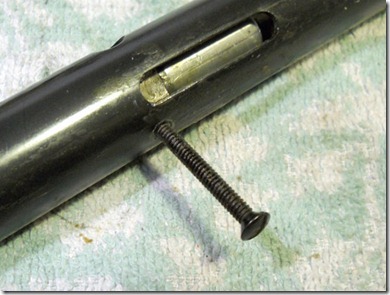
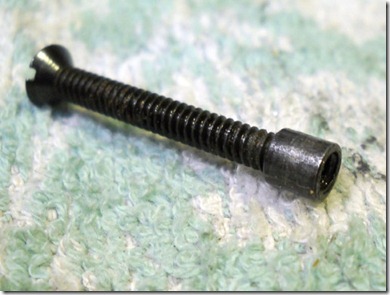
I read on one of the forums that you could use the grip screws to remove the valve retention pins.
Worked fine on the one.
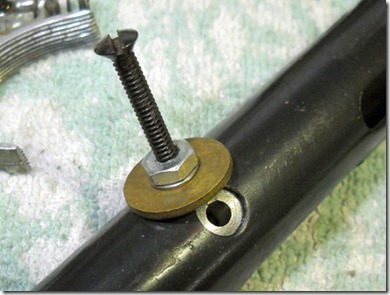
The other was sticky so I made a crude puller.
I’ll make a more elegant version of that in the future.
Another 600 in pieces. I’ll update the blog if I do anything differently from the other two I messed with.
See here if you missed our other posts on the 600, or just click on the Crosman 600 label below.
Saturday, June 19, 2010
Haenel 303-Super Finished Stock
Well, I'm finally finishing up the stock on the Haenel 303-Super. The stain took over three days to dry as the humidity was so high. I gave it five days just to be safe. Settled on using Tru-Oil to protect the stained finish since I had some on hand and because it drys quickly--which allowed me to build up 2 or 3 coats per day. Seems weird to put a finish on the finish, but that's how it works.
First coat.
About 2 coats in.
Another "Darth Vader" glove pic for SL. Nitrile glove jealousy is an ugly chapeau my friend.
This is somewhere around 7 or 8 coats. I lost count. It all just blends together as a few days of rubbing oil into the stock and waiting for each successive coat to dry. Yeah, wow. The life I live.
Flip side. It's finally starting to look like something.
Probably somewhere around 9 or 10 coats, I dampened a piece of synthetic steel wool with Behlen Wool Lube and scuffed the surface.
Just very lightly knocked the Tru-Oil sheen back to a matte.
I wet a rag with the wool lube and some rottenstone. Polished the stock until it had a high gloss and was quite smooth.
Then, just to cover all the bases, it got a coat of paste wax.
Buffed, then set the stock aside after taking a few measurements for that screw cup.
Found a scrap of 0.500" drill rod on the bench.
Faced both ends.
Through drilled with a 15/64" bit.
Followed with a 25/64" to begin the counter bore for the M6 bolt head.
Need to flatten the bottom of the hole.
Used a #9 center cutting end mill.
The end mill was just slightly smaller than the head of the fastener, so I switched to a small boring bar and finished the cut.
The edge looks rusty--it's not. It's a reflection in a freshly polished edge.
Counter bored to 0.235" deep. Not shown: Shaved it down to length--0.422" OAL--to match the depth of the hole I'd made with the forstner bit.
Final test fit (and still in the white) with a stainless M6 cap screw. Incredibly, with over sixty 6mm bolts here, I didn't have a single carbon steel bolt in the correct length or head type.
Blued with the Birchwood Casey PermaBlue Paste. I'm getting better--darker--results with the paste than with the liquid blue. Seems to hold up better, too, but that's subjective.
Just a quick look back at the original factory finish. From this...
...to this. This is a tough stock to photograph. The finish is so glossy, it just reflects all the light. It's also a bit darker than the pictures capture.
Around this point, I treated the stippled areas to a third coat of ebony stain. My wife doesn't like the high gloss contrasting with the matte stippled areas. I thought about adding two coats of Tru-Oil over the stippling, but that seems counter productive to grip. At least she agrees that it looks better now than the factory finish.
Managed to not lose the lines of the cheek piece.
If anything, the gloss makes the lines more defined.
Forend is very smooth.
Action installed.
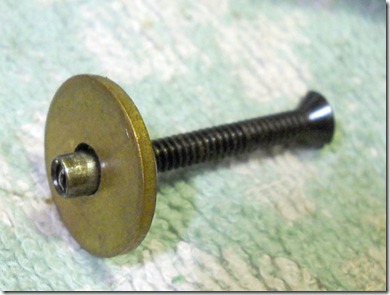
Here's that screw cup with a blued M6 cap screw--bought it at the hardware store for 85 cents.
Another view.
Doubt the white line spacer will stay. Seems to cheapen the look to my eye. I should ask my wife.
Final.
I'll overhaul the gun in the near future. Due to it's age, I know it needs some love (and probably a new spring).
Many projects in the que: Bought some rosewood to make grips for the Crosman 150, still need to rebuild the QB-77, SA6 needs a tear down, same with the BSF S20 pistol... So check back in a couple days if you're into that kind of thing.