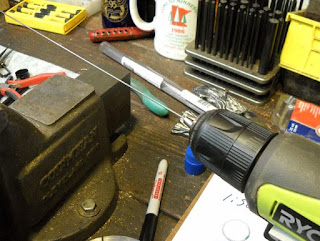
I bought this music wire at a yard sale a few months ago. I knew it would come in handy...

I wound it, tensioning by hand, around a thicker piece of music wire in the cordless drill.

I closed the ends with a carved up piece of weed whacker cord. Not elegant but it works.

Fancy spring clip for holding in the pellets. This is how it's supposed to look (Thanks co2airguns!)

I squished a 009 o-ring into the bottom of the valve end. Derrick's SA6 had a groove on the inside and seals around the CO2 cart, mine was the face seal type. I ended up replacing this with a 008 o-ring.

You can see there's a hole in the valve body here to register with the frame casting.

Which you can see here.

Valve and cylinder in place.

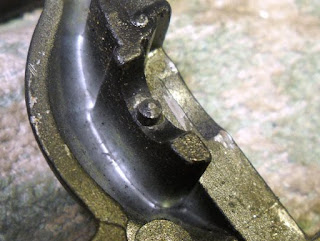
I snipped a spare spring and found a ball.

To mount here as a cylinder detent.

I wire brushed the CO2 clamp screw.

Putting all the trigger parts together. A slave pin holds the hammer in place.

See where the pawl goes.

Trigger and spring.

Can you have too many views? Probably...

I endedup cutting a smaller diameter spring as the ball got swallowed up by the larger one.

In place.

Inserting the hammer pivot screw, pushing the slave pin out the other side and keeping it all together.

CO2 cart in place. I pierced the cart by shooting the gun and gas whooshed out the barrel. That means the valve seal is bad.

So I made a tool to press out the valve stem.

The tool bears on the shoulder so the piercing pin tip doesn't get damaged or bent (it's pretty thin).

Works great.

The valve stem apart. I made a new seal using the same tool as I used on the S&W79.

Pressed back together.
The gun works! It's fun to shoot but not powerful or accurate. Did I mention it was fun? Well it is. I feel like a real cowboy.
0 comments:
Post a Comment