Sunday, November 28, 2010

Trigger Blade for IZH 61

Thought this was going to be a really easy evening project--just a quick trigger blade replacement for my IZH-61. Ended up taking quite a bit of time due to my over complication of the design and the method of finishing.

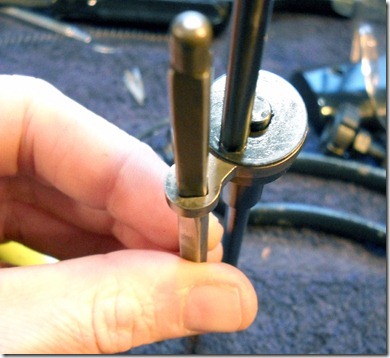
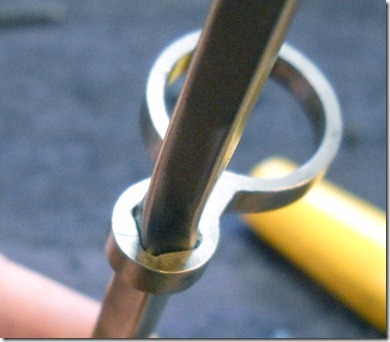
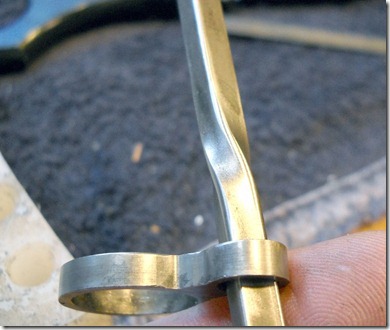
The original trigger is pretty simple. A triangular piece of steel with a pinch clamp to hold it on the 3mm trigger rod. Lot of guns are using a rod like this to attach the trigger blade. Mostly European target guns--including some of the pistols.

Overall, this trigger is a nice design--especially considering this gun costs well under $140. It allows for axial adjustment and it's offset for a right-handed shooter. There is also a minimal amount of height adjustment available.

It's just a bit too small for my preference and I find that the curve doesn't quite fit my finger. Yeah, I'm nitpicking. I know. But it's an excuse to do something about it.

Sawed out a piece of aluminum. It's roughly 1" x 0.5" x 0.5". Milled the saw marks off.

Nick posted an excellent tutorial on milling set ups a few days ago on one of his machining blogs.

Found the center.

A little dykem layout fluid, and I used the caliper to mark a center line. Picked a promising location for the trigger bar and through drilled.

Worked my way up to a 3mm drill bit. This will just barely fit over the rod.

Could've just drilled a hole for a set screw and been halfway done--but nooooo. I think I did this the hard way. Wanted a pinching mechanism and since one pinch bolt would have sufficed, I decided to use two--opposed.

With an arbor attached to the headstock and a slitting saw blade mounted, I set the block in the milling attachment vise...

and cut a full length slot. The cut extended into the through hole.

Next, I drilled the pinch bolt holes. Drilled through both with a #40 bit. Then drilled partially through with a 3mm bit for clearance. Turned the piece over and drilled partially through on the other hole. The bolts will thread in from opposite sides.

Tapped the opposed #40 holes to M3 x 0.5mm

Cut between the pinch clamps so they'll function independently.

And started cutting away at the excess metal under the clamps.


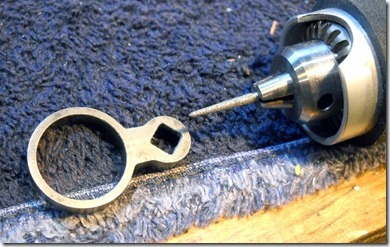
Cut out a rectangle--scrap.

Getting there. Not shown: Milled the clamp on each side to pocket the clamping screw heads so they don't stand proud on the sides of the blade.

Like so.

It's still too blocky--even for a Russian gun--so it's going back for more milling.

The set-ups took the most time, but I milled each and every face. Shaped the back side of the trigger blade.

Beveled the the angles with a small needle file.

Ended up leaving all the milling marks. It looks jeweled from every angle. It's incredibly smooth. I thought there might be some texture from the milling marks, I was wrong.


Pulled the 3 screws and dropped the action out of the stock.

Removed the trigger blade with a flat head.

And screwed the trigger to the rod.

Also adjustable for angle like the original, but it's longer with a much broader face. The width feels just about ideal.

Added a few more pics 12-05-2010:

A bit better close up to show the milling cutter swirls.

The face is dead flat. No texture at all.

Haven't checked, but I think this will fit my Aeron target pistols, too.
**UPDATE 12/05/2010. Nope, won't fit the Aeron.

I'd like to make another trigger like this (though not nearly as time intensive) for another gun. We'll see.

Monday, November 22, 2010

Anti-Glare Tube for a HW Front Sight

Haven't had a lot of time to tinker lately, but a short session outside with sunshine and aperture sights left me wanting less glare on the front sight. Target shooters have, for generations, used extension tubes both front and rear on aperture sights to reduce side light.

As I have a few guns with HW foresights, it made the most sense to make a tube for that model.

Uh, anybody got a M17 x 0.5mm threading die? Yeah, me neither. The guys at Kromhard usually ask "What in hell is that for?" whenever I come looking for a tap or die. Of course, they had a couple in stock but nobody could remember ever selling one before. Well, non-standard is the standard in airguns and firearms. At least I wasn't looking for a die for a rear Anschutz aperture. I think they're a half size--something like M9.5 x 1mm. And don't even start with the BSF thread sizes and what's with some of the Italian sizes that blend metric diameters with threads per inch??? Makes some of these almost sound "normal".

Started with a scrap of recycled aluminum. It's from a broken suspension seatpost for a bicycle. Nice. My project is green!

I hacksawed the ends off and came up with a piece about 2.5" long. OAL is not at all critical and I still haven't bothered to measure it. Mounted a steady rest and faced both ends. Not shown: center drilled each end to fit a live center.

Live center in use. I really just want to make a stretched version of the HW tube. I can't find a common term for the piece. Centra calls it an "eye cup ring". Anschutz calls it an "extension tube". Whatever. I turned the center down to about 15.2mm dia.

Left a 17mm diameter ring near the front for those fine threads. Cut the relief at the front of the tube to bear against the aperture insert.

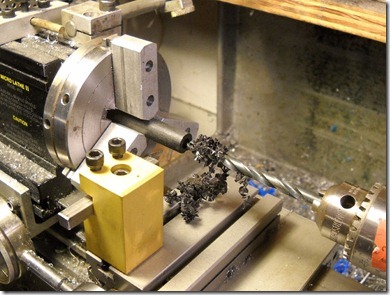
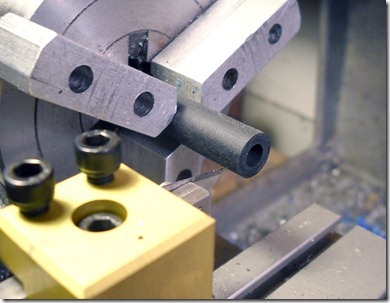
Progressively through-drilled. Took the hole up to 1/2"--about 13mm.

That's a lot of shavings.

This is where it got tricky--and I'm not real proud of this set-up--but it worked. I didn't have a 1.5" die holder for the tail stock and I didn't feel like making one. Did have a 90 degree slotted angle plate, so I bolted it down to the crosslide and squared it up with the tube.

Started with just the round die sandwiched between the angle plate and the tube. The chamfer on the die centered up the thread and pressure on the crosslide kept the die perpendicular. After three or four full turns by hand (fine threads need very low torque) I added the die holder for a bit more leverage.

Another couple turns and I backed off the crosslide and angle plate and just rotated the lathe chuck by hand holding the die stationary.

My knurling tool won't quite adjust large enough to handle the end ring. I'll knurl it in the future if/when the opportunity presents itself.

A little flat black color and the glare is banished.

Mounted it up on the IZH-61. Since I've been shooting this gun for a while now, there's a few other things I want to tweak in the near future.

Friday, November 19, 2010

Crosman Model 99, Driving Me Nuts, Part 1

The title says it all. I started by trying to tighten up the pellet feed mechanism, successfully. I stole the cam ring from the beater model 600 pistol.11191016

The ring binds on the cam rod.

11191001

I had to do a little operating on the ring.

11191002

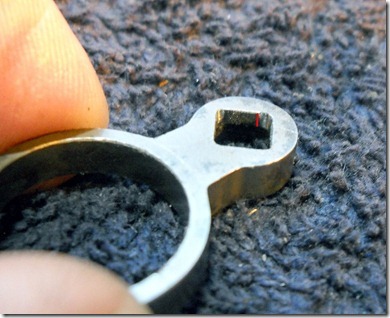
Just some work on the corners and chamfering the edges. Red line shows how much metal is contacting the cam rod.

11191003

Still locks up on the cam rod.

11191004

More polishing of the corners of the cam rod and now it feeds fine, very little play.

11191005

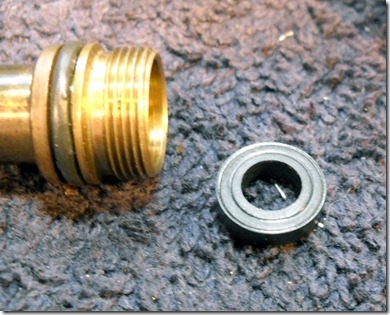
The slow leak was bothering me though. Removed the exhaust seal. It was the opposite of pliable.

11191006

Making a new seal.

11191007

Cut off. Then installed. But it was still leaking.

11191008

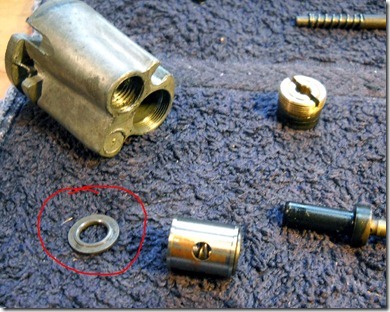
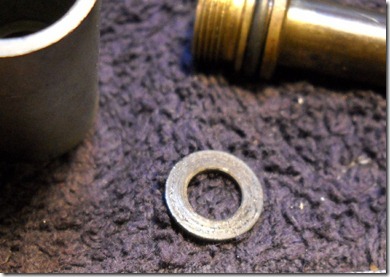
The seal where the valve stem passes through the body was troubling me. I took apart a Crosman model 38 valve to see if I was missing something. That washer…I didn’t notice it in the 99 valve.

11191009

Found it.

11191010

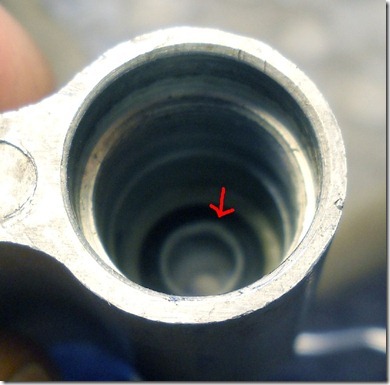
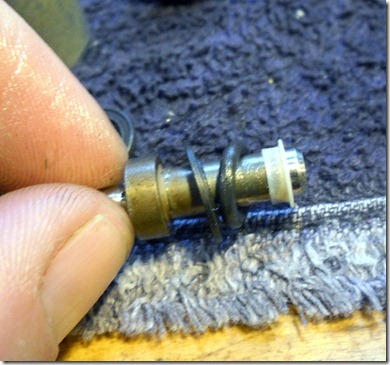
Down in the valve was a rubber seal and a plastic sleeve.

11191011

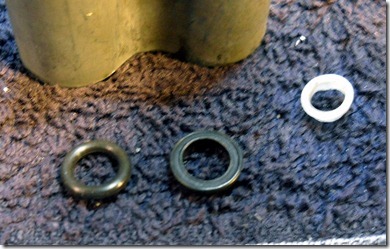
On later model 38’s they use an o-ring but the original seal (center) looks like a flat ring. Skipping ahead, I think this might be one of the reasons I ‘m having a leak. I’ll be making a flat ring seal later to test this theory out.

11191012

The washer, new o-ring and plastic sleeve.

11191013

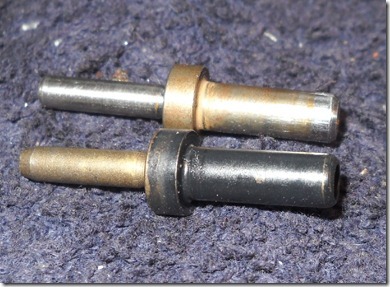
The valve stem is the same as the model 38 valve stem.

After taking it apart several times, making another seal, wasting about 4 CO2 cartridges, still not finding the leak (if anything the leak was getting worse), I decided to build a test unit.

11191014

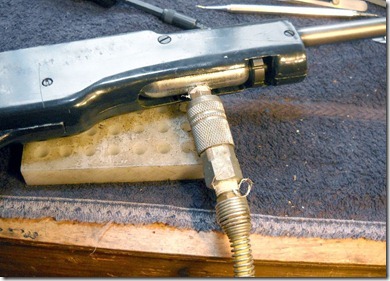
Empty (!!!) CO2 cartridge tapped for an air fitting. Only about 2 threads holding it in, so I didn’t hook it up to my big compressor, just the little paint compressor.

11191015

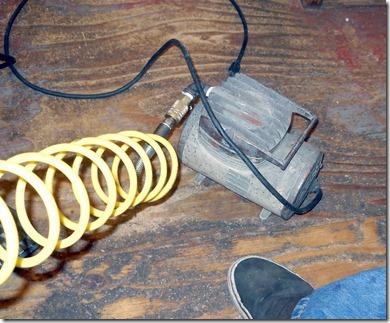
The compressor. At least I won’t be wasting 40 cents every time I test the valve. Unless of course it leaks at low pressure and seals at higher pressures, in which case I’m screwed.

In any case, I’m going to take a break from this rifle for a little while as I have an even more complex project that I want to get to next week.