On I go…
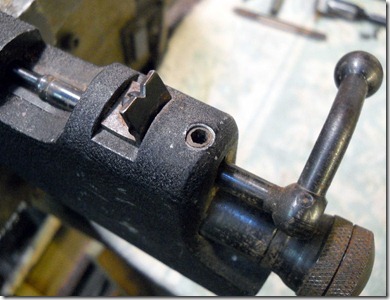
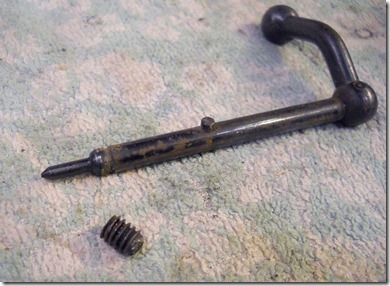
That setscrew retains the bolt.
Bolt removed.
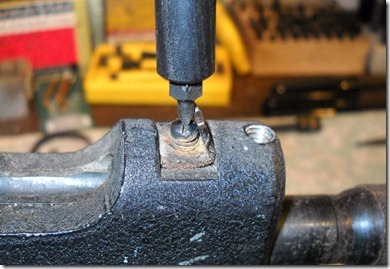
Removing rear sight (which is a bit bent)
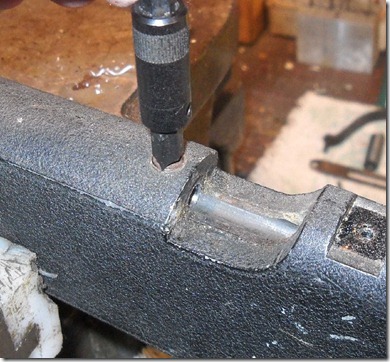
Removing setscrew that retains the barrel.
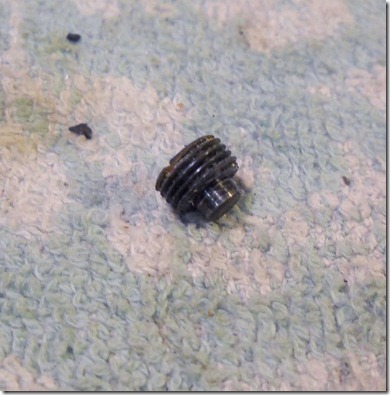
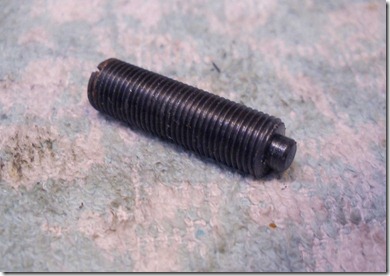
That’s a nice setscrew.
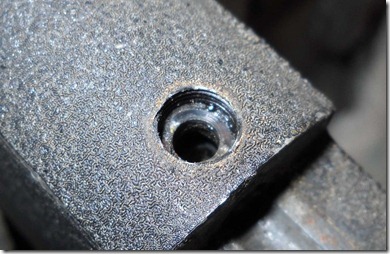
Counterbored hole.
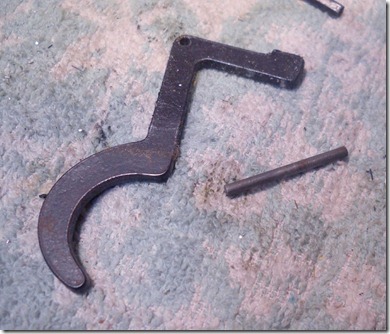
Removing the hammer.
Hammer.
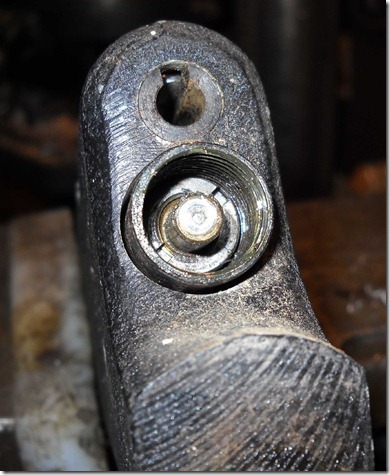
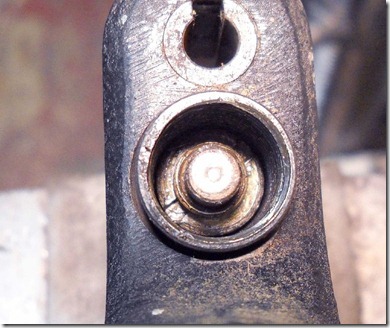
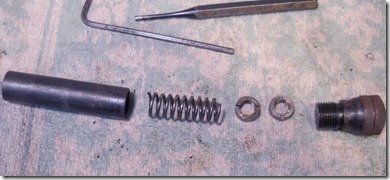
A slotted nut retains the hammer spring.
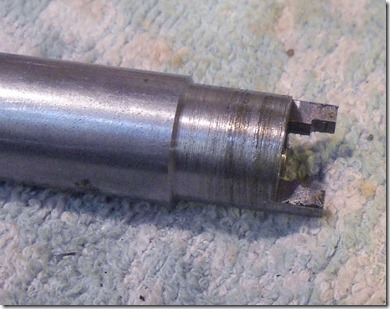
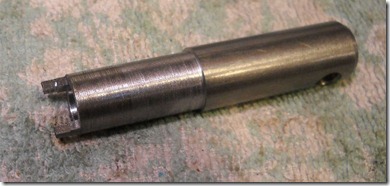
My 101 tool was a little too thick so I had to thin the “blade”.
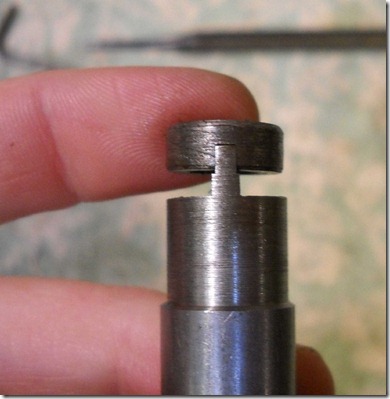
Removed and it fits.
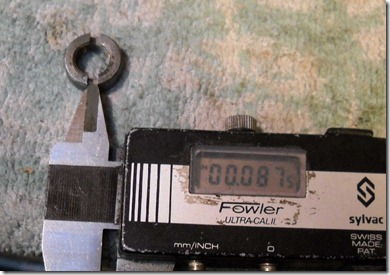
That’s the slot width, at least on that nut.
What? Another nut?
I had to then turn down the OD of my 101 tool (rapidly becoming my Rochester tool)
Hammer assembly. Whether the rifle is supposed to use two nuts or it’s just a later mistake I have no way of knowing.
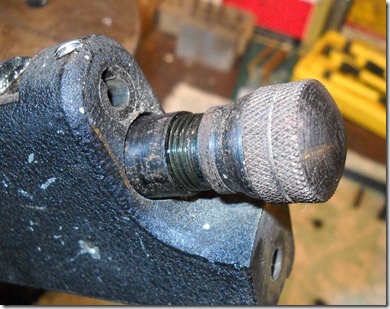
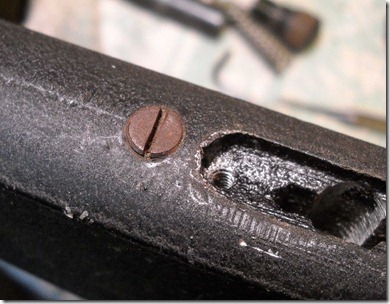
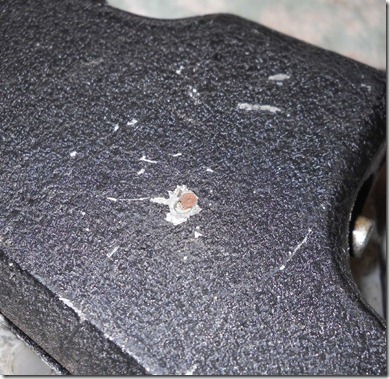
Setscrew on the underside retains the pump tube and valve.
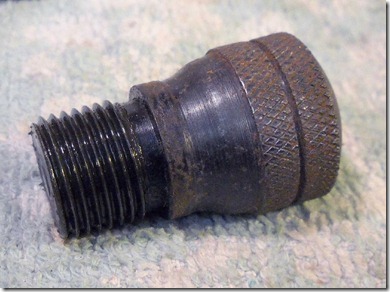
That’s a really nice setscrew.
Trigger pivot pin.
Trigger and pin removed.
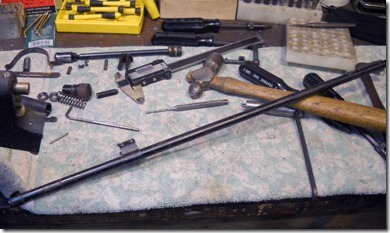
Using brass rods I punched the barrel and loading trough out of the receiver casting.
Barrel removed.
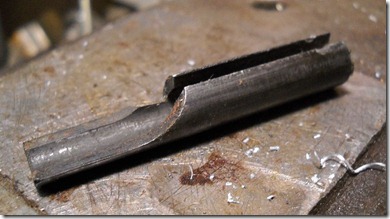
Loading trough (and bolt pin cam) coming out.
It’s an interesting piece. Note that the 101 uses no such thing and just has a hardened steel insert in the casting for the bolt cam.
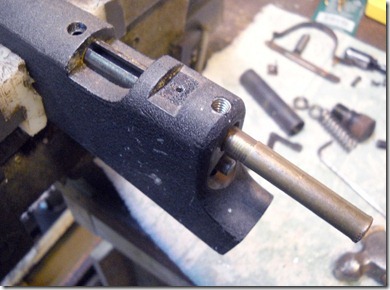
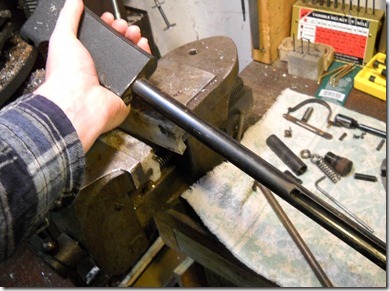
The pump tube twists…
and pulls out. The valve (so I hear) is screwed into the pump tube.
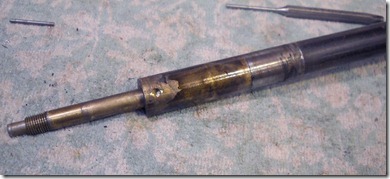
I have to unscrew it.
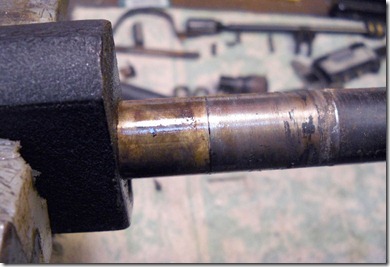
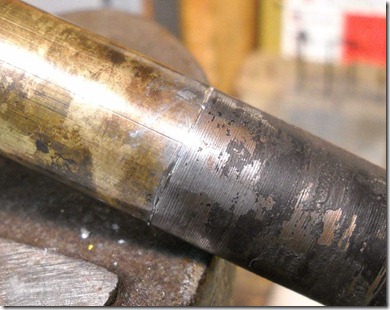
But it looks like the last person in the rifle soldered the valve to the pump tube. I was able to scrape some soft lead/tin/solder out of the gap. I tried various methods to unscrew the join but all failed to budge it. I don’t think that this is normal. But who knows. There’s hardly any information out there on these rifles. If anyone knows whether this is normal or not, I’d love to know. I’m assuming I’ll have to heat up the join with a torch (I already tried a heat gun) and unscrew it while the solder is molten. Should involve a lot of swearing. But first I’ll disassemble one of the other rifles and see it it has a similar solder job.
The valve needs to be screwed in and aligned with the tube so that the slot and the valve ports & screw holes are all in the same plane – I read that copper washers were used to set the timing, but perhaps the last person to dig in this rifle decided it was better to just lock it in place. Or the factory decided it was easier than using shim washers. Who knows? Do you? I’d love to hear from you. I could also use an exploded drawing or any other information on the rifles.
More to come once I figure out how to get this apart.

0 comments:
Post a Comment