This is how I mounted a Morgan #4 Curved Recoil Pad on my Baikal 513M Air Rifle.
I decided to start selling Morgan Adjustable Recoil Pads to generate a little income to subsidize all my airgun purchases and blogging. I set up a web page where I sell the pads . The main reason for installing one of these recoil pads on an air rifle is not to tame the recoil of the airgun but to drop the butt of the rifle, and lengthen the pull for a more comfortable fit.
The stock butt plate on the Baikal 513M.
Removed. If this were a firearm I'd probably fill the counterbored holes, as it was I just plugged the actual screw holes with dowels.
Now to mount it.
I marked the centerline of the butt.
Although the hole spacing is identical, I need to offset the recoil pad so that it is centered on the buttstock..
To do this I flipped the bottom plate over to ensure that the adjusting mechanism was entirely on the butt.
I marked the new screw locations with pencil.
I drilled for one screw hole.
Notice the original hole is plugged.
I temporarily screwed the pad on and took care to align the second screw hole on the centerline.
I used a transfer punch to mark the 2nd hole. I wrapped some masking tape around the end of the butt to protect the finish.
Drilled and screwed on.
I then flipped the stock over and scribed the contour of the butt on the plastic.
Now I have a guideline for trimming.
I used my favorite file for plastic, a Nicholson Magicut file
Almost there.
I then sanded carefully with a sanding block.
Looks good.
I sanded it smoother with some 400 grit paper. In hindsight I should have gone to 600 and maybe even 1200 to get a better finish. I did rub it with plastic polish which shined it up a bit in the later pictures.
The bottom half of the pad mounted with the adjusting screw in place.
Overall I'd say it took me about an hour of patient work. I have yet to do one of the aluminum recoil pads but that would require a belt or disc sander, or a lot of physical work to trim to size.
The drop I need to be comfortable with this air rifle.
The Baikal 513M in the rifle in the center. Notice an old style aluminum pad on the Diana 45 air rifle above it.
Tuesday, June 30, 2009
Wednesday, June 24, 2009
Prototype Roll Pin Pusher
This is an idea I've had for a while as a way to avoid hammering roll pins out.
Marking the parts.
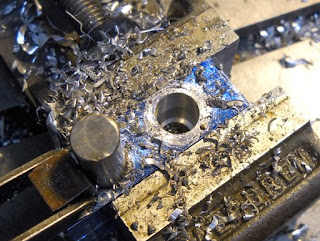
Spot drilling.
Drilling under 1/2"
Reaming 1/2"+
Flip the parts and use a dowel pin to align the previously drilled holes.
Reamed halfway through, the other part is just drilled to 1/2"-13 tap drill.
Some other holes..
Slotting the parts.
I almost slotted into the one hole that doesn't need slotting...
But instead needs tapping.
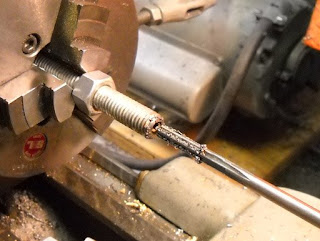
Drilled and reamed 1/4" the end of some 1/2" all thread.
Facing some 1/2" diameter tubing.
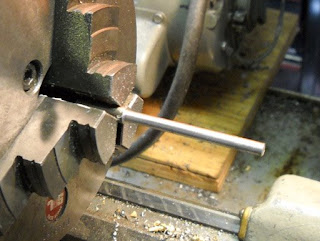
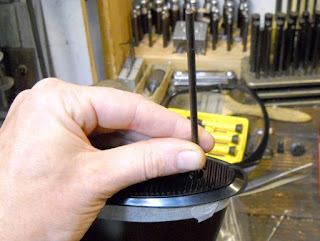
Making a 1/4" shank, roll pin punch.
Small pilot on the end slips inside the roll pin.
In use pushing out a roll pin from a Sheridan forearm.
Hmmm. I suspected the end of the tube would do that. I'm not upset as you'll notice that the forearm already has a huge chunk out of it. I bought the Sheridan for $35.00 at a gun show. My plan is to make or replace the forearm.
I made a slip fit delrin pad for the end.
Just a slight pressure mark, I think I'll make a new pad from UHMW or other softer plastic.
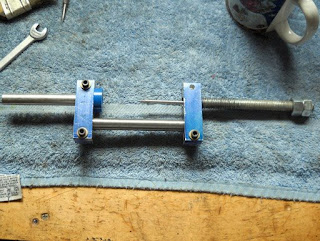
The screw needs a handle but two nuts with a wrench work fine for now.
Adjustable...versatile...not a bad father's day project.
Marking the parts.
Spot drilling.
Drilling under 1/2"
Reaming 1/2"+
Flip the parts and use a dowel pin to align the previously drilled holes.
Reamed halfway through, the other part is just drilled to 1/2"-13 tap drill.
Some other holes..
Slotting the parts.
I almost slotted into the one hole that doesn't need slotting...
But instead needs tapping.
Drilled and reamed 1/4" the end of some 1/2" all thread.
Facing some 1/2" diameter tubing.
Making a 1/4" shank, roll pin punch.
Small pilot on the end slips inside the roll pin.
In use pushing out a roll pin from a Sheridan forearm.
Hmmm. I suspected the end of the tube would do that. I'm not upset as you'll notice that the forearm already has a huge chunk out of it. I bought the Sheridan for $35.00 at a gun show. My plan is to make or replace the forearm.
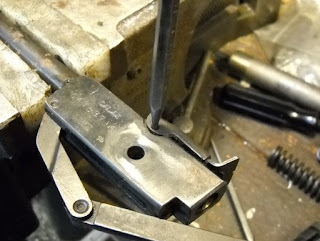
I made a slip fit delrin pad for the end.
Just a slight pressure mark, I think I'll make a new pad from UHMW or other softer plastic.
The screw needs a handle but two nuts with a wrench work fine for now.
Adjustable...versatile...not a bad father's day project.
Saturday, June 20, 2009
Slavia Model 630 Disassembly, Part 2
On I go.
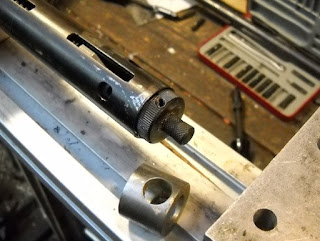
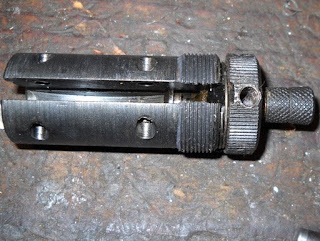
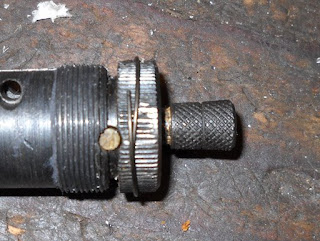
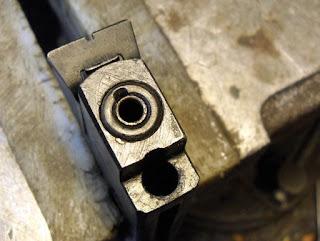
Rather than just remove the end plug I mounted it in the spring compressor.
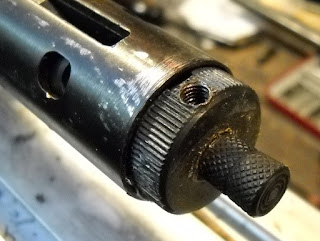
There was nothing in that threaded hole, and I'm not sure why it's there.
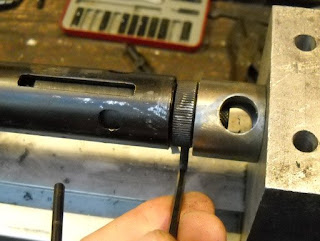
I used a spacer so the force of the compressor would bear on the plug and not the safety.
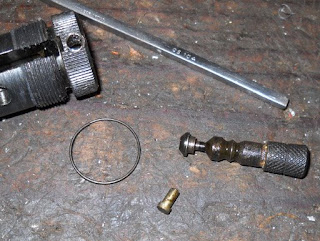
Using an allen key in that threaded hole to unscrew the plug. I would unscrew a turn, back off the compressor, rinse and repeat.
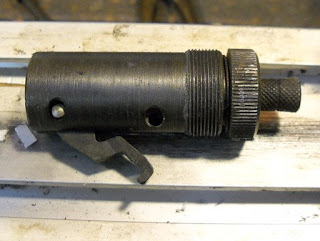
It came out about this far once unthreaded.
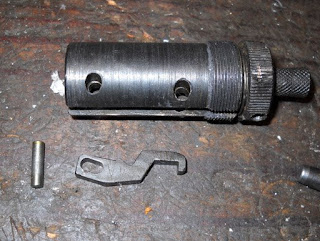
The sear hangs down and is held by that pin.
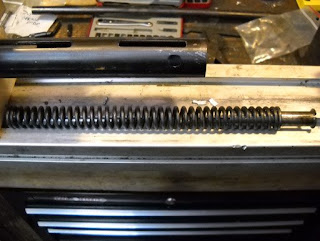
The spring and guide. There was no spacer as shown in the webpage I linked to in part 1.
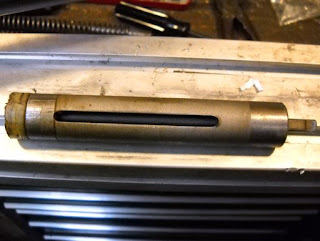
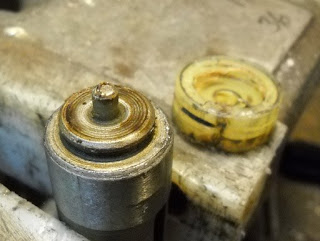
The piston.
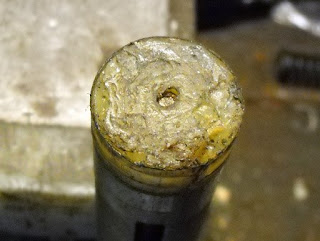
The seal has definitely seen better days.
The sear removed.
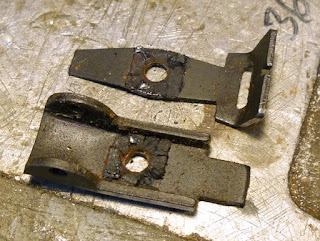
A coil spring retains the safety.
I slid it off and pulled out that pin with pliers.
Then pulled out the safety. The other 630 is missing the safety and I'm not sure whether or not the rifle will work without it. I'd rather not make a duplicate of that.
I pried the seal off the piston. Finding replacement seals is tough. An email to CZ in the Czech Republic was unanswered. I found a Canadian airgun store that does sell replacement seals but they don't ship to the U.S. I have to convince my sister in Toronto to order some for her nut of a brother. But I'll probably have to make at least one seal in the interim.
The breech seal was also in poor shape. But it's just an o-ring.
I unscrewed the sight elevation set screw.
And punched out the pin.
A neat design. The leaf tensions the sight but pivots left and right for windage. Minimalist. Not sure what the rubbery stuff is - rubber probably. No front sights were on the rifles.
So that's it all apart. Not sure when I'll work up the enthusiasm for making a replacement seal...
Subscribe to:
Posts (Atom)