On I go…
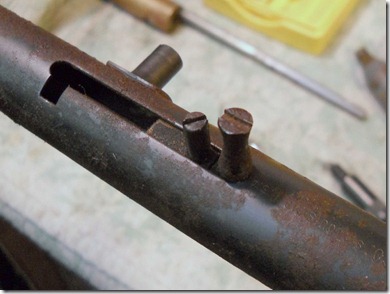
I took up the force of the hammer spring by holding the safety (smaller of the two screw headed posts) back and unscrewed the cocking handle.
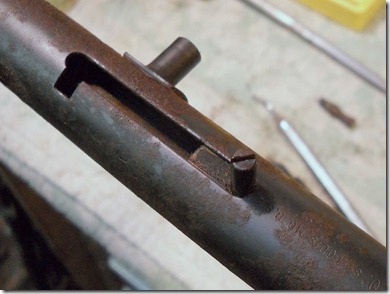
Again I pushed down on the bench which took up the spring force and allowed me to remove the safety post.
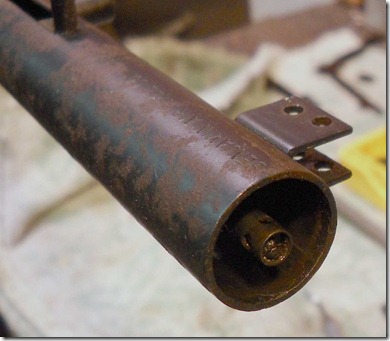
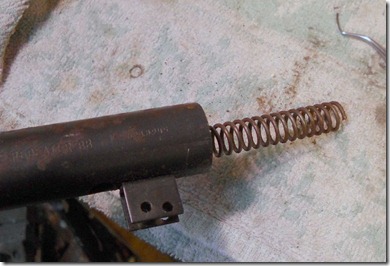
Here’s a shot showing how the end of the barrel protrudes just past the housing.
With the safety post removed the barrel comes out.
Followed by the hammer spring.
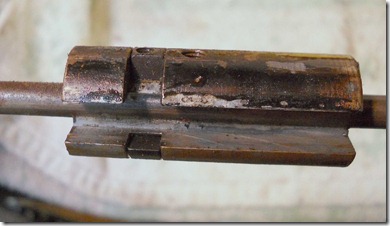
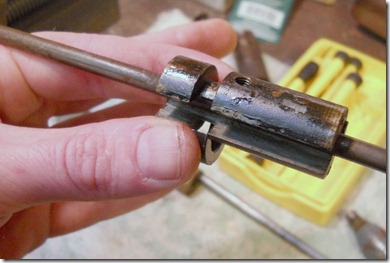
The hammer is soldered to the barrel. Notice the revolving cutaway ring, that’s for the safety post and allows it to be rotated into the slot in the housing.
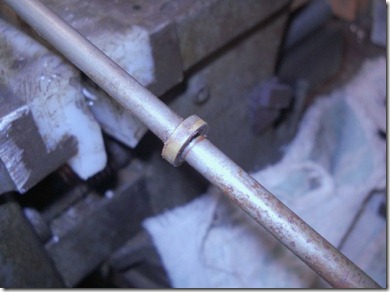
A collar is soldered on the barrel as a stop for the hammer spring, which is captured between it and the front (muzzle) of the housing.
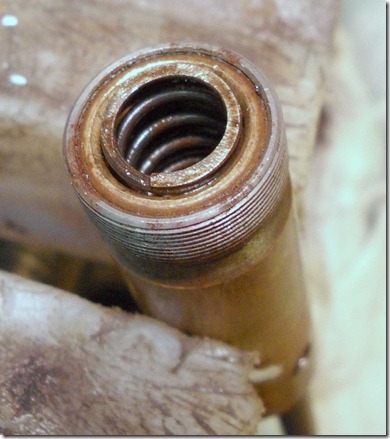
Removing the safety ring. I rotated it and it dropped down.
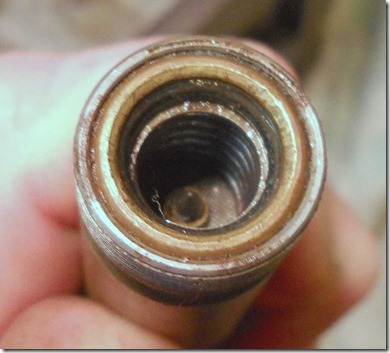
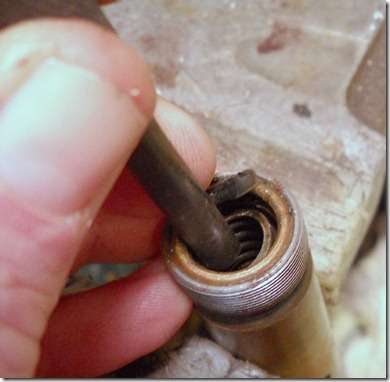
The o-ring in between the brass and the spring needs to come out.
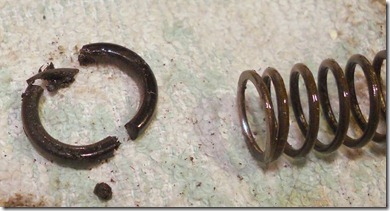
I pushed down on the spring so I could dig the o-ring out. It was rock hard, which is undesirable in an o-ring.
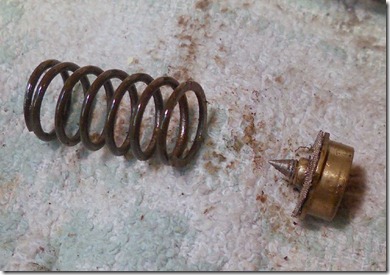
With the o-ring removed the valve spring can come out.
The now disintegrated o-ring and valve spring.
Then the exhaust valve drops out.
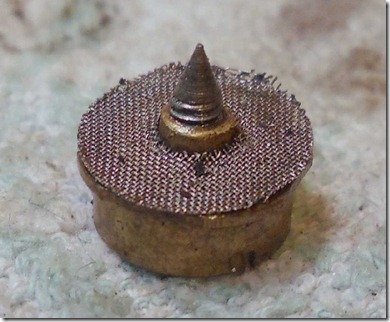
That’s a heck of a piercing pin.
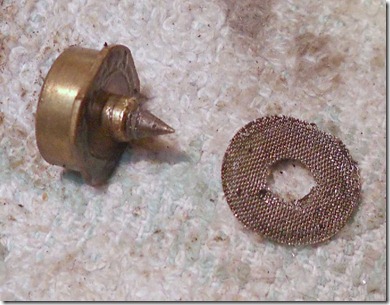
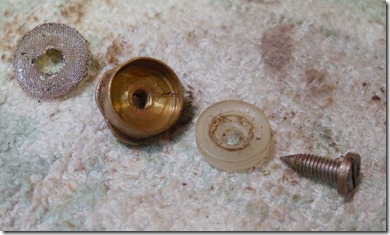
The screen removed. I don’t see how it does much to capture debris?
The exhaust valve face. The flats on the larger diameter allow the CO2 to flow around the open valve.
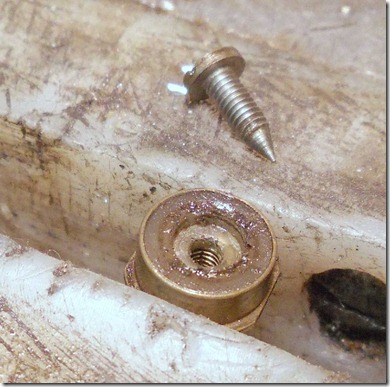
The piercing pin unscrews.
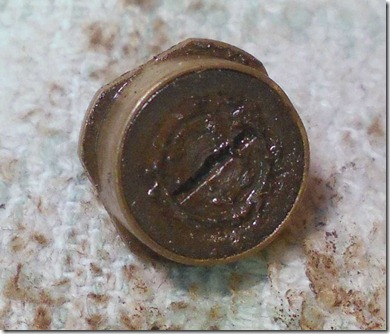
The seal comes out easily. Not sure what it’s made from. I may try and see if it works before making a replacement.
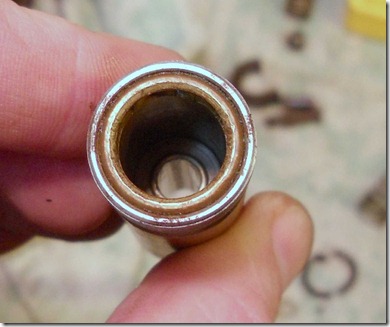
A typical valve seat inside the valve.
More to come…
0 comments:
Post a Comment