Friday, February 25, 2011
Modifying a T/C Rear Sight for a 22XX--Part 1
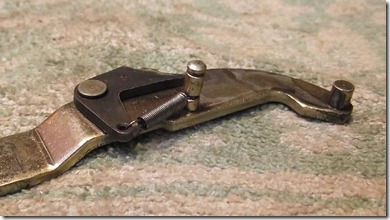
I bought this Thompson/Center rear sight unit on a whim at the Gun Shoppe about a year ago and threw it in the parts box.
I thought the curved base looked about right for a 22XX gas tube. And it is.
The only problem with the T/C sight is the leaf is much too narrow to acquire the correct sight picture on a 10-meter pistol target. The piece on the bottom is a spare leaf from an IZH-46M.
My initial thought was to simply attach the IZH leaf directly to the T/C unit.
Except the T/C is too narrow.
I could move the bolt holes, but where's the fun in that?
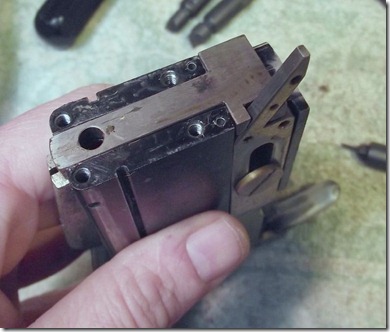
Removed the windage screw...
and the sight blade and spring came out.
Still too narrow. I like the idea of being able to interchange leafs of differing widths--and I'd prefer to have some uniformity, if there is such a thing. So it might prove useful to make the T/C sight accept IZH leafs. An adapter of some sort is required.
Went through the box of metal and found a piece of what's probably cold rolled steel. A small machinist square (they let anybody buy these things) confirmed that the sides were 90 degree angles. This is good--it means less work for me.
A bit of layout fluid and some quick measuring was next.
Almost all the numbers are arbitrary. I elected to make the "adapter" wider than the stock T/C blade then drill and tap mounting holes so the IZH leaf will attach.
Cut out a rectangle from the raw material then milled to length. (front to back measurement)
And squared up the width. I used 32mm as the arbitrary number. The piece just needs to be wide enough for the bolt hole spacing in the IZH leaf.
Milled out the clearance on the sides.
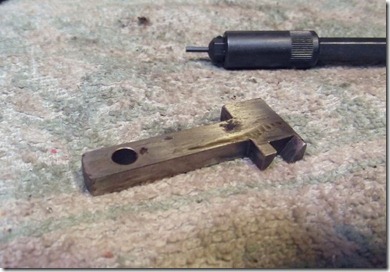
A "T" shape.
Reduced the height of the center boss on the top. It would work fine as it is, but it better fits the lines of the sight base...
Not shown: Milled, then sanded, the rear of the adapter at an angle. Want the leaf angled backward slightly to reduce glare.
Getting there. More to come in a couple days.
Monday, February 21, 2011
A.B.T. Shooting Gallery Rifle Disassembly, Part 4
Almost done…
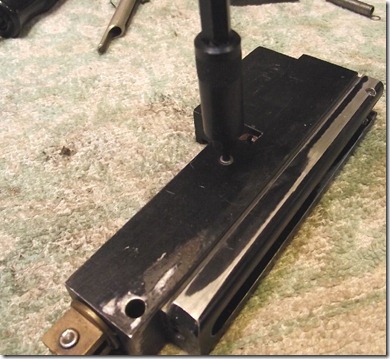
Oh, the second socket head setscrew.
Removed.
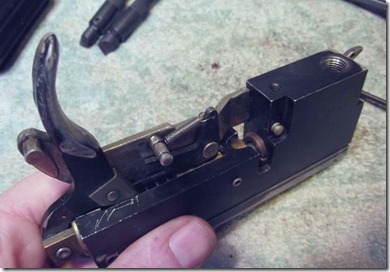
It retains the hammer/trigger assembly.
The trigger is riveted, so I won’t remove it. The pin could be pressed out to remove the hammer and spring but I’ll leave it for now.
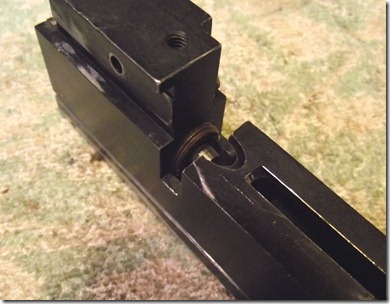
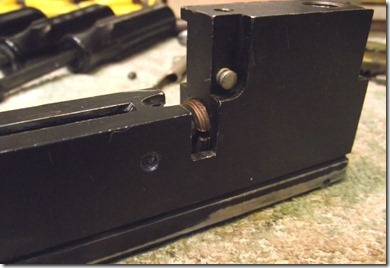
You can see the spring and hammer.
Pushing it in.
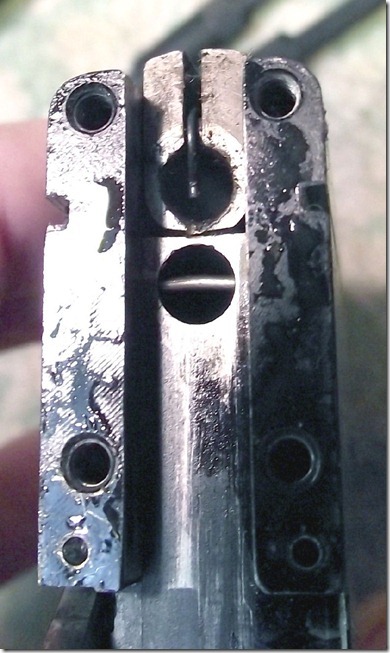
That leaves the valve.
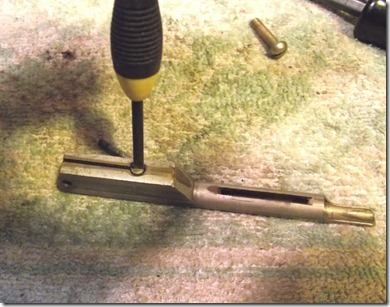
A screwdriver should work as the valve stem can be pushed past the screw slot.
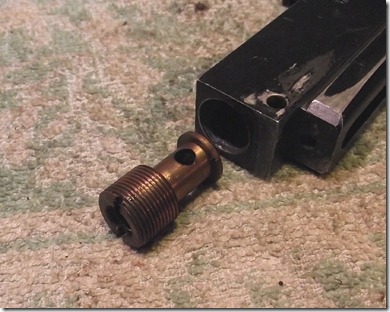
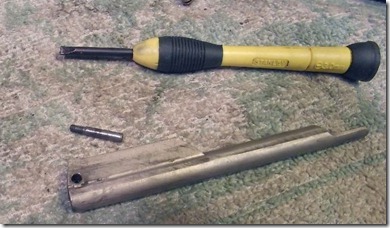
Removed. No seal on it, although most of the air should just go out through the barrel. Maybe I’ll use some teflot tape although it’s a pretty tight thread.
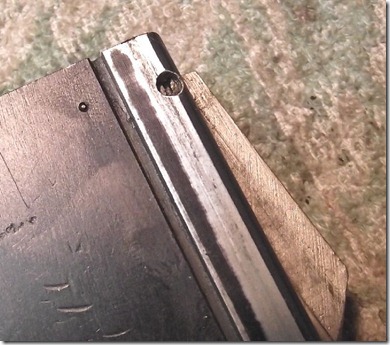
The valve stem wouldn’t come out. So I pressed against it through the air supply hole with a bamboo chopstick.
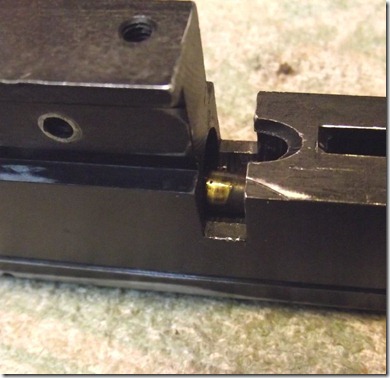
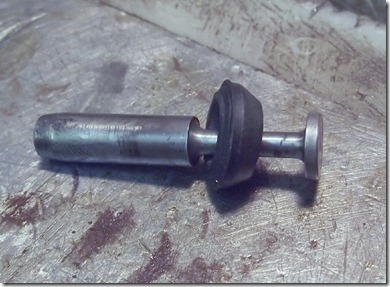
Valve stem and seal. It’s fairly soft rubber and appears to be in good shape.
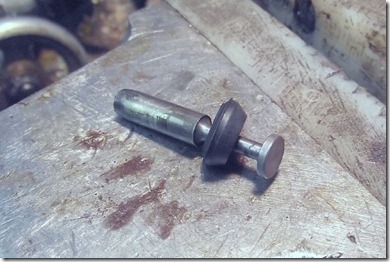
Another view.
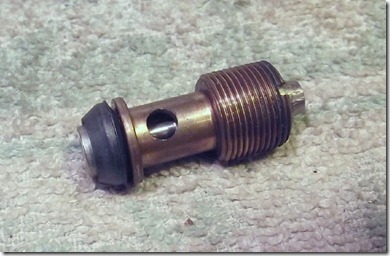
This is what it would look like assembled. I notice there’s no spring to keep the valve seated on the seal, which is curious. I wonder if there’s supposed to be one?
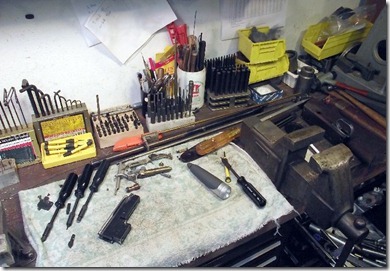
My bench after the disassembly. I’ll clean it all up and reassemble. I'll spend some time trying to understand better how the mechanism works. Then it’s a question of finding the proper ammo, making a cardboard tube for the ammo, and hooking up an air line.
If you have any useful information, especially a manual for the rifle, original cardboard tubes and ammo, etc. I'd love to hear from you. UPDATE: See here for a source for original ammo.
Sunday, February 20, 2011
A.B.T. Shooting Gallery Rifle Disassembly, Part 3
On I go…
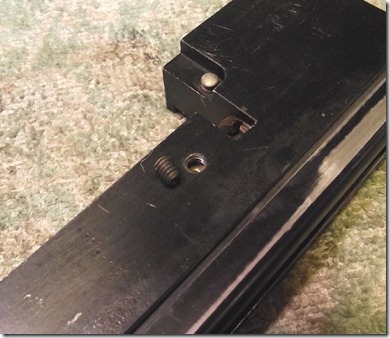
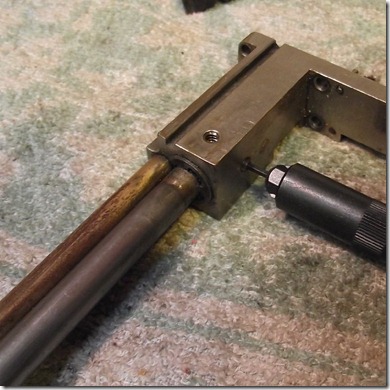
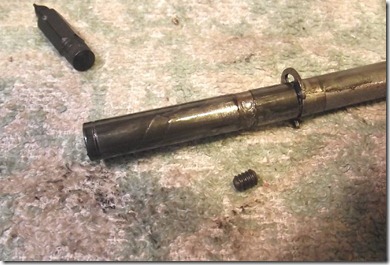
A small setscrew, there are only two socket head fasteners on the rifle.
Removed and the barrel slides out of the block. The magazine tube is pressed or soldered in as far as I can tell.
The shuttle.
Slides right out.
The lower bar keeps the bbs from falling into the valve, the upper has something to do with the cardboard tube of bb-s that is fed into the gun. Haven’t figured that out yet.
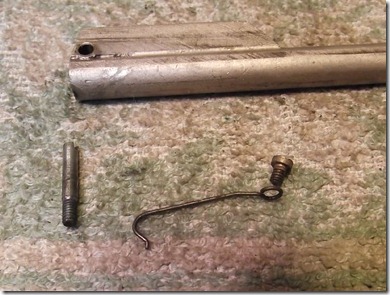
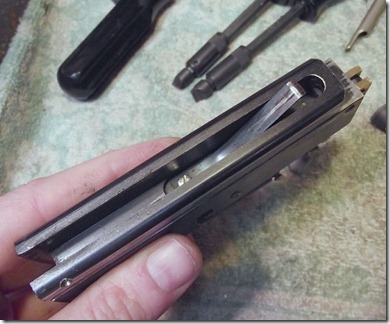
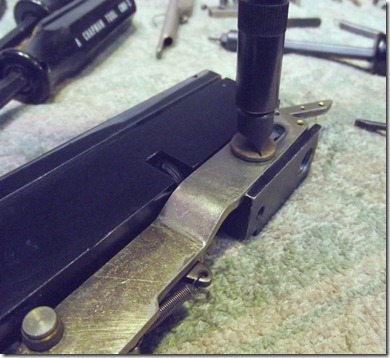
A screw retains the feed ramp.
Removed.
A screw retains that spring.
Removed.
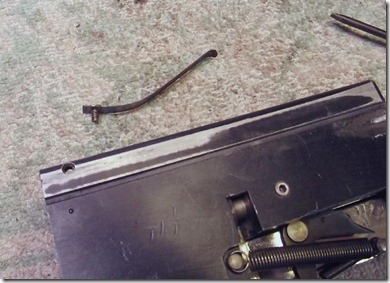
The leaf spring that allows the feed ramp to spring up.
Removed.
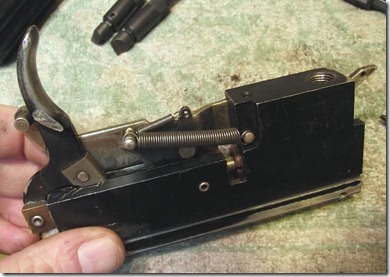
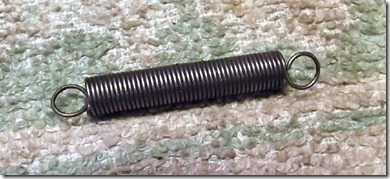
Two springs on the trigger mechanism.
One removed.
I left the other one in place, for now at least.
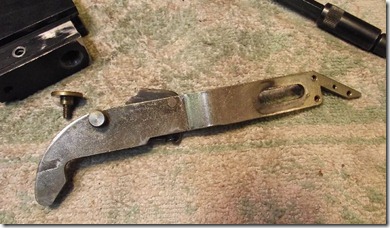
Large head screw.
Removed and the feed cam comes off.
I don’t know what to call these parts yet, and I’m leaving them in place.
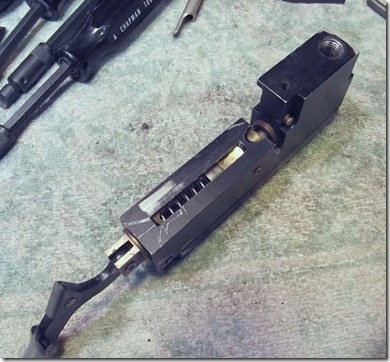
The hammer & valve assembly is exposed.
More to come…