Almost done…
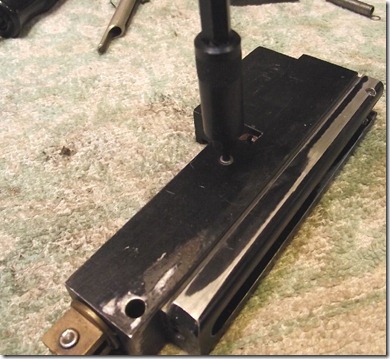
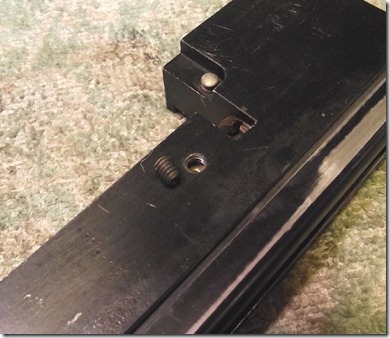
Oh, the second socket head setscrew.
Removed.
It retains the hammer/trigger assembly.
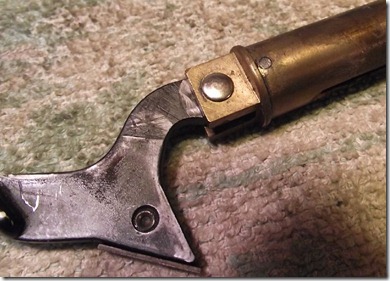
The trigger is riveted, so I won’t remove it. The pin could be pressed out to remove the hammer and spring but I’ll leave it for now.
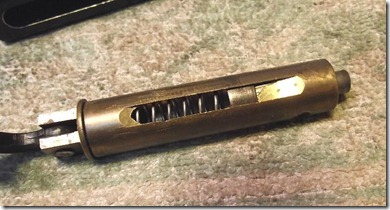
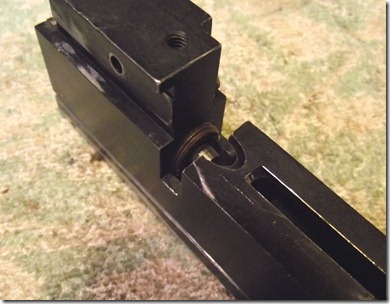
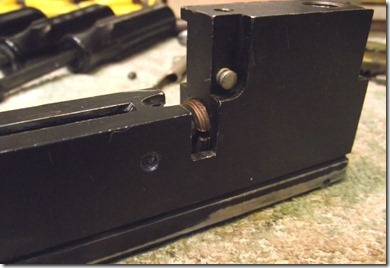
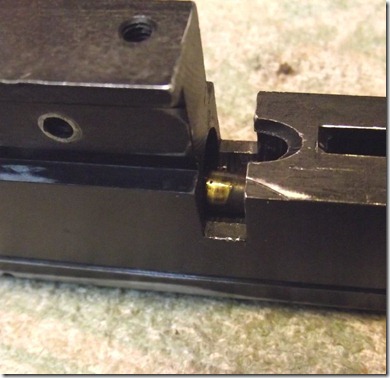
You can see the spring and hammer.
Pushing it in.
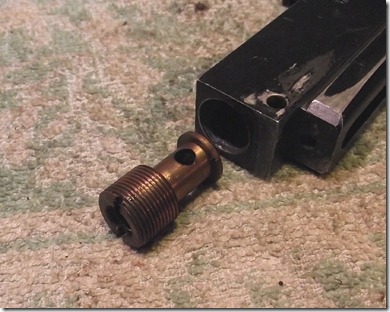
That leaves the valve.
A screwdriver should work as the valve stem can be pushed past the screw slot.
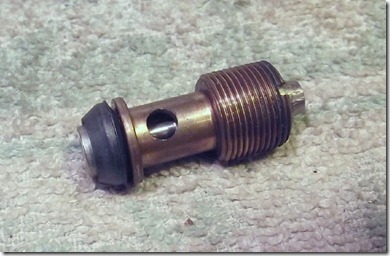
Removed. No seal on it, although most of the air should just go out through the barrel. Maybe I’ll use some teflot tape although it’s a pretty tight thread.
The valve stem wouldn’t come out. So I pressed against it through the air supply hole with a bamboo chopstick.
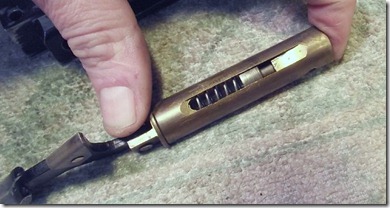
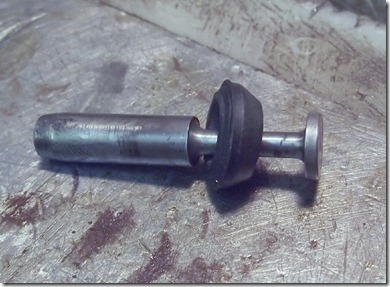
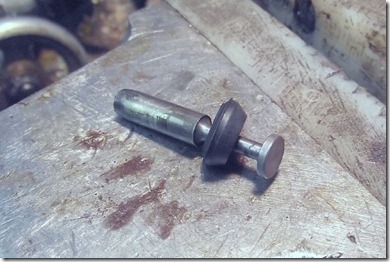
Valve stem and seal. It’s fairly soft rubber and appears to be in good shape.
Another view.
This is what it would look like assembled. I notice there’s no spring to keep the valve seated on the seal, which is curious. I wonder if there’s supposed to be one?
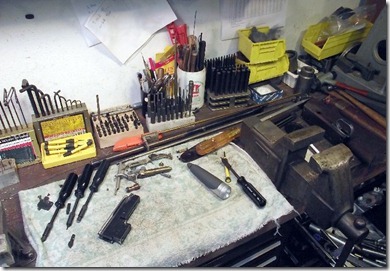
My bench after the disassembly. I’ll clean it all up and reassemble. I'll spend some time trying to understand better how the mechanism works. Then it’s a question of finding the proper ammo, making a cardboard tube for the ammo, and hooking up an air line.
If you have any useful information, especially a manual for the rifle, original cardboard tubes and ammo, etc. I'd love to hear from you. UPDATE: See here for a source for original ammo.

0 comments:
Post a Comment