
Wanted to get the ID of the 2240's gas tube. Measured the OD of the Crosman valve body, too.

Thought about making the valve connector from brass, but since the tank will act as a forend, I elected to use a piece of 12L14 steel instead. This is a "free machining" cold rolled steel. It's inexpensive and machines beautifully.

Just over two inches of 0.750" diameter rod was faced and a light skim cut taken to reduce the OD slightly so it would slide inside the gas tube.

Turned one end down to 0.561".

Through drilled the piece with a 5/32" bit. This will allow CO2 from the brass tank block made previously to get to the Crosman valve.

Threaded 9/16"-18.

With a parting tool in the back tool post, I cut a relief at the end of the thread for an o-ring. Forgot to write down the groove depth, but I believe it was 0.464".
Cut the thread to final length. Chamfered the first thread for good measure.

This is the o-ring Crosman specs to seal the 22XX valve body halves.

Test fit.
Flipped the piece and need to do the same procedure again. Turned the end down to 0.561"...

Threaded with the same die. Ah, yes. The new 1.5" die holder makes its debut.


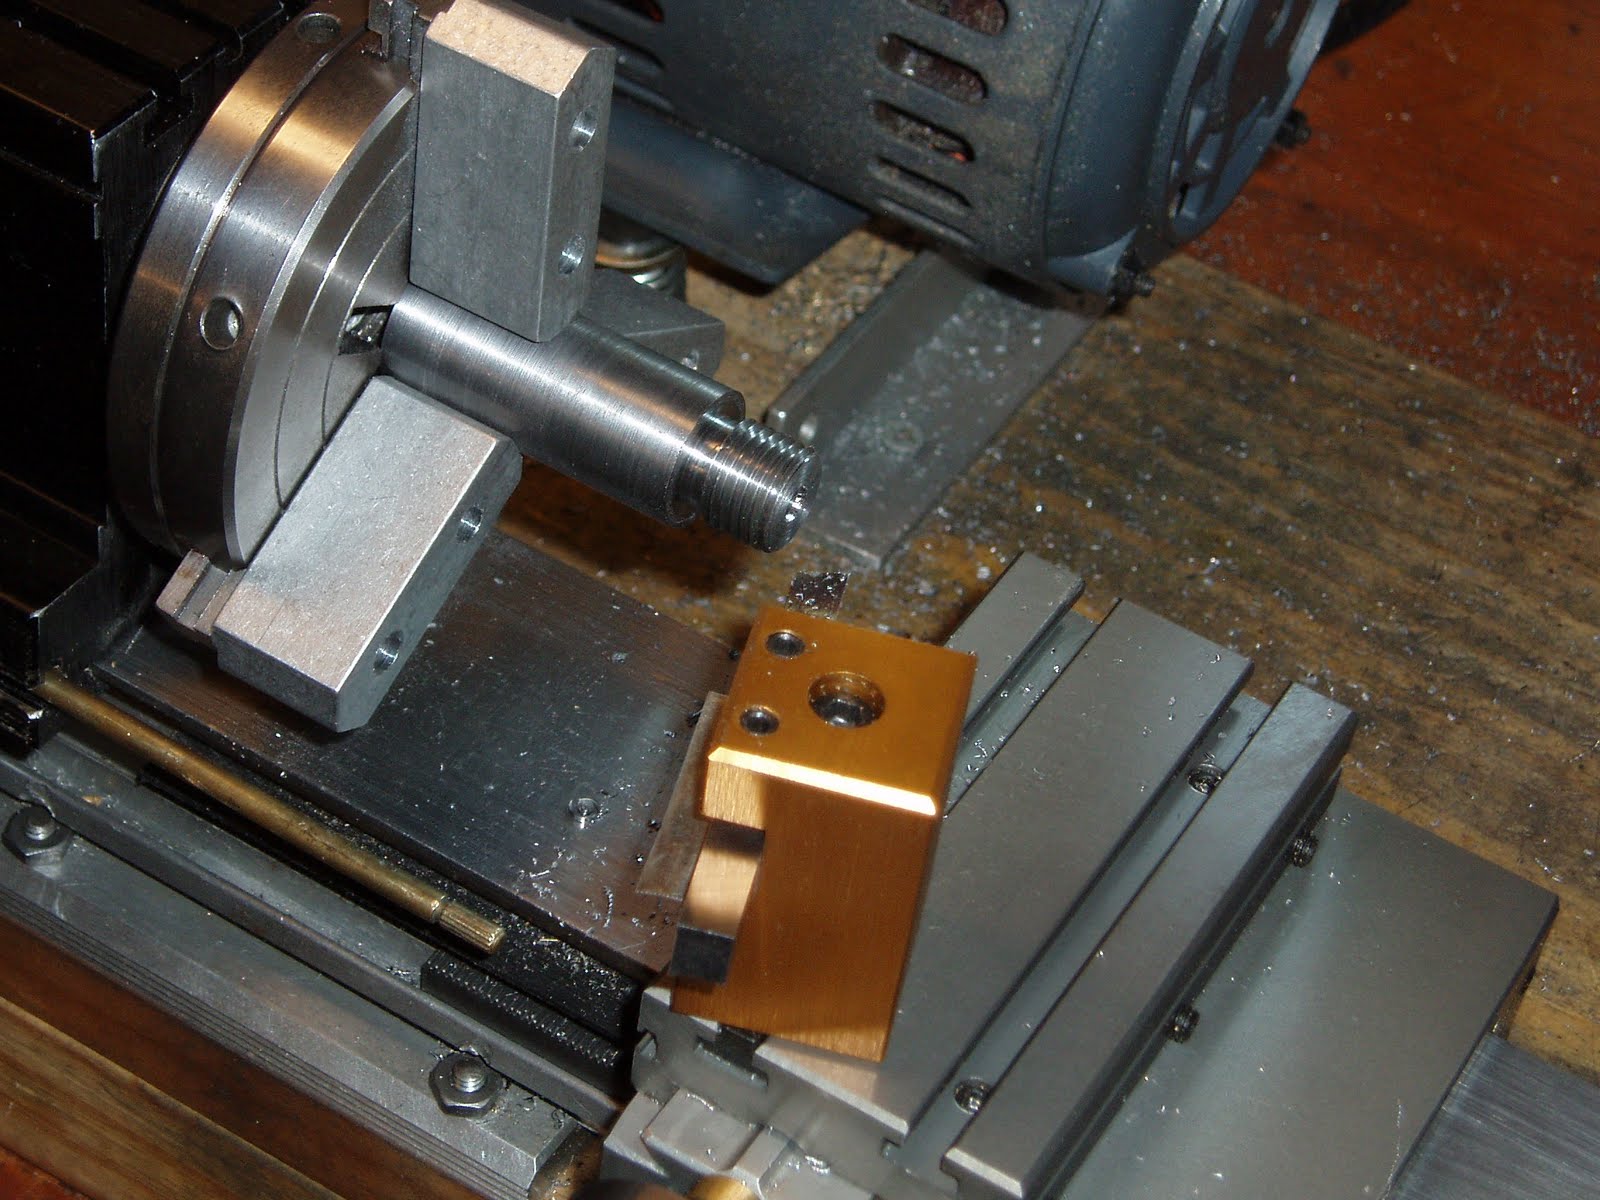
Forgot to mention this earlier--used a 1-2-3 block to square the parting tool on the carriage.

After I cut the o-ring groove at the base of the thread as before, I parted off the excess thread length.

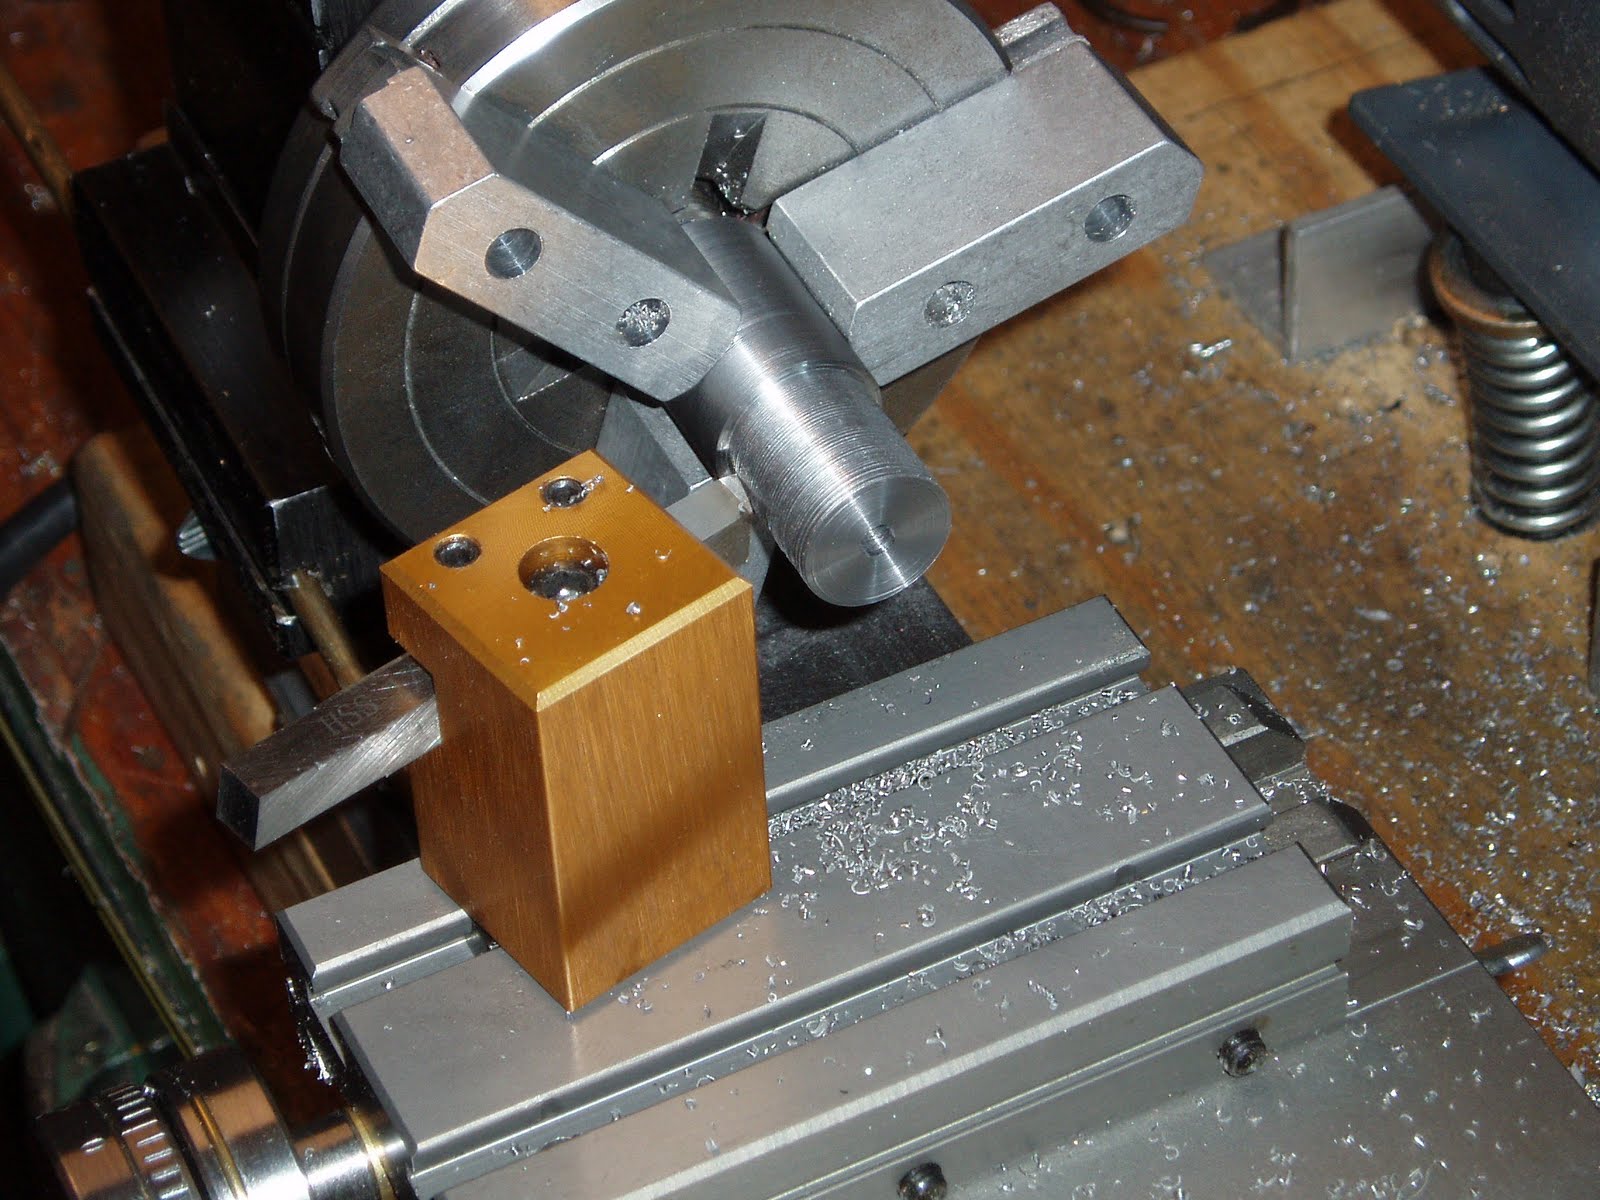
Then spotted and drilled a counterbore.

This counterbore acts as a seat for the valve spring. I made it just slightly deeper than the original in the Crosman valve. Chamfered the through hole.

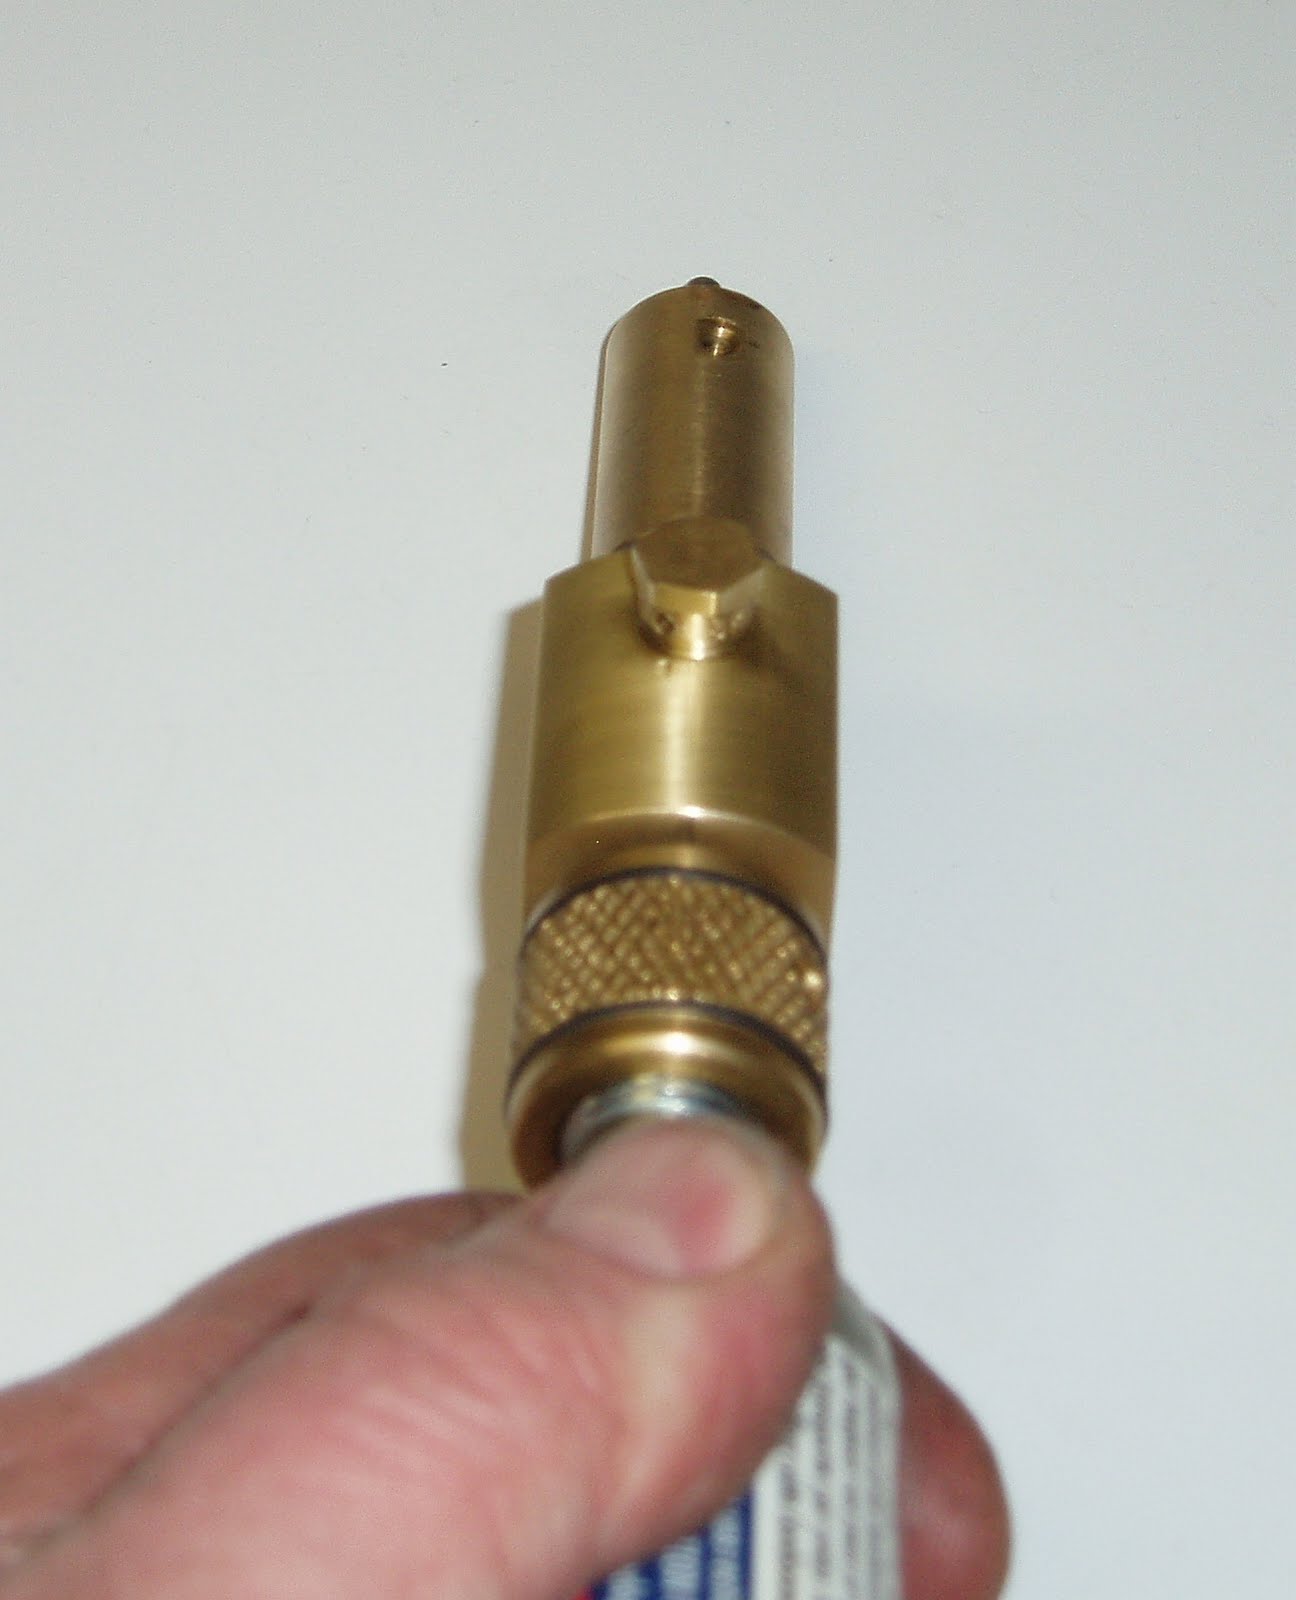
The finished valve connector.

Test assembly time.

Block and valve connector tube threaded together. The spring, valve stem and brass rear valve half are the stock Crosman 22XX items.

By drilling that counterbore, I'm able to use the stock valve stem without any further modification--ususally, the piercing pin is cut off.

Test fit.

Impossible. Absolutely impossible.
Hand tight and the bottom of the Crosman valve is almost aligned with the bottom of the A/S adapter. A 5/32 rod in the transfer port as a handle, final torque and it's correctly aligned. I assumed (for good reason) that I'd either have to shave down the rear valve half or plug the transfer port and redrill. There's just no way that the valve should bolt into the gun and the tank block will actually be centered underneath the gun correctly without some rather tedious fitting.

The 2240 gas tube is shown above. The gas tube has to be shortened up front by a couple inches.

In the first pic of this post, I noted that the connector tube had to be at least 2.050" long--that was the minimum that would allow the grip frame to still attach to the gas tube and the tank block to clear the front of the grip frame.

Stripped the sticker off the A/S. Hope to paint the tank in the morning.

No leaks.
Still need to shorten the gas tube and anchor the valve more securely. One more post in a couple days.
0 comments:
Post a Comment